Banner content
Tell customers about your store or products.

Tell customers about your store or products.
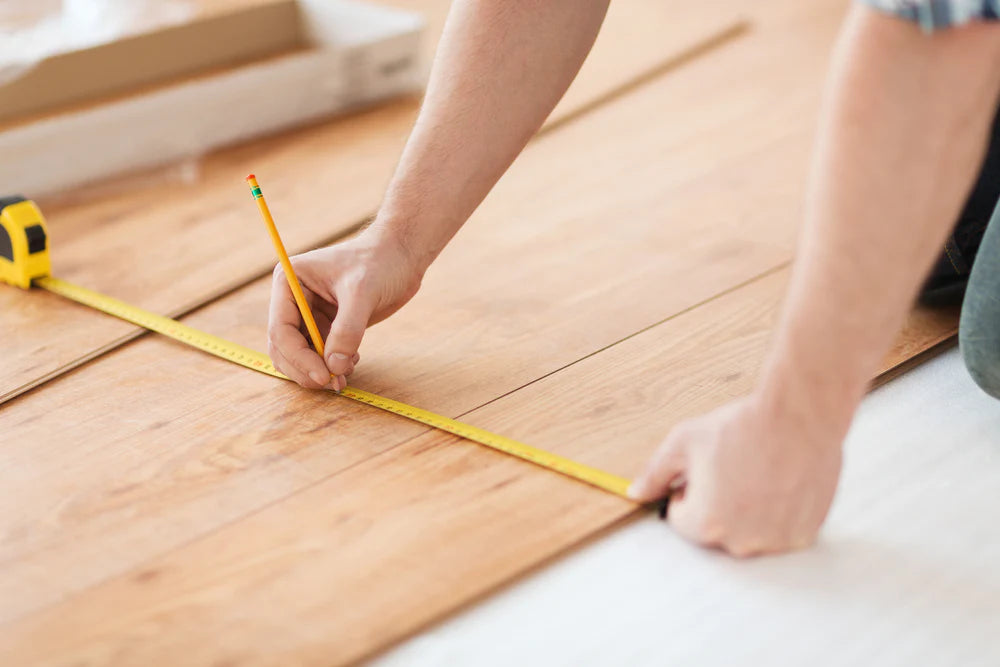
How to measure your home for new carpet
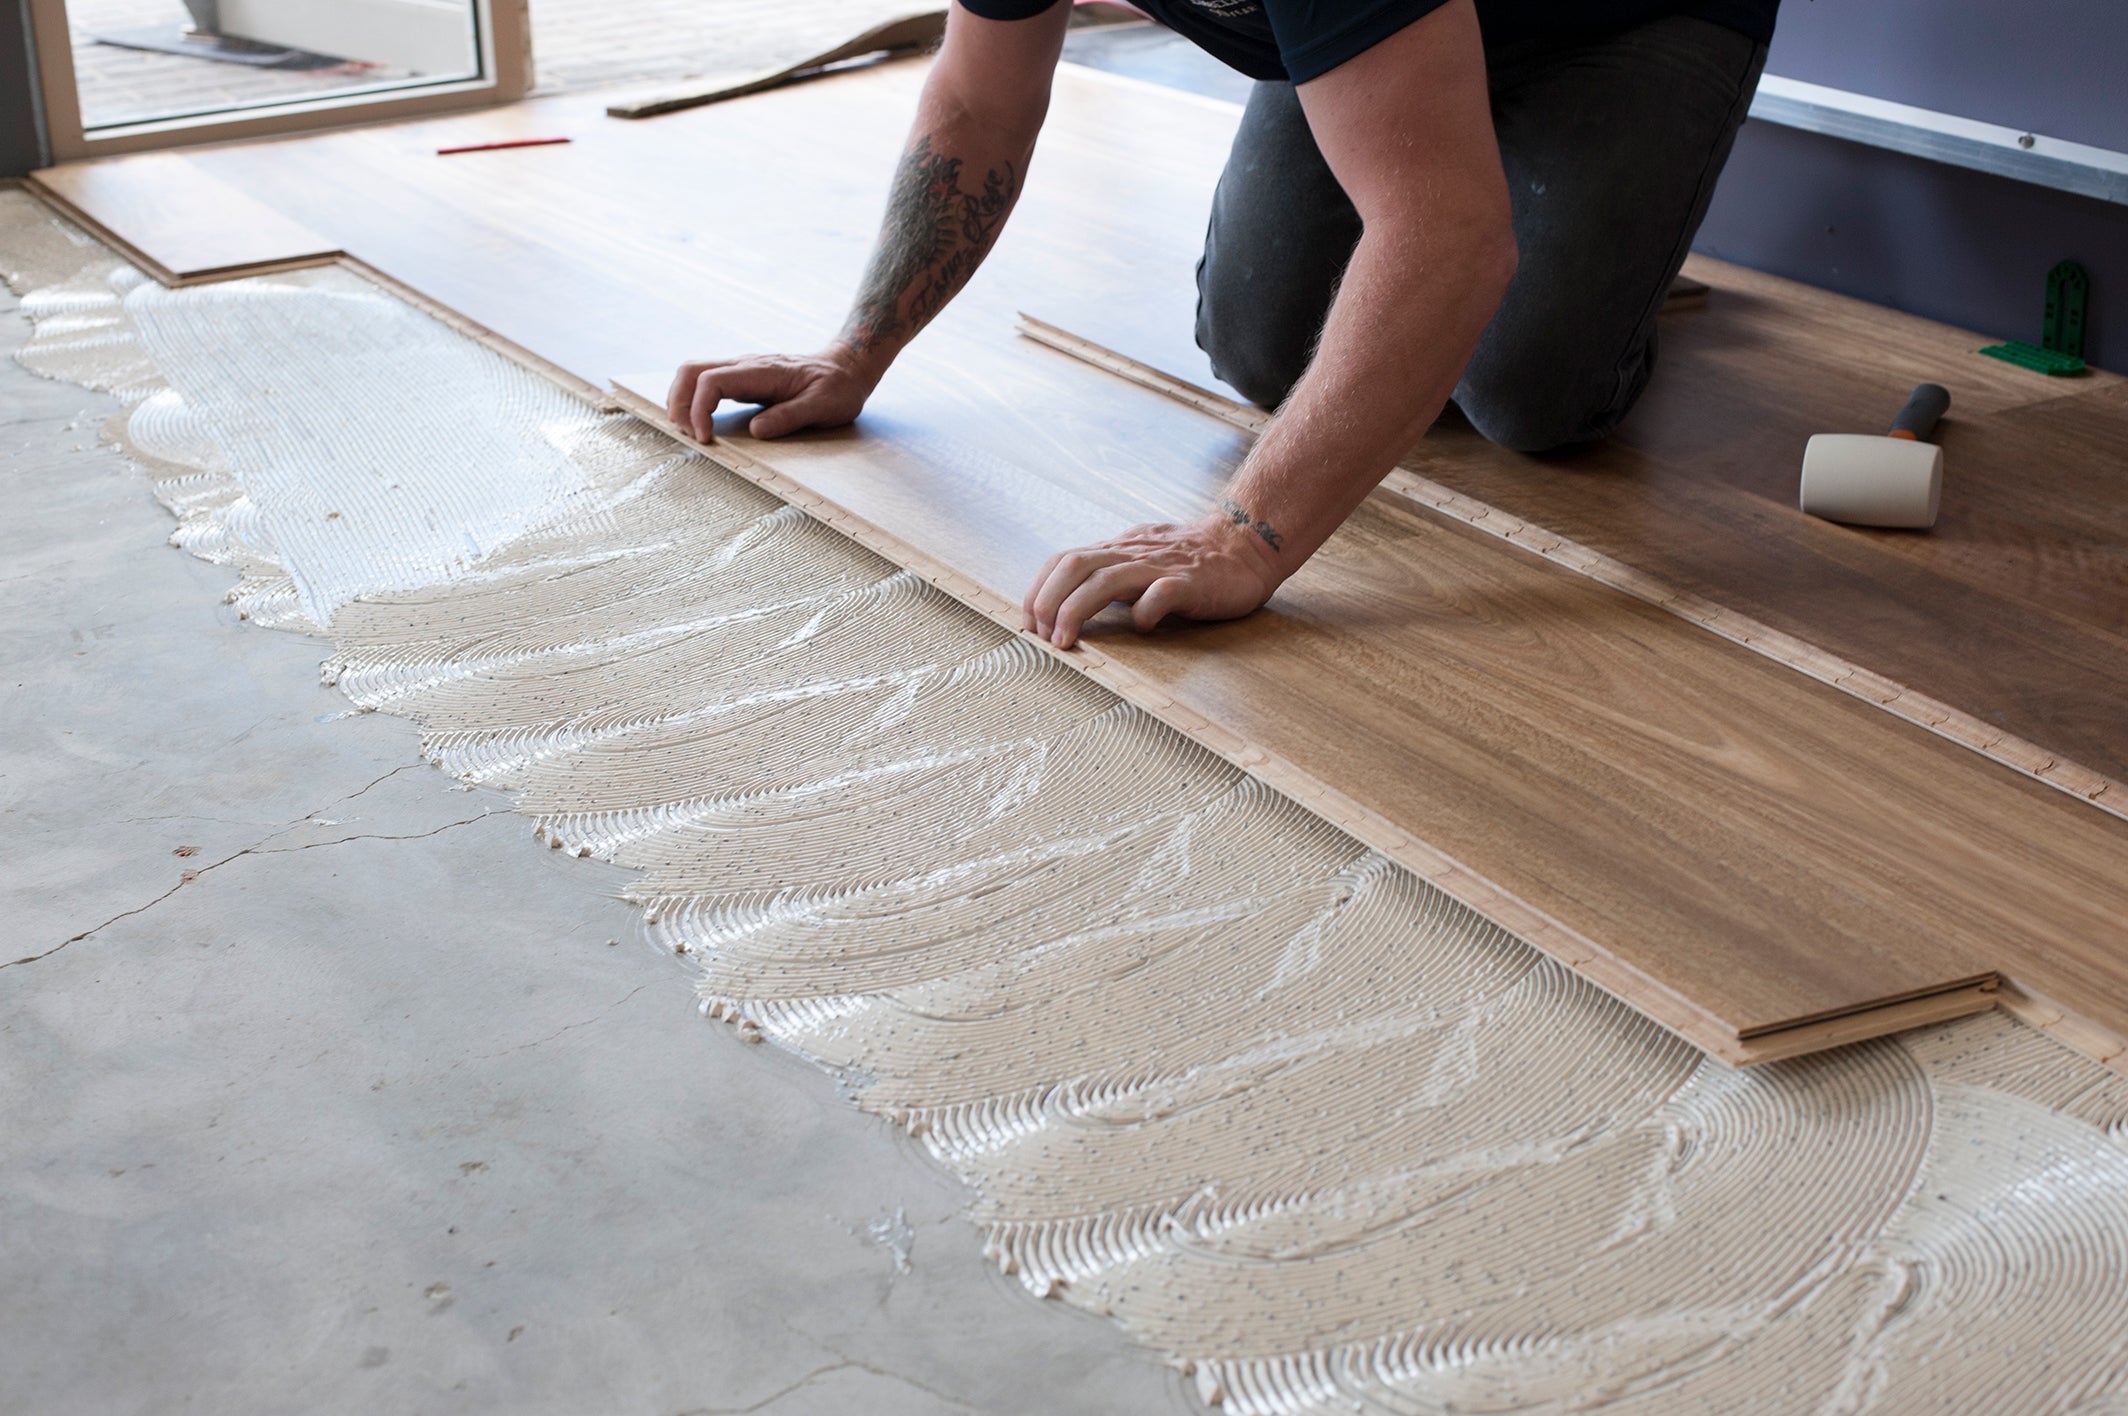
How to install hybrid flooring
Yes. Our professional installer network covers most major Australian cities, and for some regional areas we can refer you to our retail partners to assist.
Find your local professional flooring installer using our handy map.
Provide your customers with helpful information.
Postcode not found, please try again