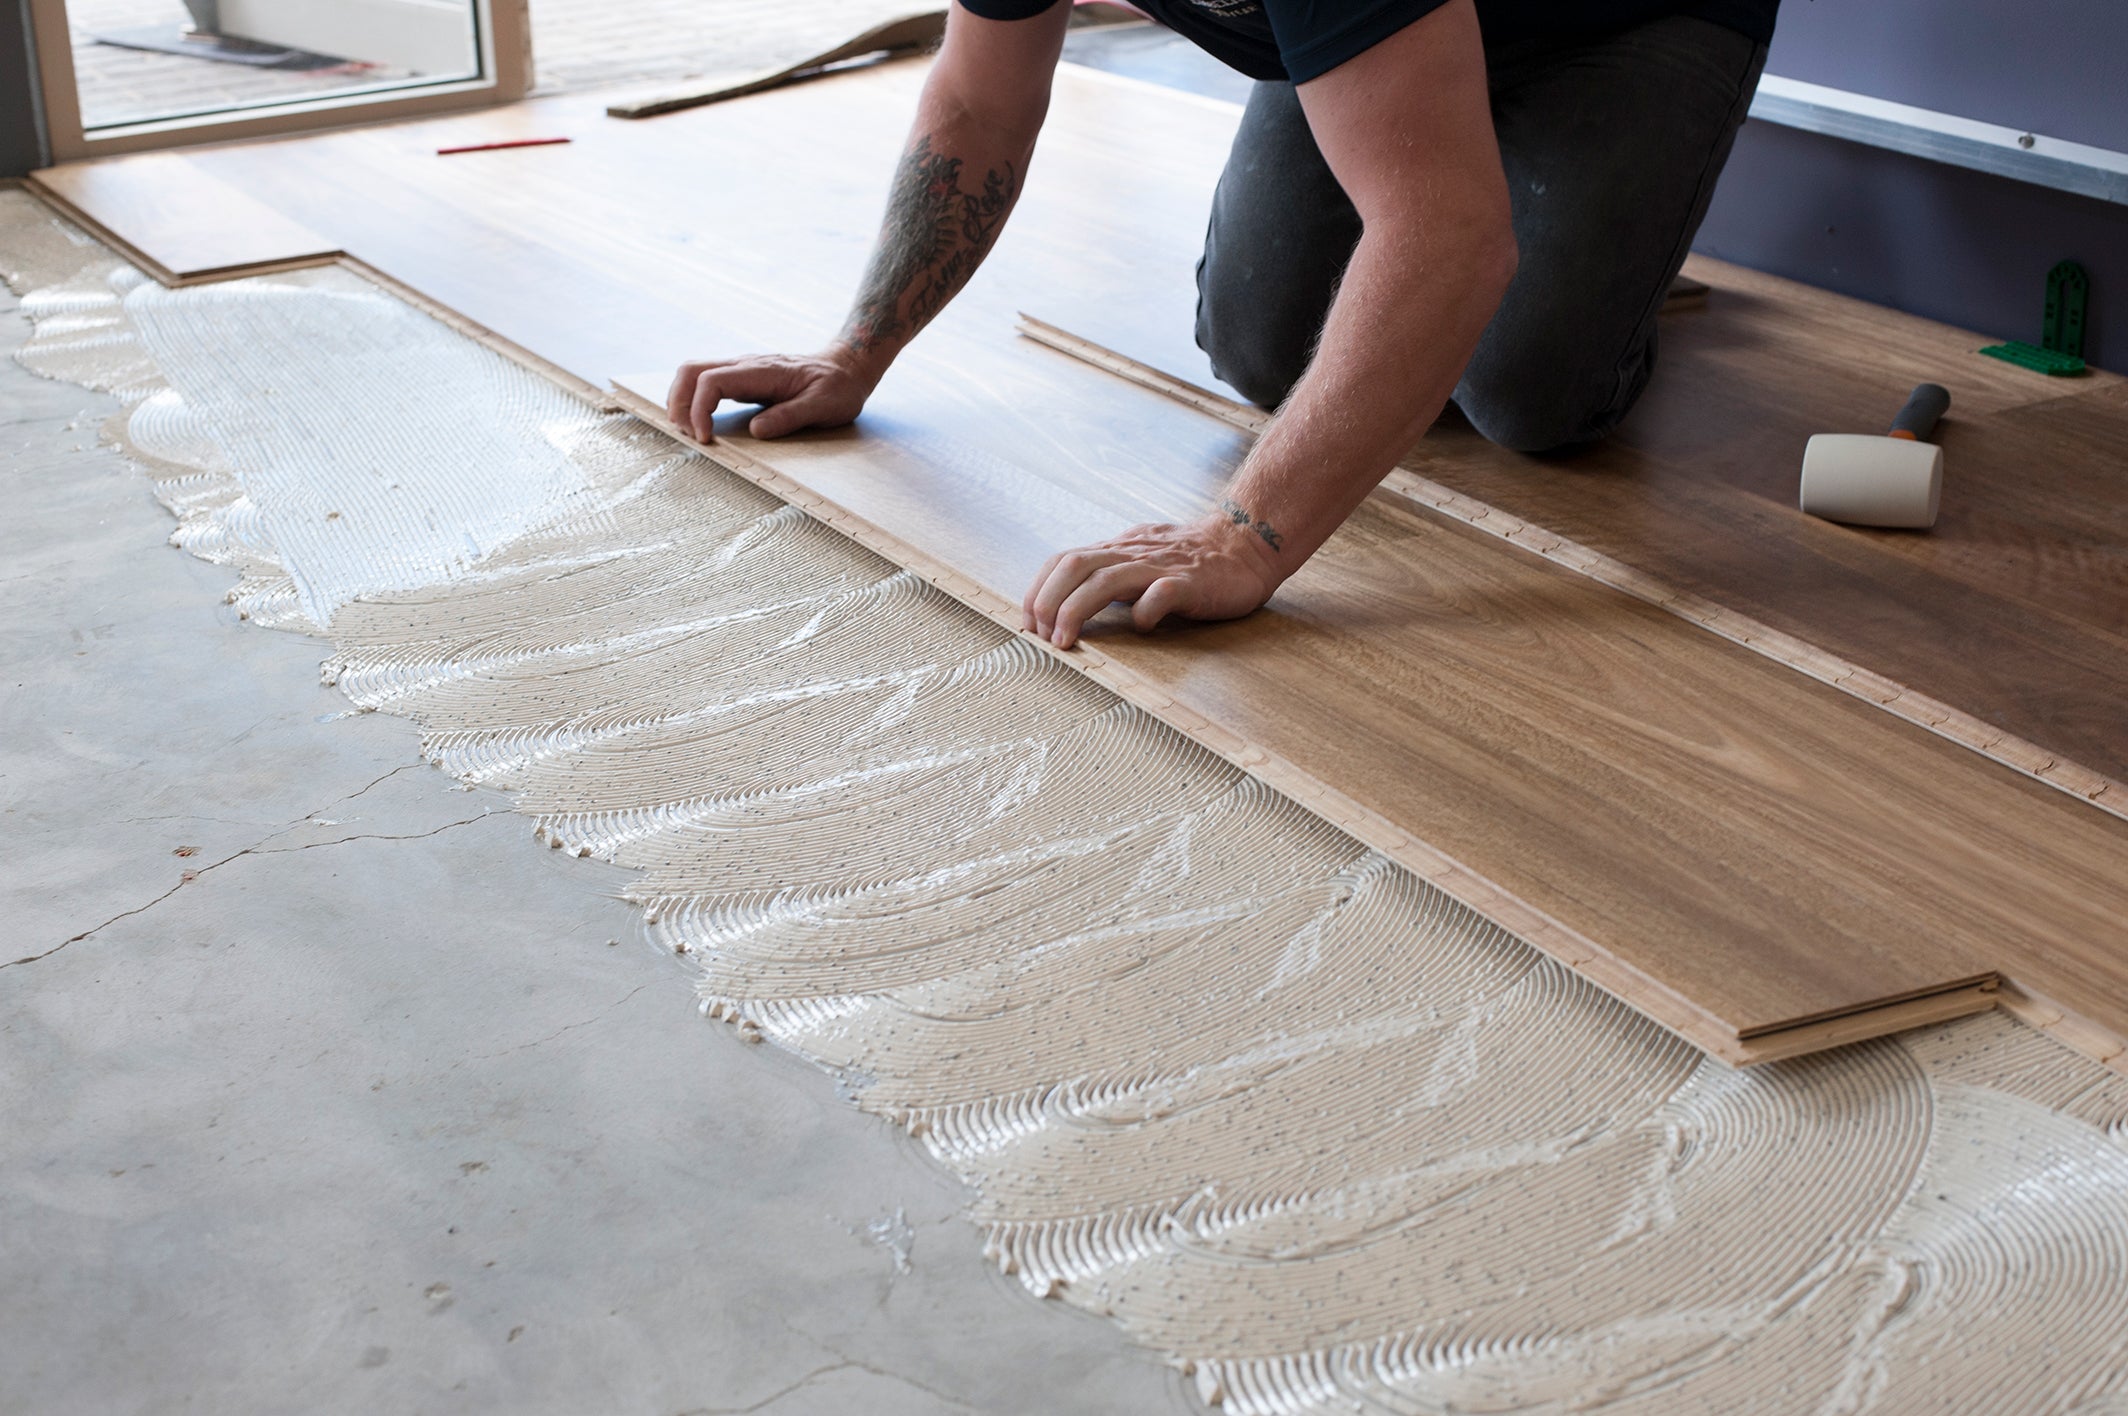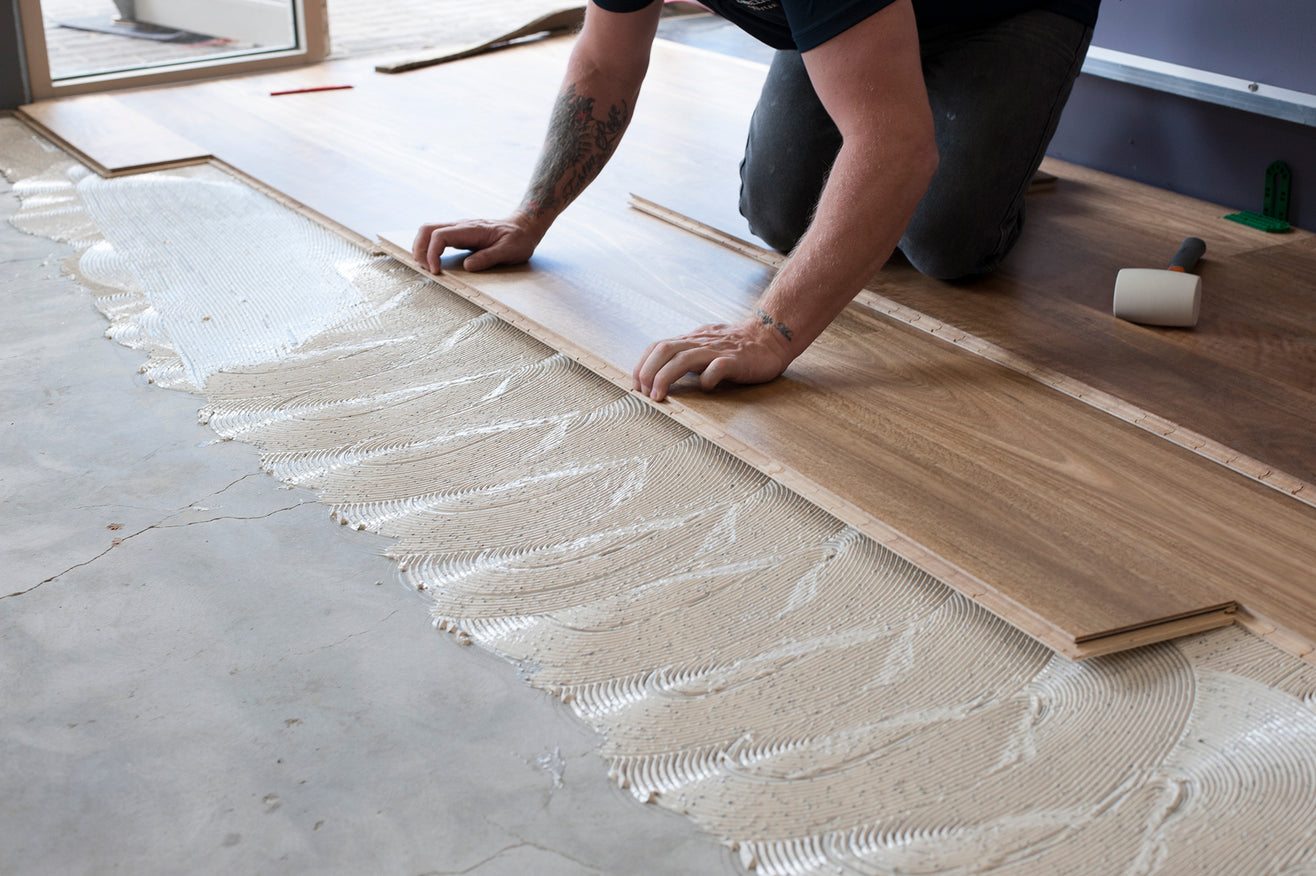
At Flooring Online Australia, all of our products are available with the latest in patented click technology from Unilin, Valinge or Drop Lock, which makes DIY installation a snap for the home handyman or handywoman. Here are our top 6 tips for DIY flooring installation that will save you time and ensure you achieve professional results;
- Acclimatise the product.
Acclimatisation is the process of allowing your flooring to adjust to the ambient conditions inside the home that you are going to install your floor in. The reason this is important is that flooring, particularly Timber and Laminate flooring, can expand and contract with changes in temperature and humidity.
As the product absorbs or loses moisture it will expand and contract. Acclimatisation minimises the amount of expansion and contraction that occurs after installation which can cause problems such as the flooring shrinking away from or expanding into walls or other problems such as bowing or cupping of the surface.
Refer to the installation instructions of the product you have ordered, Timber flooring is more susceptible to changes in the environment and therefore needs longer to acclimatise than Hybrid flooring for example.
- Make sure the subfloor is right
Subfloor preparation is vitally important to the look, the feel and the longevity of your flooring. Uneven subfloors can result in numerous problems such as bouncy floors, squeaking joins or in extreme cases broken locking mechanisms.
Checking your floors are within the required tolerance before you begin installing is easy. For floating floors, simply take a 1m straight-edge (a spirit level is perfect) and wherever is placed on your floor there should be no more than a 3mm gap underneath. You can check this using a 3mm packer. For glued down floors, a 3m straight edge should be used.
Where the floors are outside of the required tolerance, some preparation work may be required such as grinding, floor levelling, or sanding flooring joins to ensure you achieve the best possible finish.
- Setup your workspace
Being organised will make installing your flooring much easier. It is best to setup your working space outside of the room or rooms that you are going to lay in, so you are not tripping over yourself. This also means the area you are installing is clear and un-cluttered and will help you keep the subfloor clean
Setup your tools, flooring and a cutting area, and begin to open several boxes. Installing product from several different boxes at one time will ensure you get a good mixture of grain patterns, features and colours which will improve the look of the finished product by making sure these features are distributed randomly through the area.
- Finding the right setout point
Setting out your floors is really important. Before you snap your chalk-line and begin laying, make sure you’ve measured into each adjacent room / area and consider how the board widths meet walls and fixed joinery units.
It is always best to avoid having to fit small ‘slithers’ of flooring against walls of joinery units, not only do they look unusual they can also accentuate out of-square walls and might be difficult to click together without damage.
- Random looks natural
Now you have established your staring point and setout line, it’s time to start clicking boards in. Remember that random flooring patterns always look more natural. When you are cutting and setting out your board lengths, avoid ‘Brick’ or ‘Stepped’ patterns as these can make the products look artificial.
Remember, end boards should be a minimum of 300mm long, and the minimum distance between end joins in parallel rows should be more than 200mm.
- Allow for Expansion
As we have already learned, flooring and particularly Timber Flooring, gains and loses moisture depending on the environment, therefore we need to allow for movement in our floors that occurs as a result of seasonal variation and changes in ambient conditions within the home.
Each installation guide specifies the recommended expansion allowance for each product. Please ensure you adhere strictly to this requirement at all interfaces with walls, joinery, door frames ect. Use an appropriate sized packer to ensure you maintain the required expansion gap around the full perimeter of the installation.
You may be able to cover your expansion gaps by fitting your skirting boards after the timber is installed, and by undercutting your door frames, otherwise you may need to fit scotia to cover the gaps. We sell a range of scotia so finding a colour to match your floor is easy.
For more information please refer to our detailed installation guides available for each product. Happy Flooring!
By James Embelton
