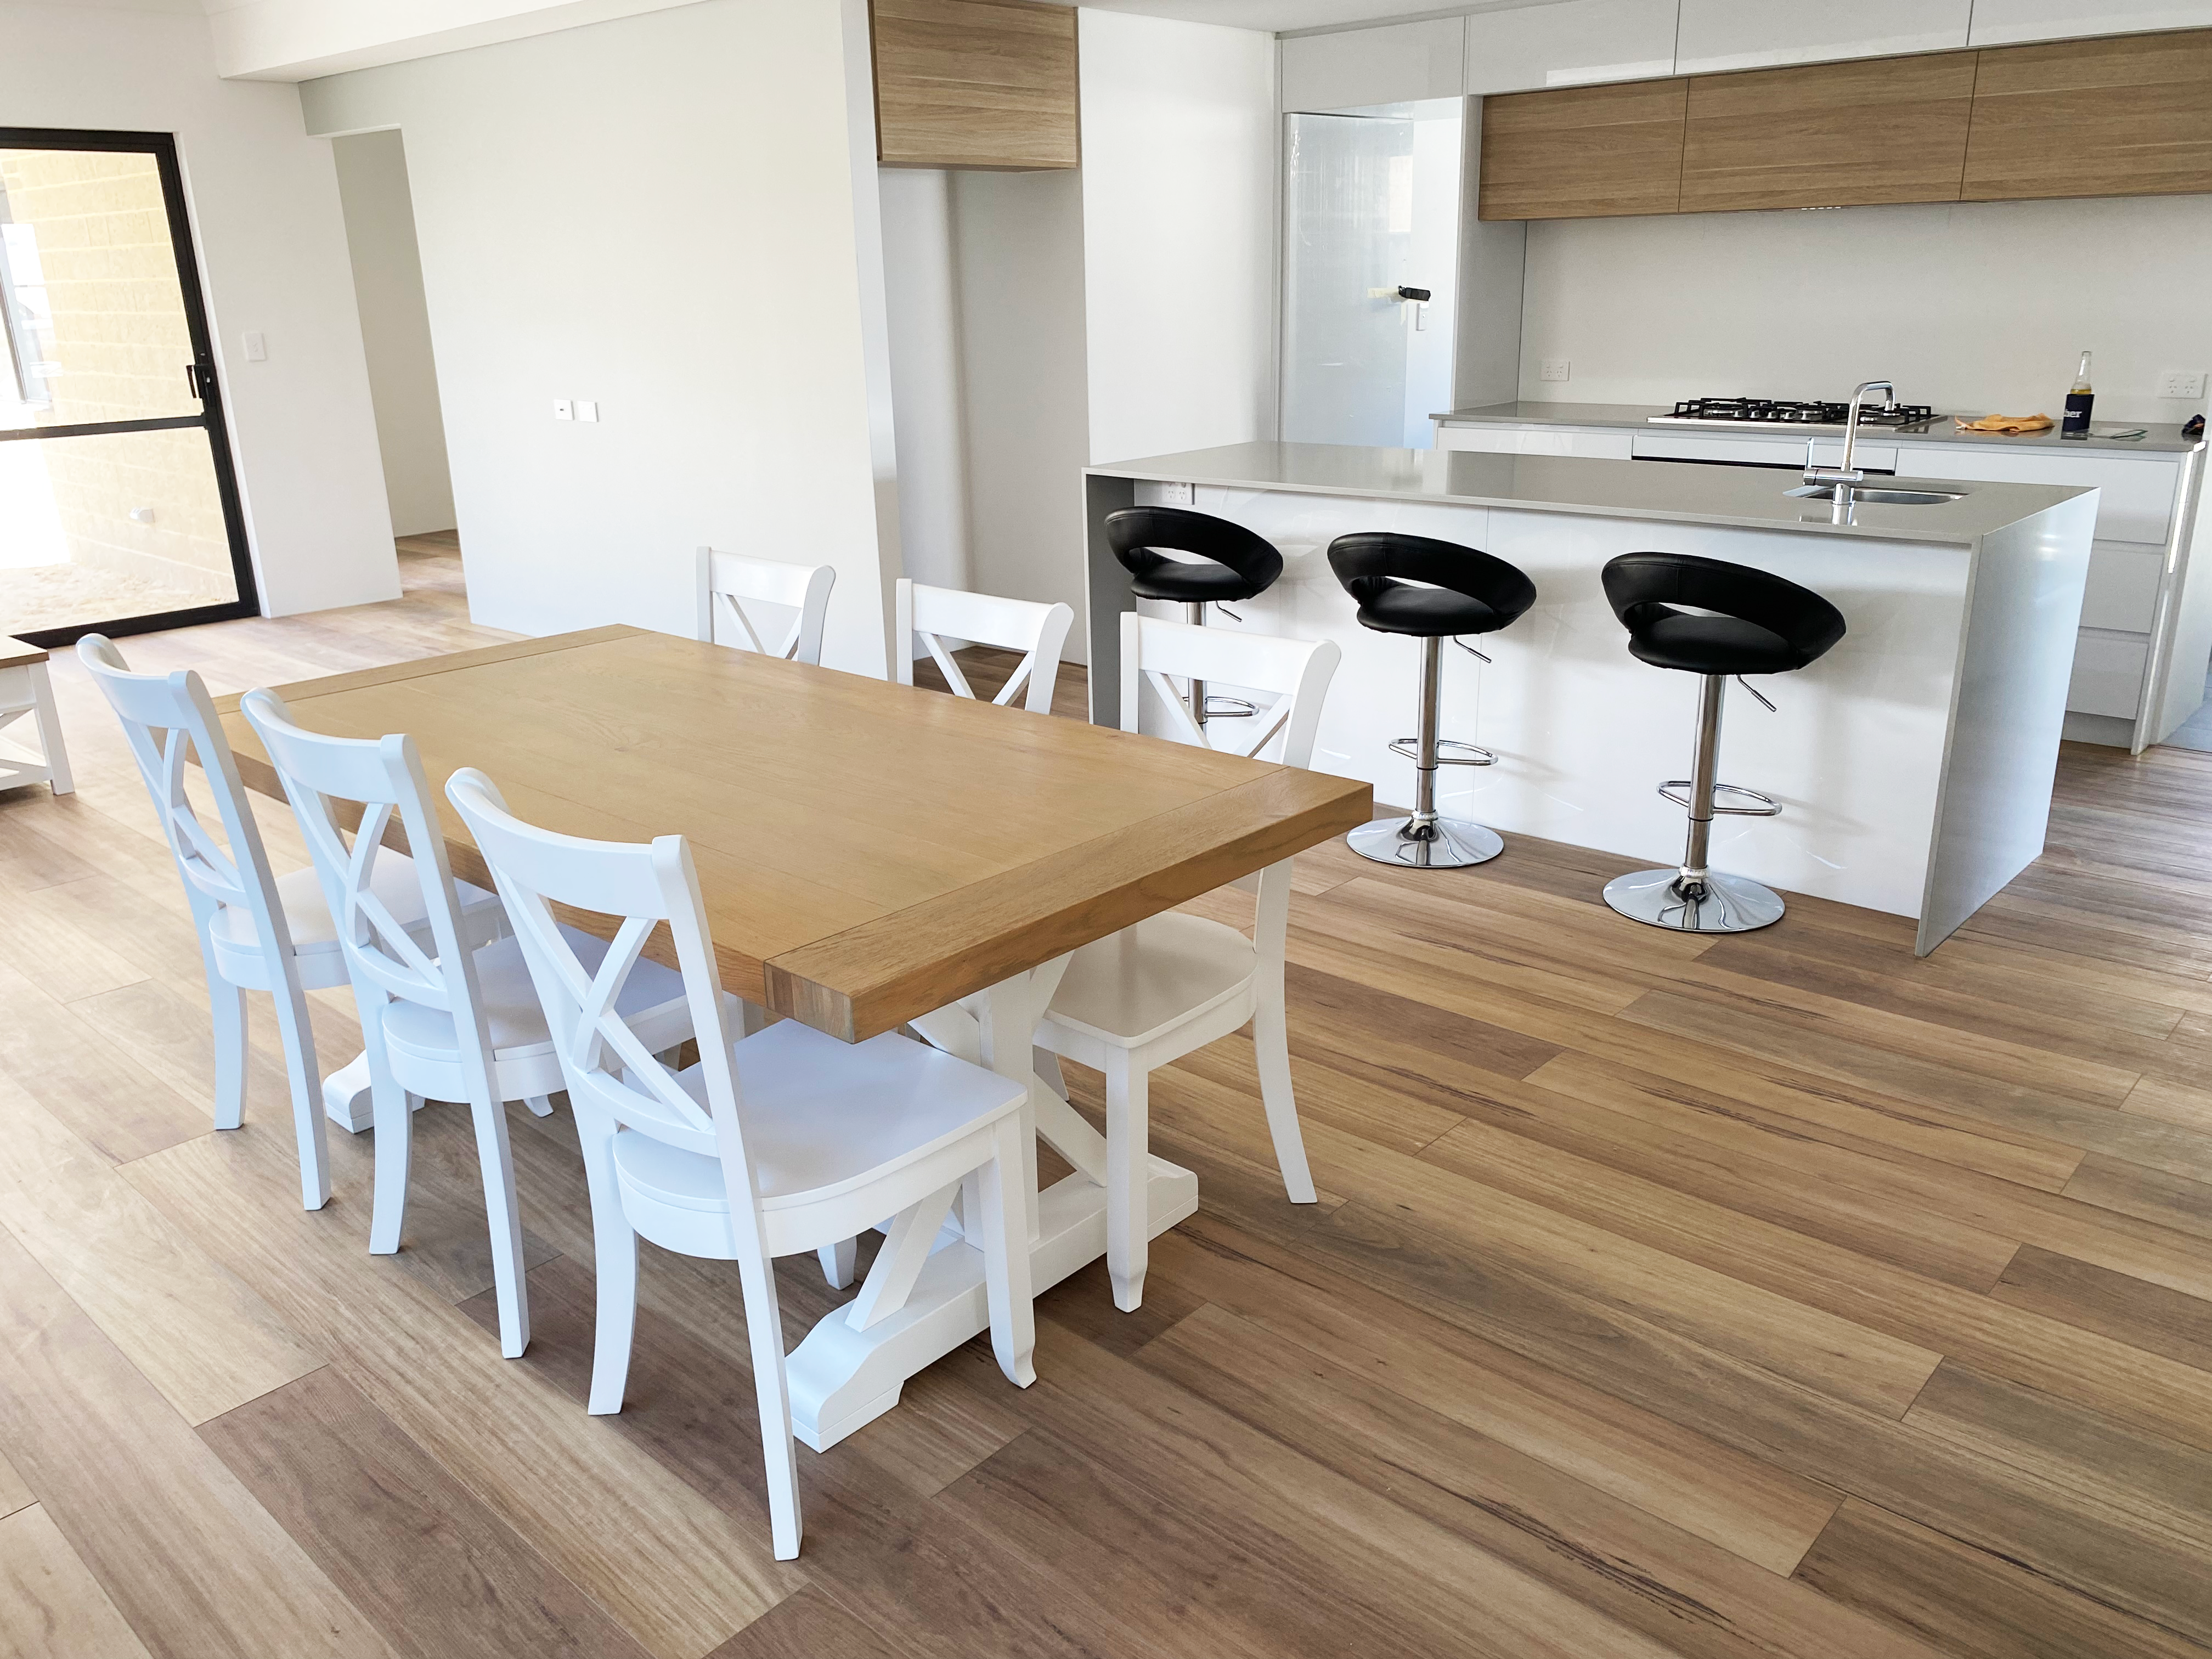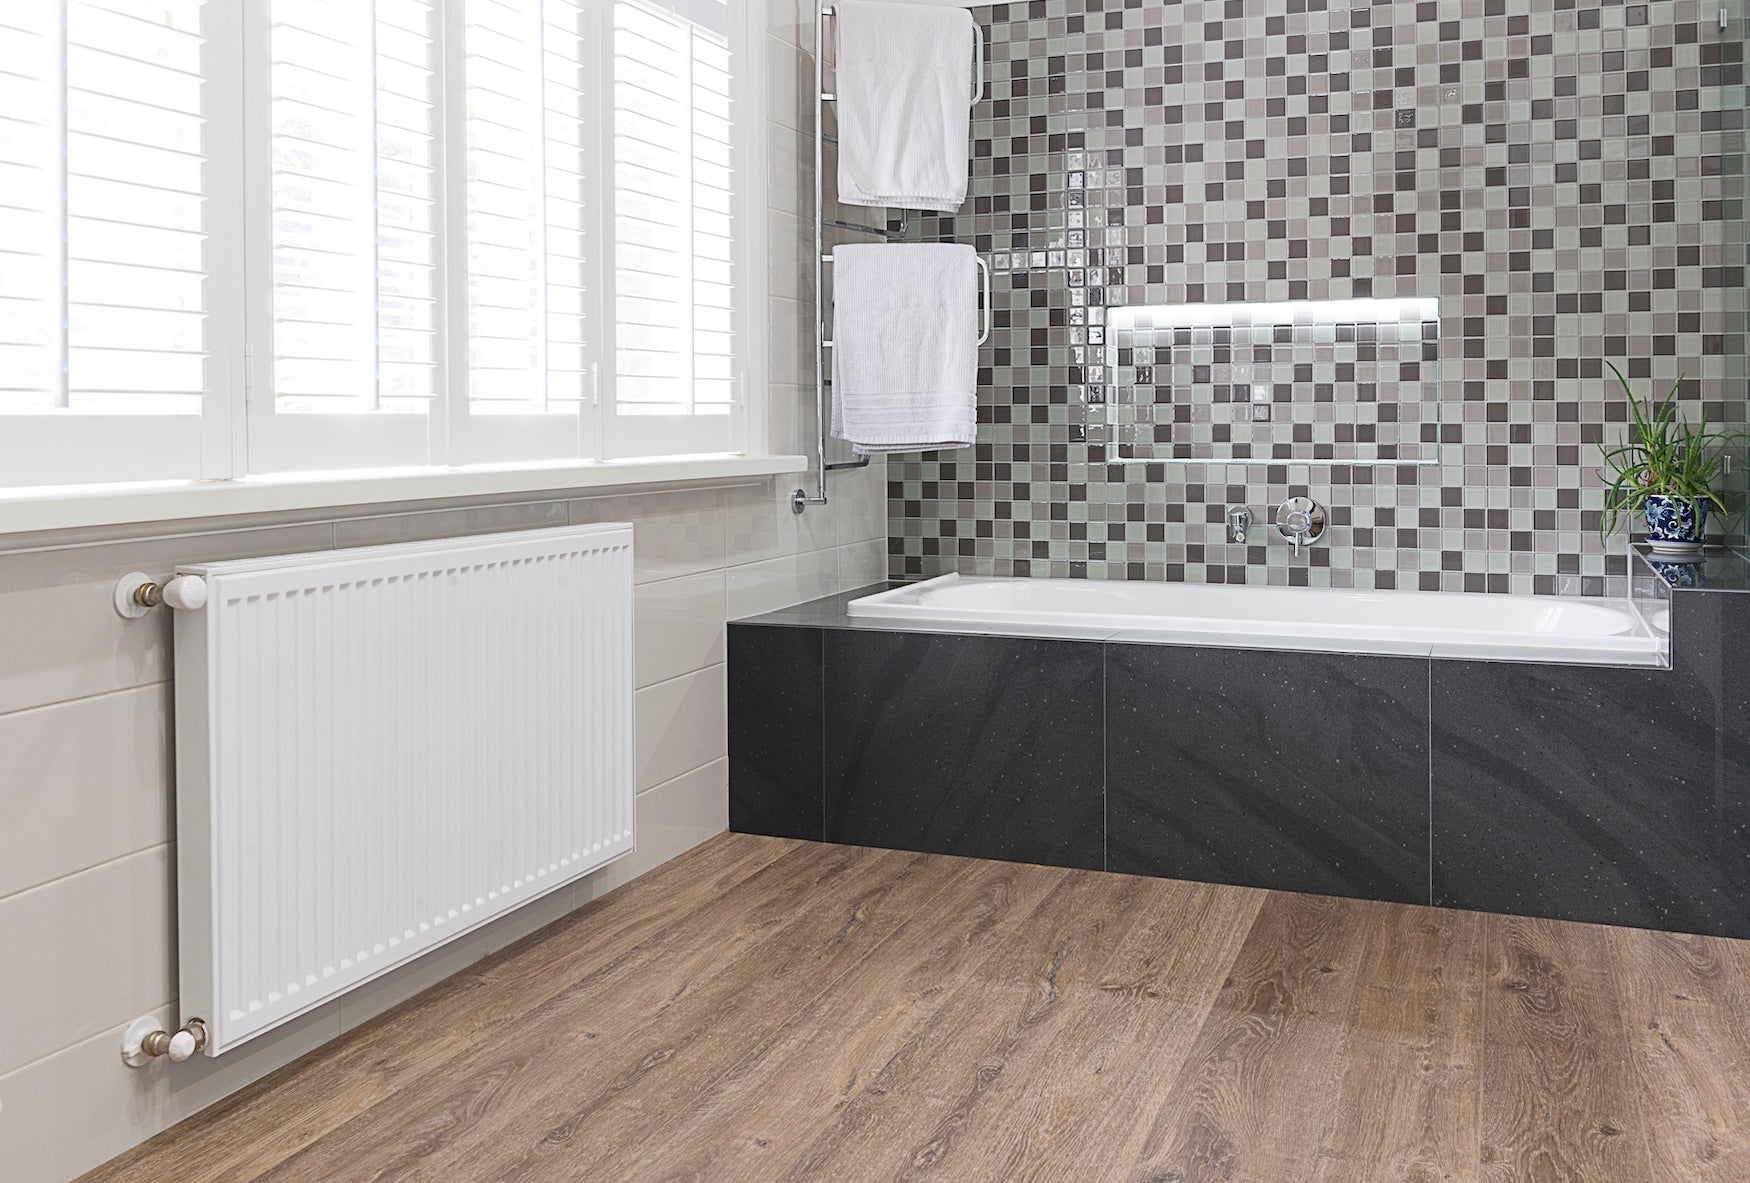
Not only is vinyl flooring easy to maintain, but it’s also easy to install. So long as you lay out the planks properly, you’ll have a floor that looks great and lasts for years.
In this article, we'll walk you through the whole process step by step. That way, you can get the hard work done faster and spend more time admiring your new floors.
What you’ll need to begin
How to install your floors
You’ll need to make a fresh start before you begin. This means removing any existing vinyl floors or linoleum, as well as any subfloors that might need replacing. Once you’re done, you should also clear away the mess; any leftover debris can lift the boards and make the entire floor look uneven.
Next, you’ll want to decide on your starting point: the first room where you’ll lay the new planks. Draw a chalk line from the centre of this room for the planks to be laid along. They should also be laid in a direction parallel to the longest side of the room.
Lay the first row of vinyl planks above the chalk line. Don’t use adhesive just yet, either! You just want to “dry fit” the first few rows to check the position of the layout.
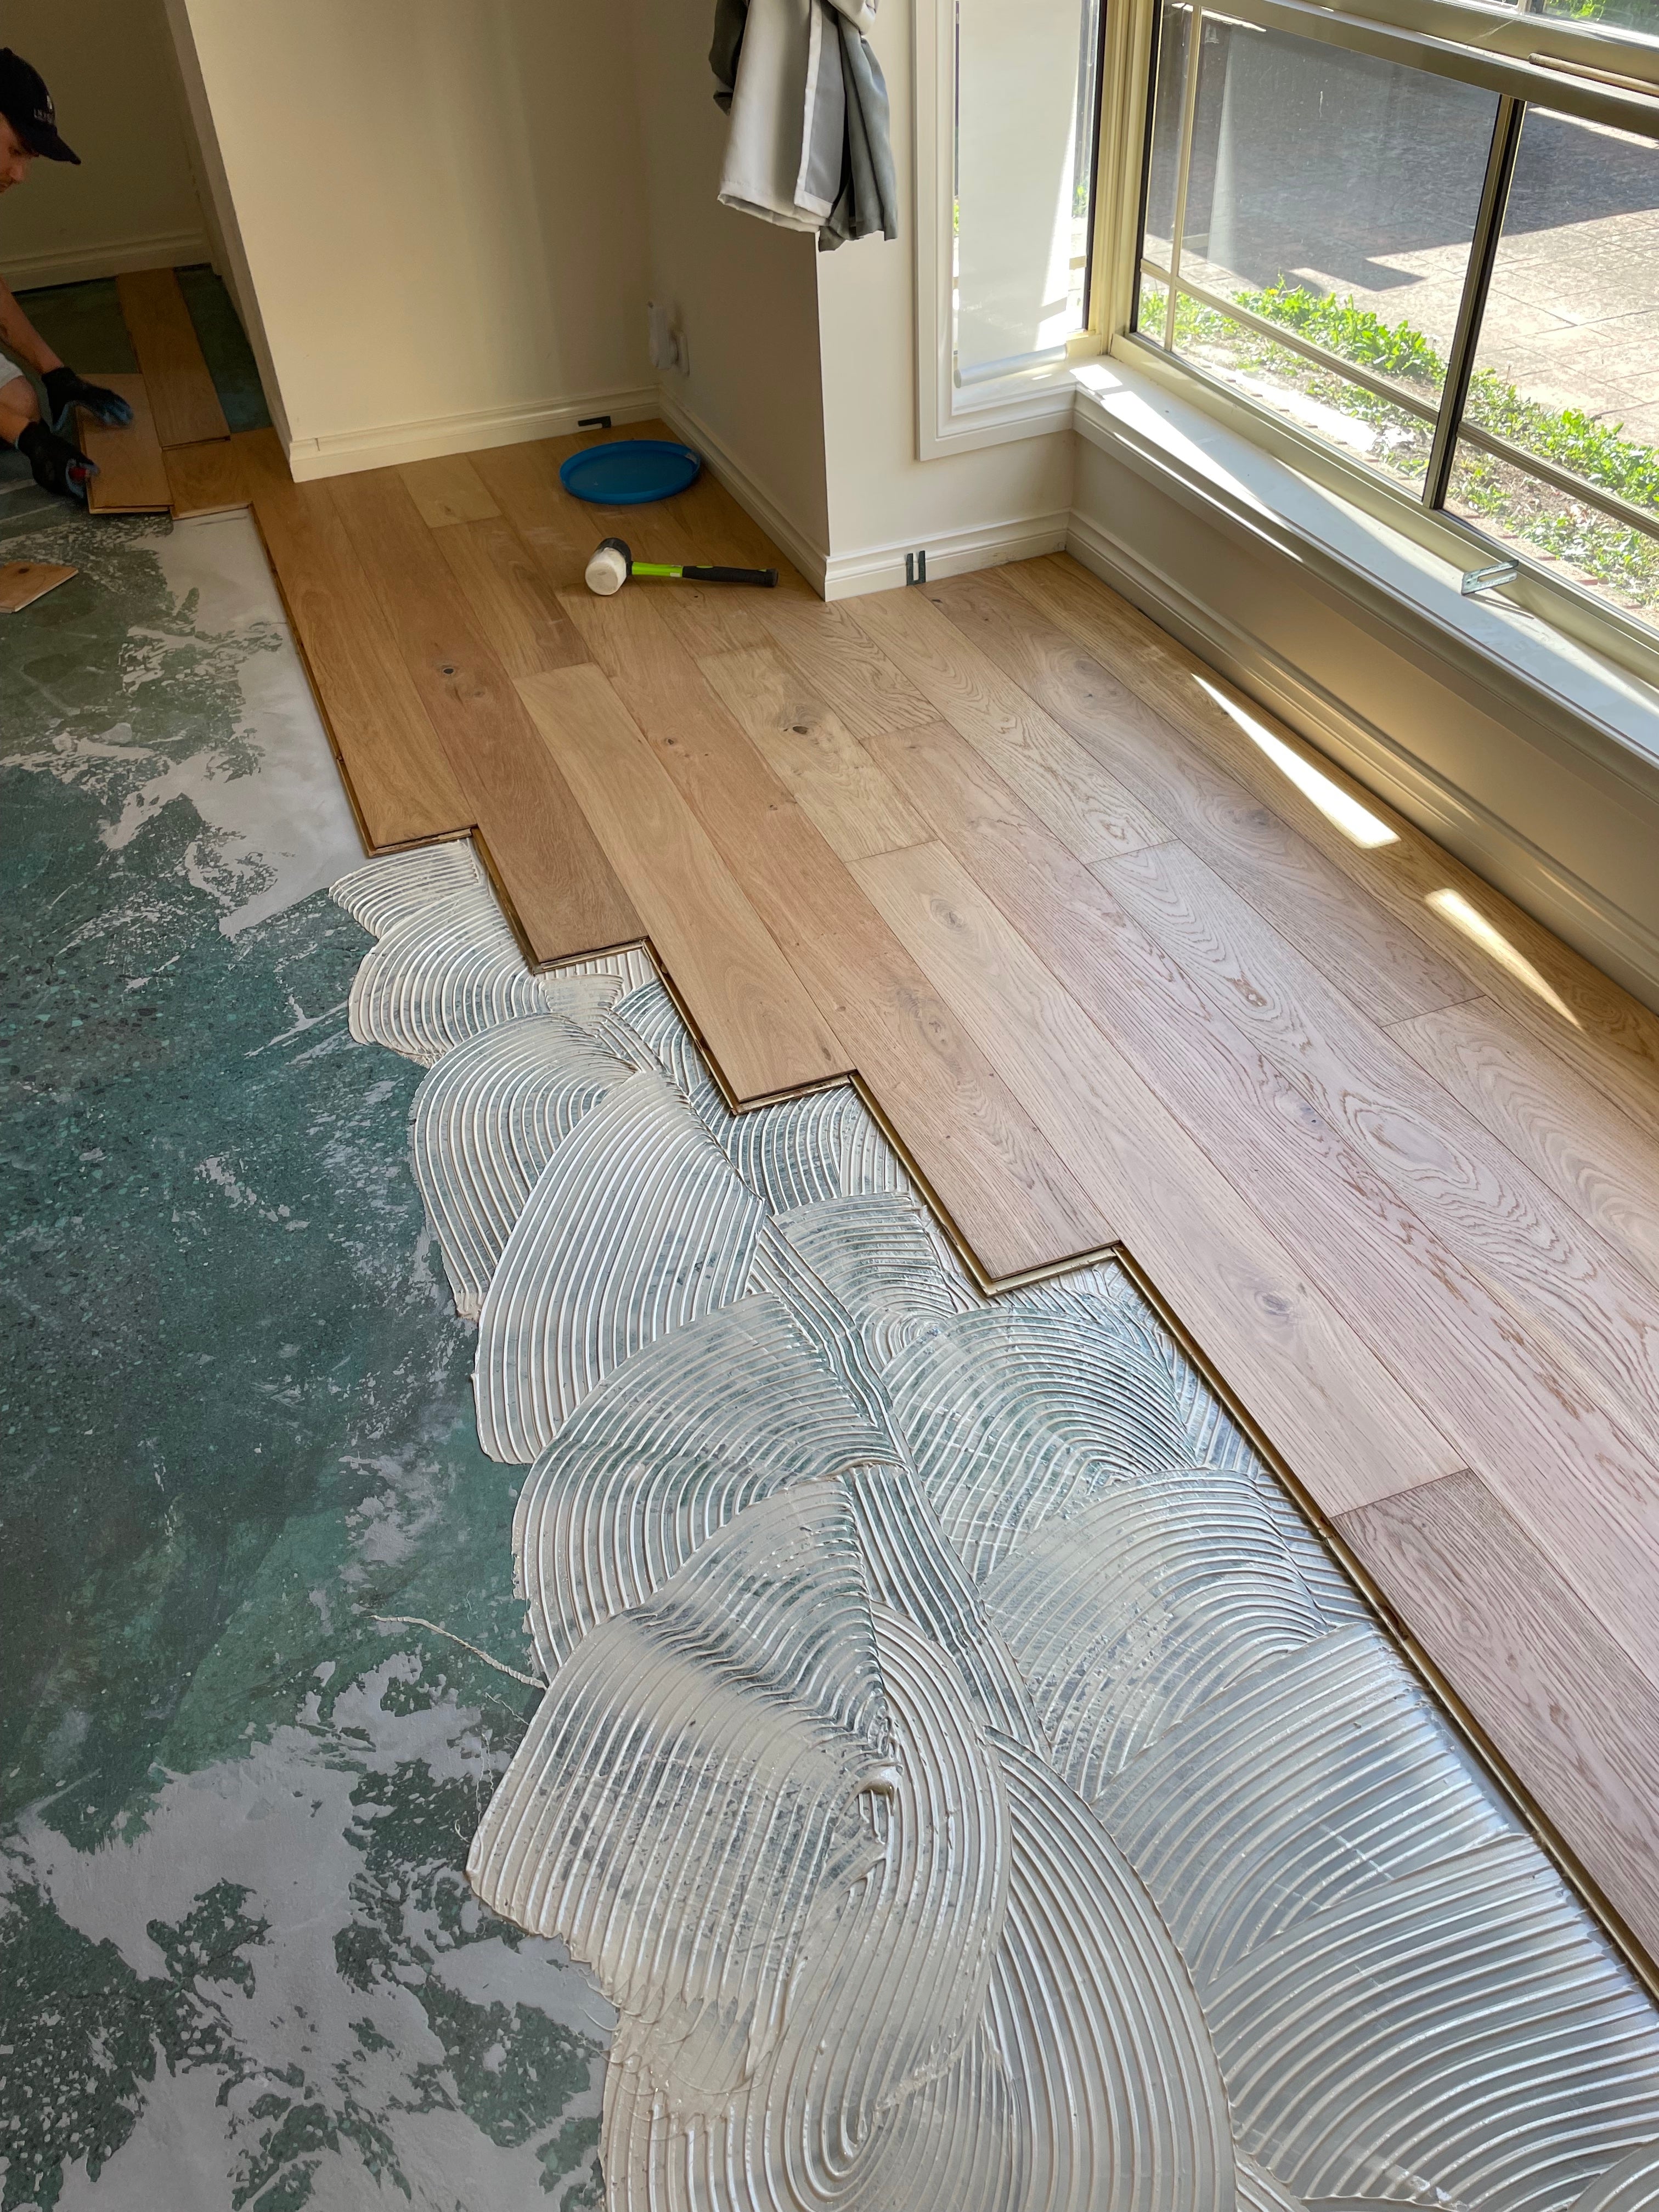
Use a trowel to set down adhesive on the subfloor, following the manufacturer’s instructions as you go. Start from the chalk line where the first few rows will be installed.
Lay down the first few planks and ensure that they make contact with the adhesive.
Putting down the other rows in a “staggered” pattern is vital. Adjacent boards shouldn’t line up with each other; instead, they should run in an irregular, somewhat random pattern. This helps to improve stability and gives the floor a pleasing appearance.
After each row has been laid, you’ll want to go over the floor with a 45kg roller. This helps bond the vinyl to adhesive and gets rid of air pockets.
Of course, the process can be a little more involved in some cases. For instance, you may need to trim some of the planks to fit around joinery or cabinets. Here you can refer to our installation guide for further information, including how to finish the perimeter of your floors and the optimal laying conditions.

