Embarking on a DIY flooring project can be both daunting and exciting. From transforming the aesthetics of your space to the sense of accomplishment, there's much to look forward to. However, it's essential to have a clear understanding of what lies ahead. But not to worry we’re going to take you through what to expect from a DIY project and the steps to take to ensure it runs smoothly. So, let's dive into what you can expect from the DIY flooring experience.
Note that T&G profile timber flooring is recommended for professional installation only.
- Planning and Research
Before diving into the hands-on work, thorough planning is key. Research different flooring materials – timber, laminate, vinyl, etc. Consider your budget, the room's functionality, and your style preferences. Measure the space accurately to determine the amount of flooring you'll need. Create a detailed plan that includes layout, patterns, and any necessary subfloor preparations.
Pro Tip – An extra pack doesn’t hurt. Boards can get damaged or need replacing during or after installation. For these reasons it’s handy to buy an extra pack of flooring for possible future rectifications, just to be on the safe side!
- Gathering Supplies
Once you've chosen your flooring, gather all the necessary supplies. This includes the flooring itself, underlayment, adhesive, nails, tools (saws, hammers, spacers), safety gear, and cleaning supplies. Having everything ready before you start can help streamline the process.
- Preparing the Area
Prepare the room by removing furniture and appliances. Ensure the subfloor is clean, dry, and level. Address any issues like cracks, dips, or protrusions. The general rule of thumb is no more than 3mm deviation over 1 metre of subfloor. In cases where there is a large dip in the floor, a floor levelling compound may be required. Install the appropriate underlayment if required – this step is crucial for the longevity and comfort of your new floor.
Pro TIP – It helps to lay out the floor in the space before you install to ensure you have the right amount of flooring and the board layout just as you want it.
- Installation Process
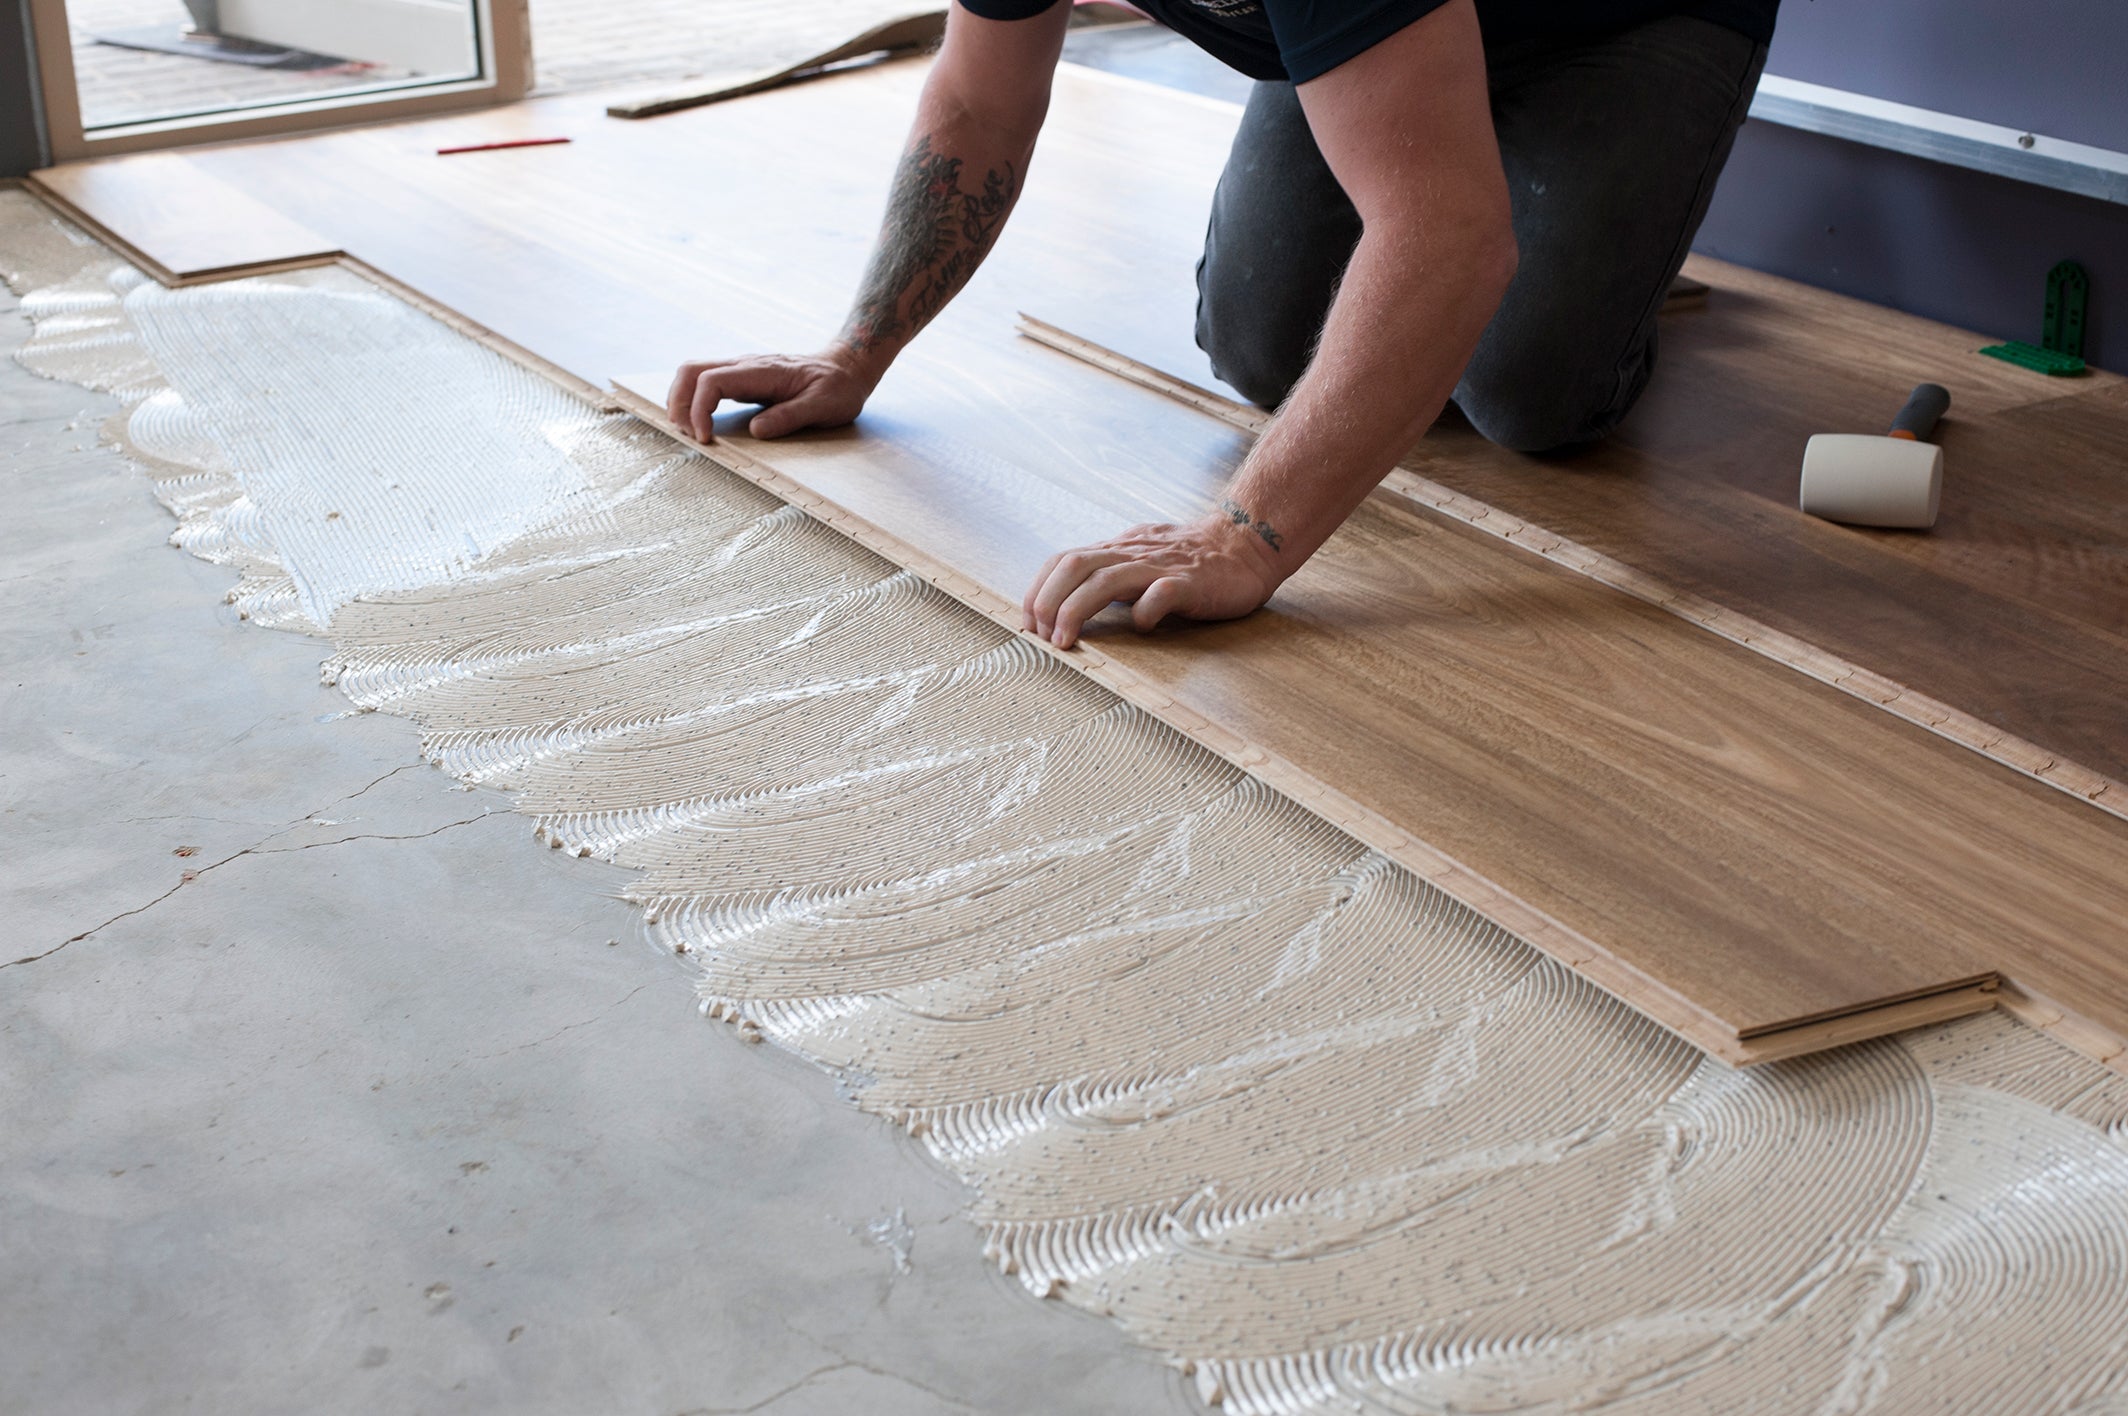
Follow the manufacturer's instructions and your prepared plan for installing the flooring. The process can vary based on the material. Some may require adhesive, while others might click into place. Take your time to ensure accuracy in measurements and alignment. Use spacers to maintain proper expansion gaps around the edges.
Pro Tip – Staggering is key. When installing boards of length, ensure that the staggered length is at least 20cm. End boards must be greater than 30cm in length.
- Challenges You Might Encounter
DIY flooring projects can come with challenges. Uneven subfloors, tricky corners, and intricate cuts can test your skills. Patience is key. Remember, mistakes are part of the learning process. Be prepared to troubleshoot and make adjustments as needed.
- Finishing Touches
After laying the flooring, it's time for the finishing touches. Install scotia and transition trims to cover the expansion gaps and transition to other flooring types for a seamless look. Clean the floor thoroughly to remove any adhesive residues or debris.
- Enjoying the Fruits of Your Labour
Once your DIY flooring project is complete, take a step back and admire your work. Revel in the satisfaction of having transformed your space. Whether it's the warm elegance of timber or the versatility of hybrid flooring, your chosen flooring will add value and style to your home.
Conclusion
Undertaking a DIY flooring project can be a fulfilling endeavor, but it requires careful planning, patience, and attention to detail. By understanding the steps involved and being prepared for potential challenges, you can create a beautiful and functional floor that you'll enjoy for years to come. Remember, the DIY journey is as much about the experience as it is about the final result.
Find our complete installation guides under flooring guides at flooringonline.com.au.
By James Embelton


