The easy way to install vinyl flooring
Welcome to our simple guide for installing your new vinyl floors.
You're going to love just how quick and easy it is to lay your new vinyl plank floors.
Welcome to our simple guide for installing your new vinyl floors.
You're going to love just how quick and easy it is to lay your new vinyl plank floors.
Check for signs of moisture in your subfloor using a calibrated moisture metre. Moisture content must be;
Using a straight edge tool check subfloor is level according to relevant industry standards, 4mm deviation over 2m. Floor preparation and levelling may be required before installing your floors.
It is recommended that the packs be stored and allowed to condition in or near the installation area for 24hrs, or until the product has reached the ambient room temperature range of 15-28 degrees.
Room temperature is between 15-30 degrees and humidity levels are between 30%-70%.
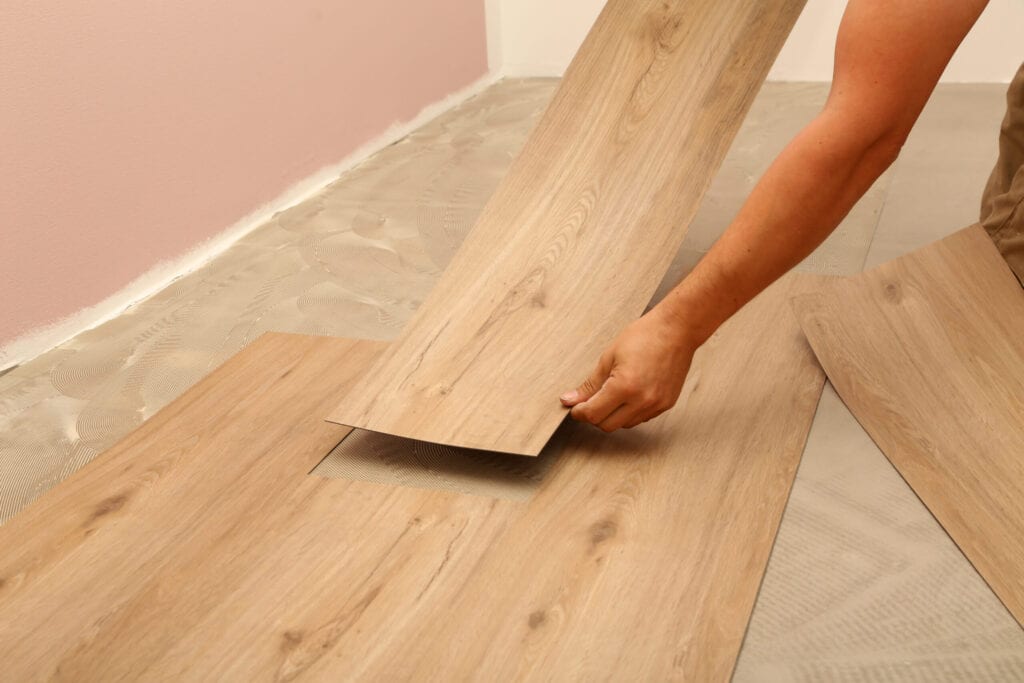
All installed boards will be considered as accepted by the installer and/or homeowner, therefore it is essential that the boards be thoroughly checked pre-installation, with adequate lighting. Boards should be checked for the following prior to installation;
Set up your installation tools and open multiple packs to pre-select boards that blend best with matching scotia, skirts and trims.
Check door and door frame clearances to ensure that doors will move freely without contacting the floor surface.
Perimeter expansion gaps are not required when installing vinyl planks/tiles. They may be butted up against perimeter walls on all sides.
Where an opening, threshold or doorway meets another surface, a decorative trim is recommended to ensure a smooth transition and to protect the exposed edge from damage.
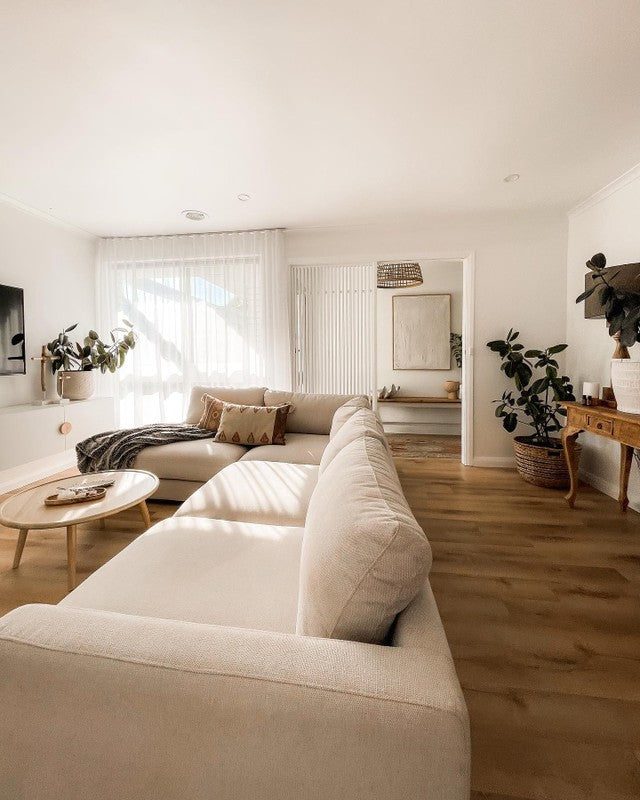
Although vinyl floors can be installed in any direction, as a rule, they are usually installed perpendicular to a window. Installing the floor parallel to the longest wall tends to make a room appear larger.
Once each individual area has been laid, and prior to the adhesive setting, use a 45kg roller, to roll over the floor in both directions. This will ensure that the material has bedded into the adhesive fully, and that no air pockets are present.
The perimeter of the floor may be finished either by caulking, by installing matching quad or scotia, or by re-fitting fitting existing trims or skirting boards that may have been removed prior to installation.
Congrats, you did it! Before you kick back and admire a job well done, don’t forget to snap some photos and share your new floors. Tag us on Instagram @flooringonlineau to really make our day.
Our experienced team are here to help on 1800 718 427 or chat with us online.
No, vinyl flooring is designed for glue down installation.
It is important to do a dry fit (no adhesive), of several rows initially to check the position of the board layout and recheck where the floor will finish at each wall. Only once you are confident in the length and order of the boards you are going to lay, should you apply the floor adhesive. Glue also has a window of time in which it is effective after being applied, ensure to work in sections to avoid racing the clock to lay a large area.
Without a level subfloor you leave your boards vulnerable to cracking & damage. A maximum of 4mm deviation over 2 meters is the industry standard.
It is recommended that the packs be stored and allowed to condition in or near the installation area for 24hrs, or until the product has reached the ambient room temperature range of 15-28 degrees.
Subscribe for new floors, interior tips and home tours
Postcode not found, please try again