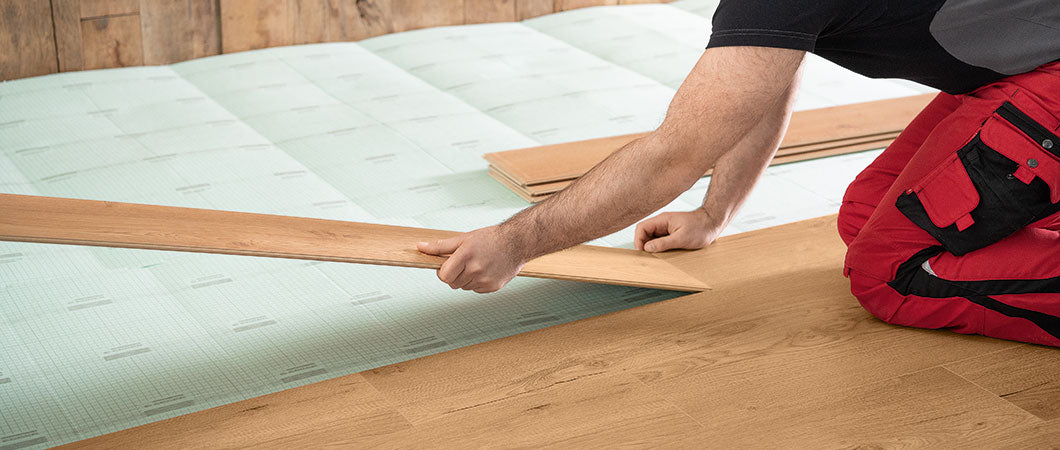
Laying laminate floors isn’t as hard as it may sound. In this article, we’ll take you through the best way to prepare your floor underlay before you start laying the laminate.
You may choose to have a professional lay your new floors, but if you’re a handy sort of person or if you enjoy a bit of DIY, then you can definitely get started yourself.
The benefits of laminate flooring
It’s a great choice of flooring if you’re looking for the warmth and feel of oak without the hefty price tag. It combines a wear-resistant layer, decorative surface layer, and a High Density Fibre core.
Our 7mm and 8mm laminate flooring is designed and manufactured in Germany by Egger, and is a great, cost-effective alternative to timber flooring that has a high-quality European oak look.
Laminate is incredibly durable and almost totally scratch-proof, so it’s the go-to choice for those who love their timber floors but their high heels more!
Choose a high quality underlay
We recommend using Hush Platinum underlay with a moisture barrier applied either with a roll on membrane, or using black builders plastic.
It’s a no-mess, DIY-friendly underlay that’s been engineered to easily sit in place.
Steps to prepare for laying the underlay
Generally speaking, the following types of subfloors are sufficient to install laminate flooring:
- Concrete subfloors
- OSB (oriented strand board) and chipboard structures
- Fibreboards
- Existing floor coverings such as PVC, linoleum, natural stone slabs and ceramic tiles.
Keep in mind that EGGER Laminate Flooring is not suitable for installation in:
- Wet and damp areas
- Locations and/or conditions such as bathrooms, shower rooms, saunas, or outdoors
- On top of textile floor coverings and/or carpets
It’s important to clean the subfloor before you lay the underlay, because even the tiniest bit of debris can lift the floor up!
Your subfloor must be dry, clean, free of any separating agents, crack-free, and level.
The subfloor must be dry enough before you roll out the underlay.
Installation suitability is determined by measuring the moisture content with a moisture metre.
For subfloors that do not meet the moisture requirements of AS1884, we recommend using Bostik Moisture Seal.
If you’re unsure about how to measure the moisture content of your subfloor, please engage the services of a professional to help you with your installation.
A suitable subfloor evenness is based on common industry standards. You can measure the evenness by placing a yardstick/straight-edge on the high points of the surface to determine the gauge at the deepest point.
A slight vertical deviation of max. 2mm is allowed at 100cm measuring point intervals. Any larger deviations should be levelled by suitable measures (e.g. with self-levelling compounds).
The subfloor must be a sealed, self-supporting layer.
The following conditions should be met prior to, during and after installation:
- An air temperature of at least 18°C
- A floor surface temperature of at least 15°C
- A relative air humidity of between 40% and 70%.
The packages of Laminate Flooring must be stored in the room where they will be installed or in a room with the same climate conditions to ensure the boards are acclimatised.
Acclimatisation of the boards should take place in the following conditions:
- Packaged for at least 48 hours
- Laid flat at least 50cm away from all walls
- The room temperature is at least 18°C
- The surface floor temperature is at least 15°C
- The humidity of the room is somewhere between 40% to 70%
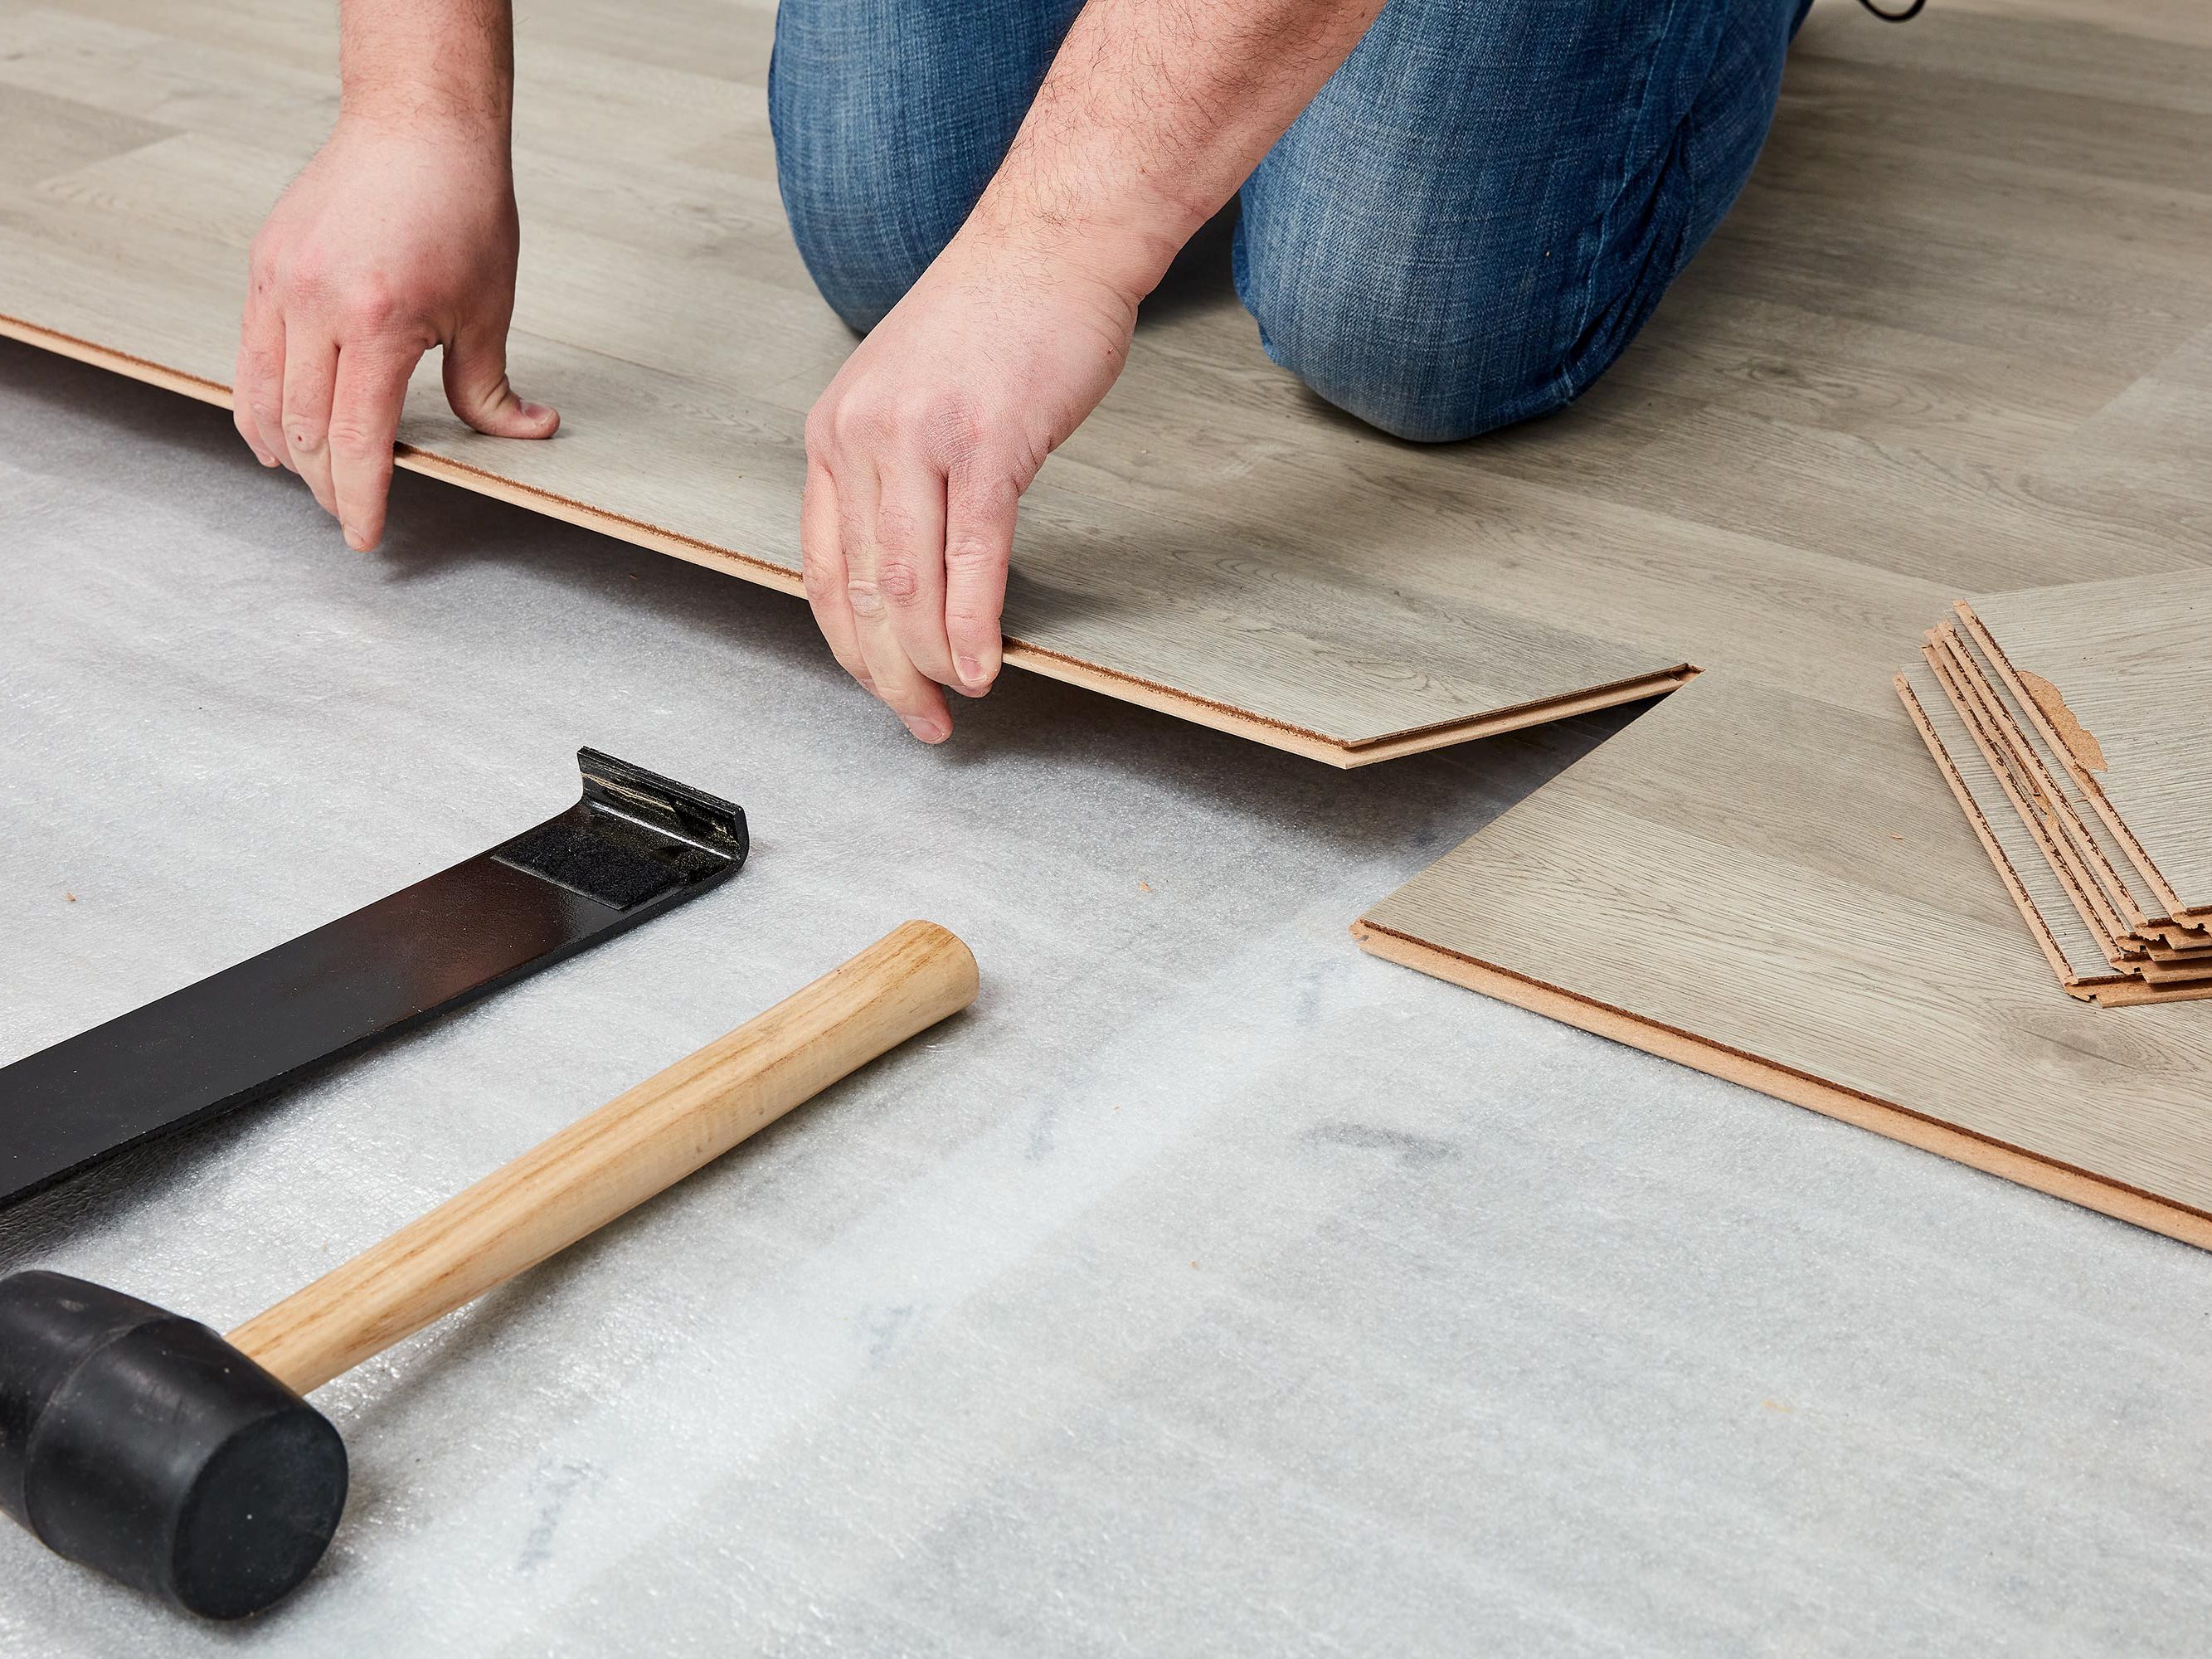
Once your subfloor is clean, roll out the underlay where you’ll lay your first laminate boards.
By James Embelton
