If you haven’t done so already, read our article to learn the best way to prepare your floor underlay before you start laying the laminate.
But if you have, read on for our tips to install your new laminate floors.
Tips to choose the right laminate
Whether you’re going to use a professional installer or do it yourself, we recommend both the 7mm and 8mm for residential purposes and commercial settings. But if you need something with a higher wear resistance, then the premium 8mm could be the way to go.
For more technical context, the 7mm has an Abrasion Criteria of 3 (AC3), while the 8mm has an Abrasion Criteria of 4 (AC4). Both types of laminate are suitable for moderate to high levels of use, such as homes or shops with high traffic levels.
Preparing your installation
If you’ve already read our previous article, hopefully you’ve already stored your packs of laminate floorboards in the room where they will be installed or in a room with the same climate conditions.
Remember that acclimatisation is important for a smooth-sailing installation!
Acclimatisation takes place in the following conditions:
- Packaged for a period of at least 48 hours
- Laid flat with a minimum of 50cm distance from all walls
- The room temperature should be at least 18°C
- The surface temperature of the floor is at least 15°C at a relative atmospheric humidity of between 40% and 70%.
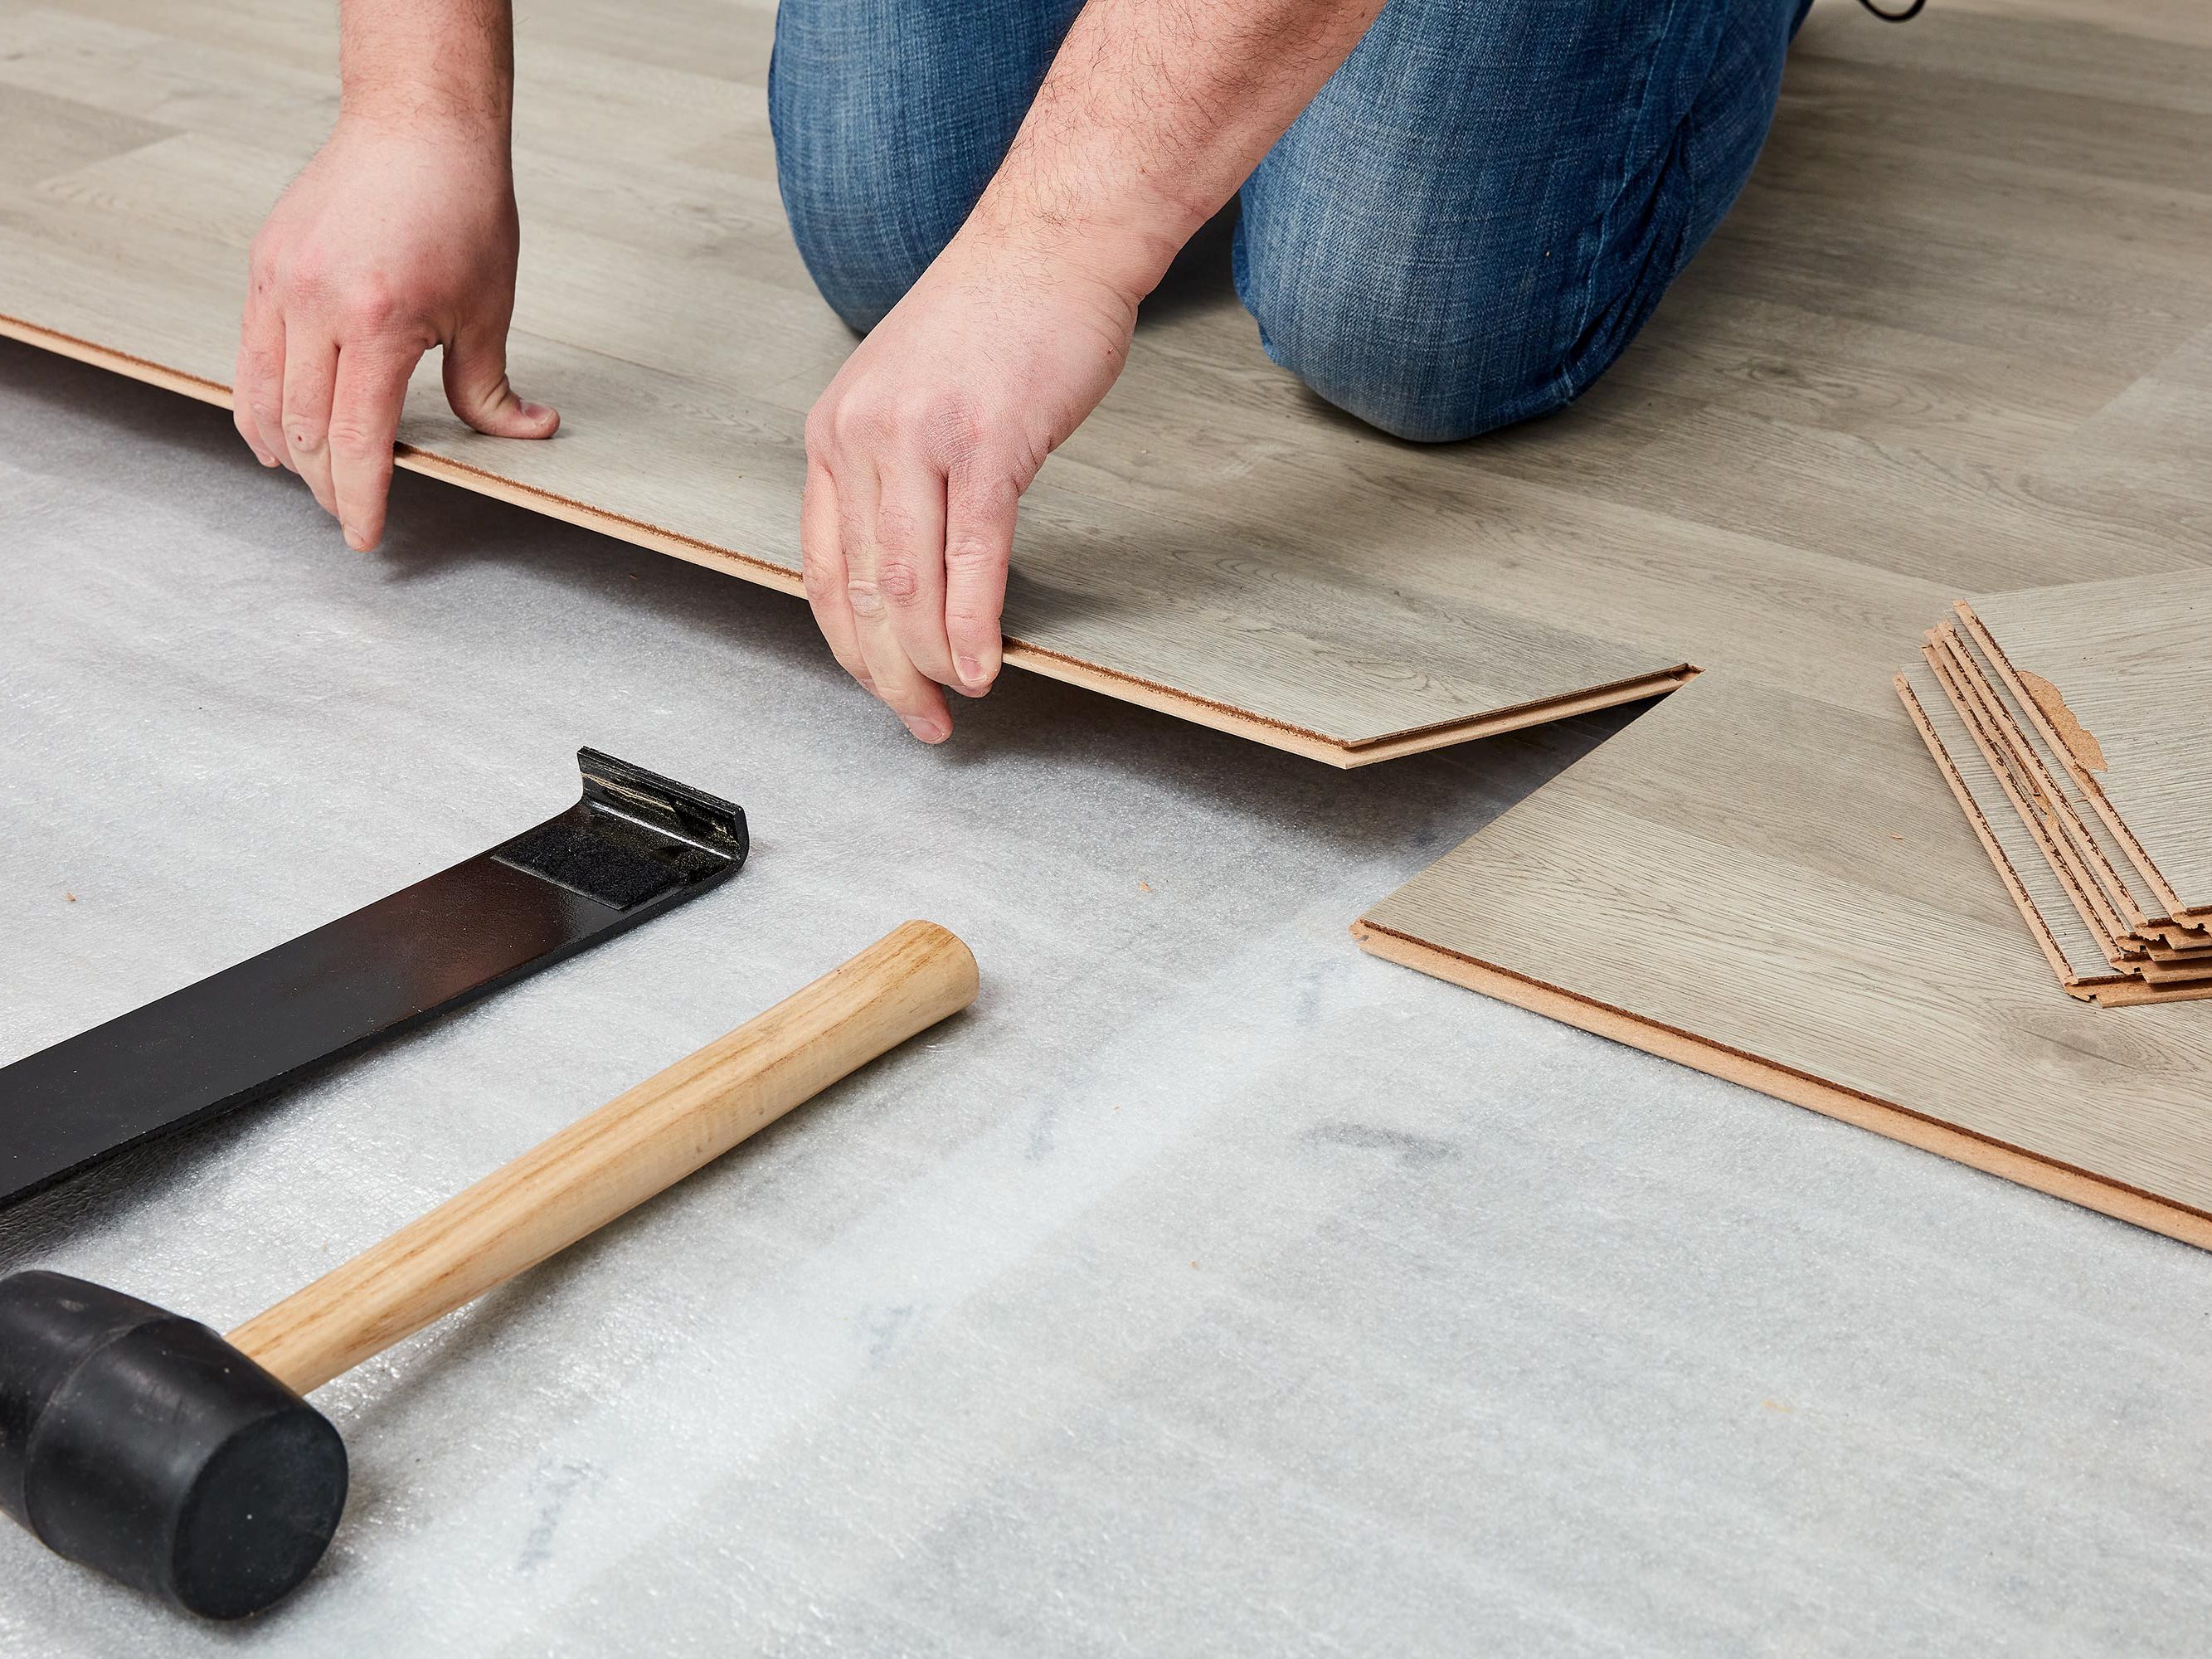
If you’re completing the installation yourself, here are the tools and equipment you’ll need:
Tools & protective equipment
- Electric jigsaw, circular or chop saw, laminate cutter and cutter knife
- If necessary, drill and metal saw for fixing/cutting floor profiles, trims and skirting.
- Folding rule, angle and carpenter pencil
- Tapping block, hammer and possibly a crowbar
- Spacer
- Wear suitable protective equipment such as safety goggles, dust mask and gloves.
Tips for successful installation
-
Laminate flooring looks best when the floorboards are installed parallel to natural light.
So if the majority of the day’s sunlight streams through one side of your house, align your floorboards with that stream of light for a smooth look and feel.
-
However, keep in mind that there are different requirements if your subfloors are made of wood or parquet floors that have been arranged in an English bond.
If this is the case for you, then the laminate floorboards must be installed at right angles to the long side of these subfloors.
- Do not install laminate flooring under kitchen units or fixed, heavy built-in cupboards. This is to prevent your new floors from being fixed on only one side.
- We recommend that you install the floors so that there’s a small gap underneath the skirting panels. This is to allow for expansion and contraction that occurs over time, as well as easy removal if necessary.
Use our guide and follow our installation method
Now that you’re prepared for the task ahead, please follow our laminate flooring installation guide with a step-by-step process here.
By James Embelton


