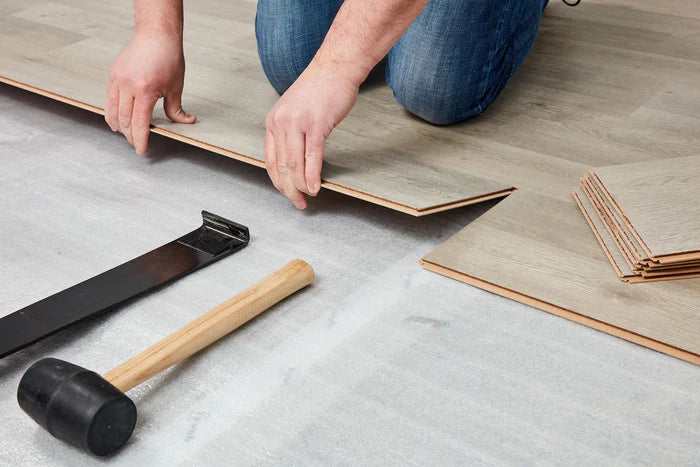
When it’s time for new or updated flooring that won’t cost an arm and a leg, Timber Laminate floorboards offer a durable and versatile option for most rooms in the house.
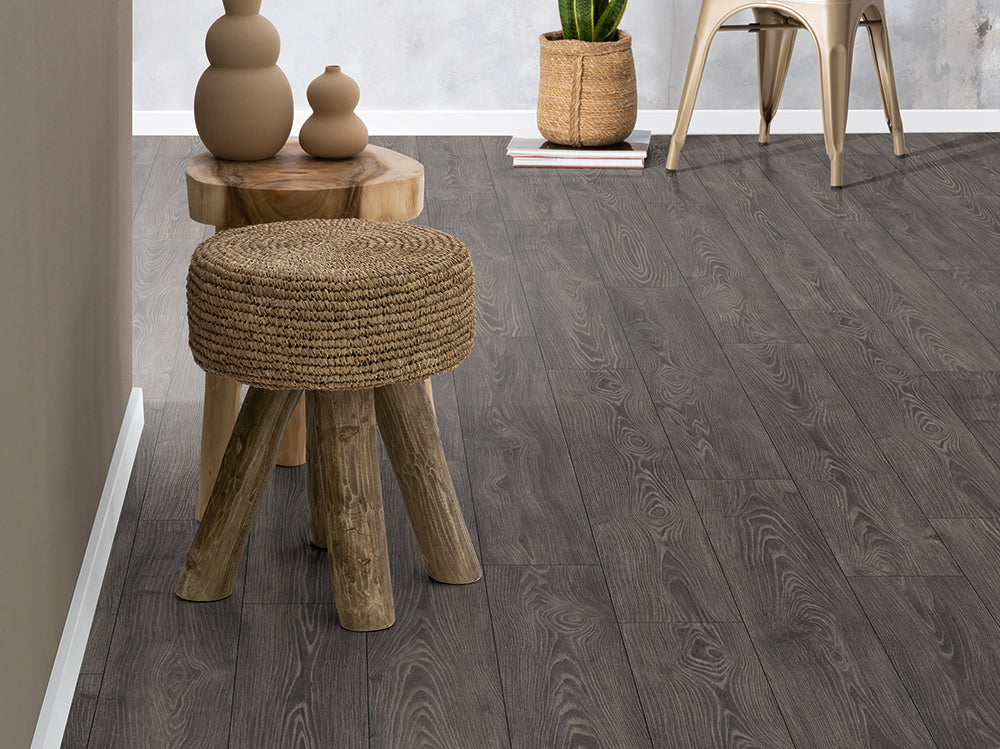
Resembling hardwood, but at a fraction of the price, Laminate boards come in a range of decors to enhance every home style.
Best of all, with just a few key tools and materials, Laminate floors are DIY-friendly, saving time and money on hiring contractors.
Subfloor Preparation
Before doing anything, you’ll need to make sure the subfloor is clean, level and completely dry, without any underfloor heating. Also check the clearance around door jambs and trim if necessary.
Laminate Preparation
It’s essential to acclimatise Laminate planks in the room first, letting them sit for up to a week in areas that are especially humid, cold, wet or dry – most geographic locations.
Underlay
A good foam underlay improves acoustic performance, provides protection from subfloor moisture and acts as a buffer for floating rafts to move with climate variability.
Step 1:
Working left to right in the direction you’ll be installing the Laminate boards, begin by unrolling a layer of 2mm Foam Underlay, laying it approximately 5cm up the side of the wall and securing the adhesive side. Continue working your way across the room until the entire subfloor is covered.
Tip: Slightly overlap each row of underlay. and install approximately 5cm up the wall.
Step 2:
Establish where you’ll begin the installation. As a rule, applying Laminate boards parallel to the longest walls of a room will make the space appear larger, but if there’s a specific focal point such as a fireplace or oversized glazing, you may choose to begin there.
Using spacers, leave an 8-10mm gap around the perimeter of the room to allow for expansion and ensure uniform distance from the walls. This space will be hidden with scotia mouldings when you’re done.
Step 3:
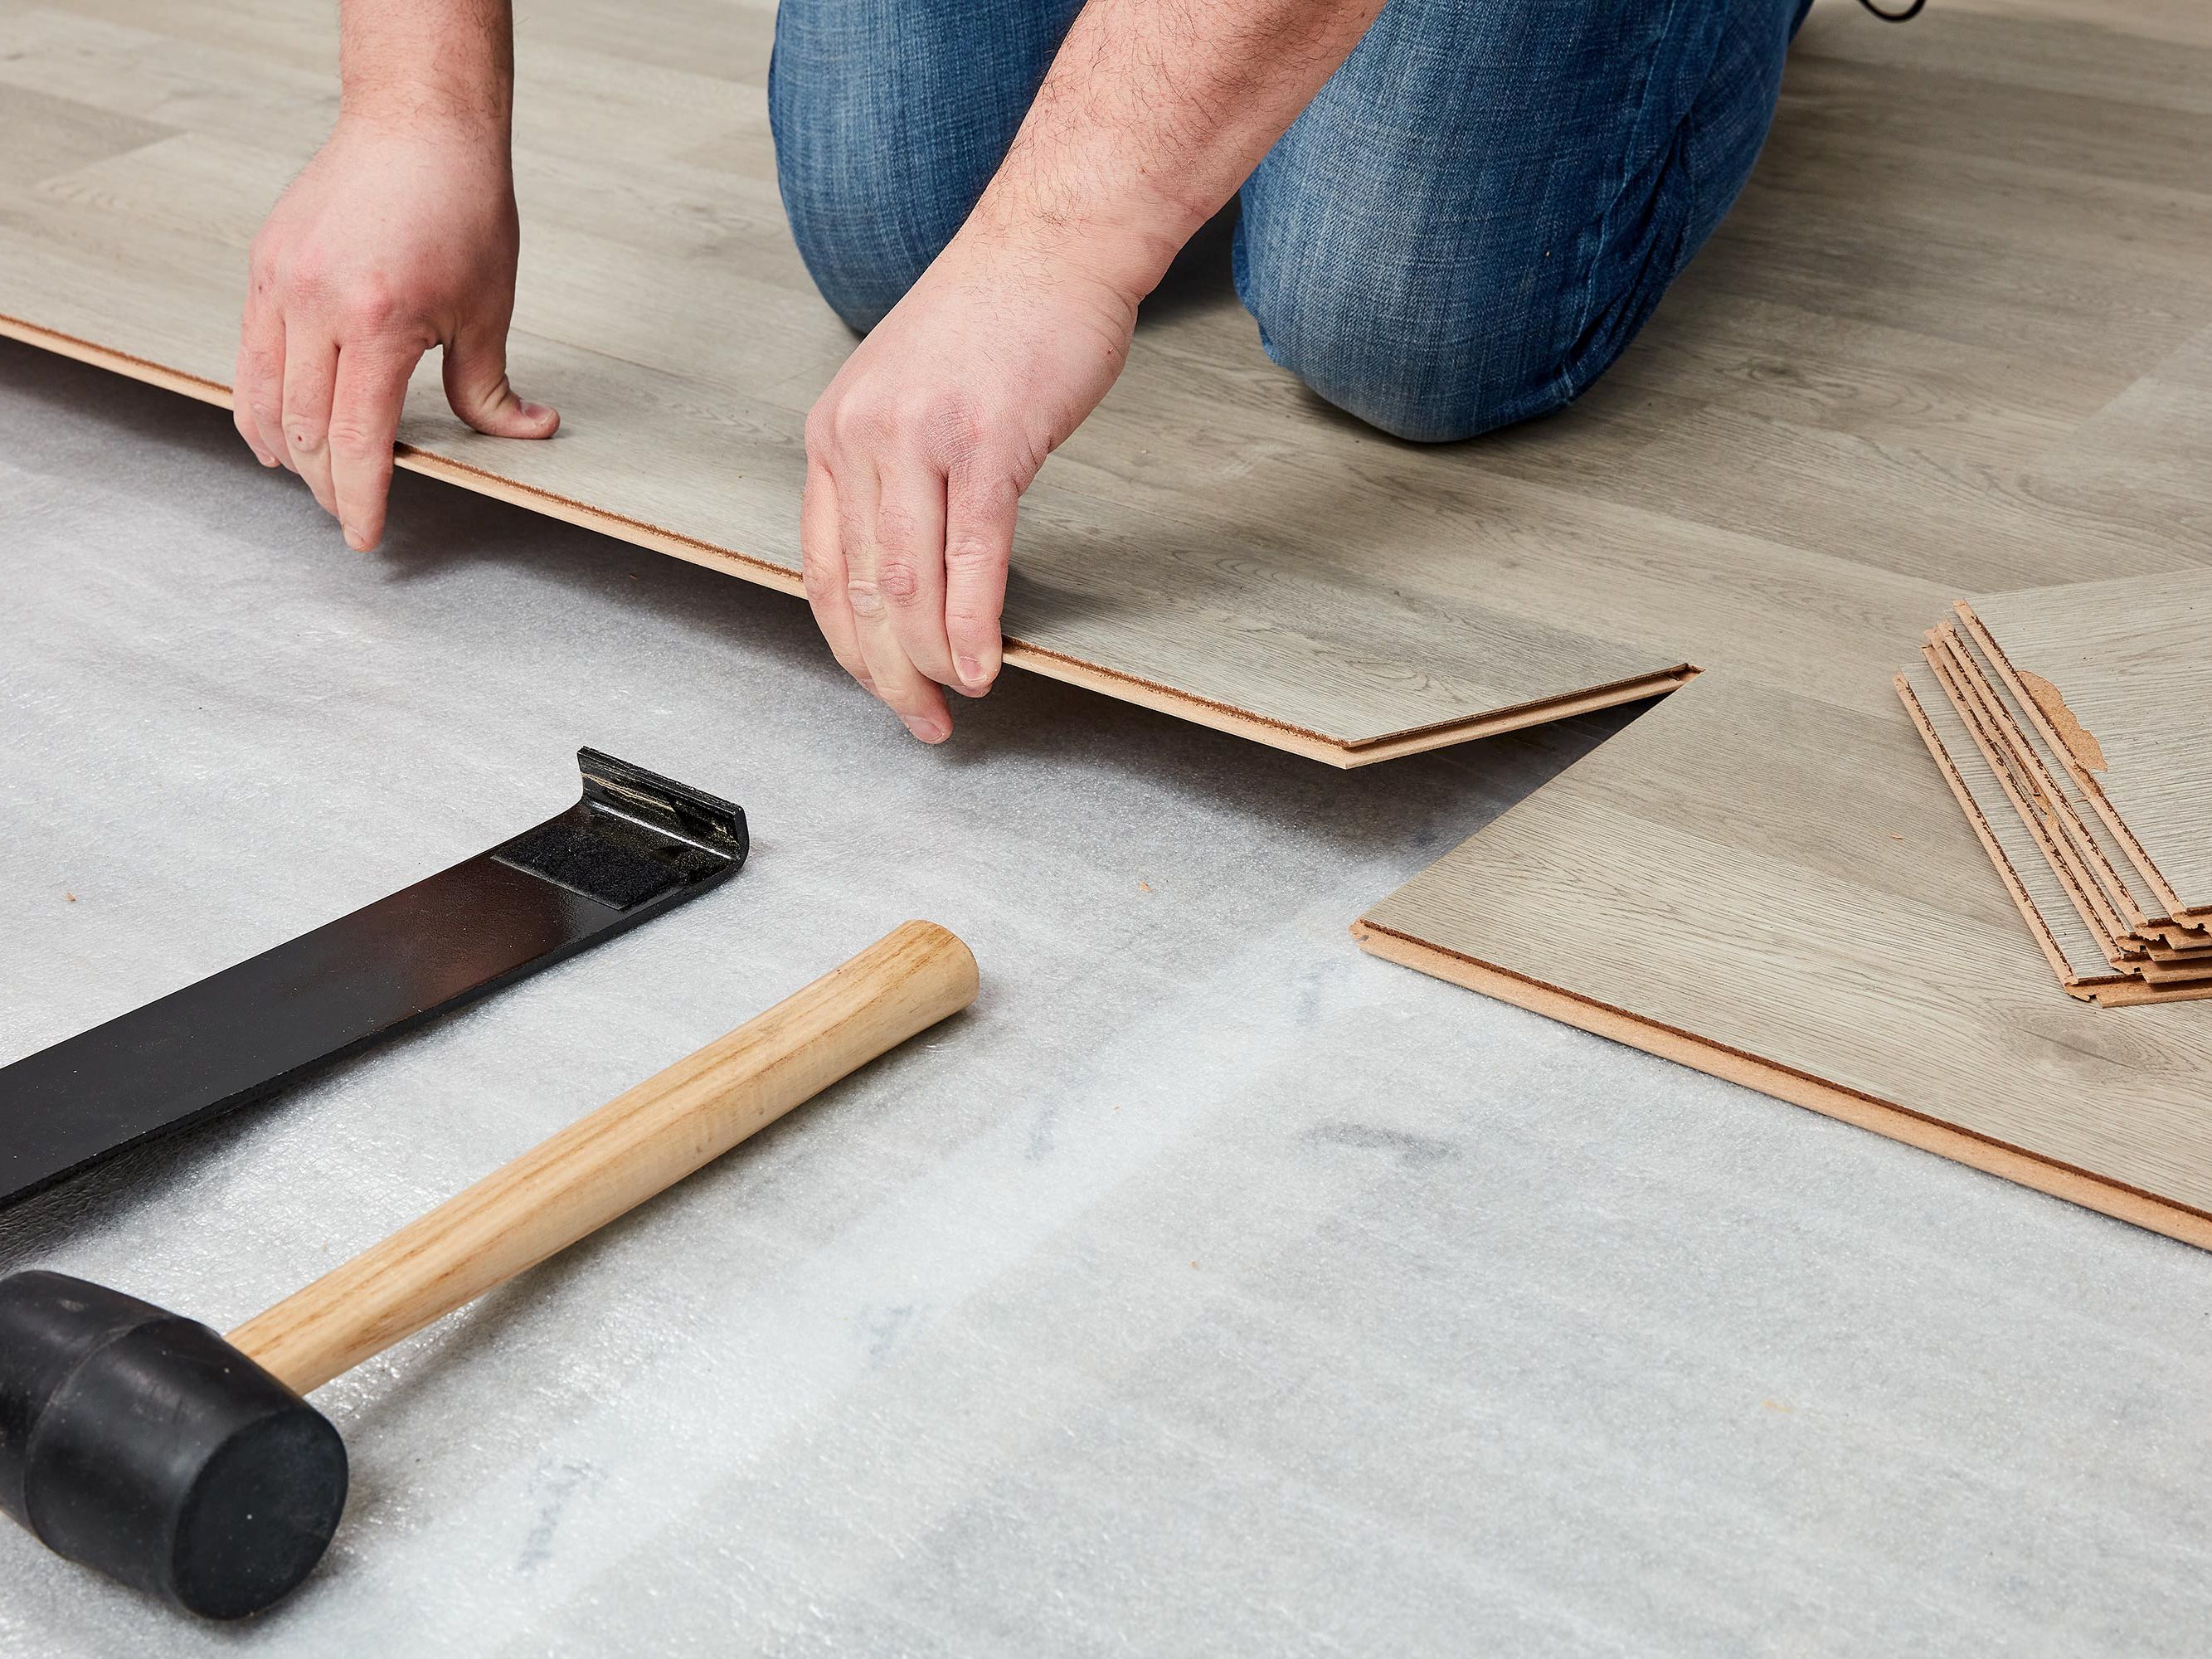
Lay the first row of Laminate floorboards, angle them slightly and click together by gently tapping with a rubber mallet and tapping block.
Tip: Snap off a section to use as a tapping block, this will help to avoid damaging the edge of the board.
Step 4:
Use a spacer at the end of the first row 10-15mm out from the wall and cut the length of the final board to fit with a drop saw.
Tip: For a clean cut, the top surface of the board needs to face down when using a drop saw, jigsaw or guillotine, and up for a fine-tooth handsaw or crosscut saw.
Step 5:
It’s important to stagger the boards not only for looks, but to avoid separation over time. Begin the second row with a shorter board no less than 300mm, inserting the grooves of the plank you’re installing into the tongues of the first planks.
Tip: Reduce wastage by using the remaining cut board from the previous row.
Step 6:
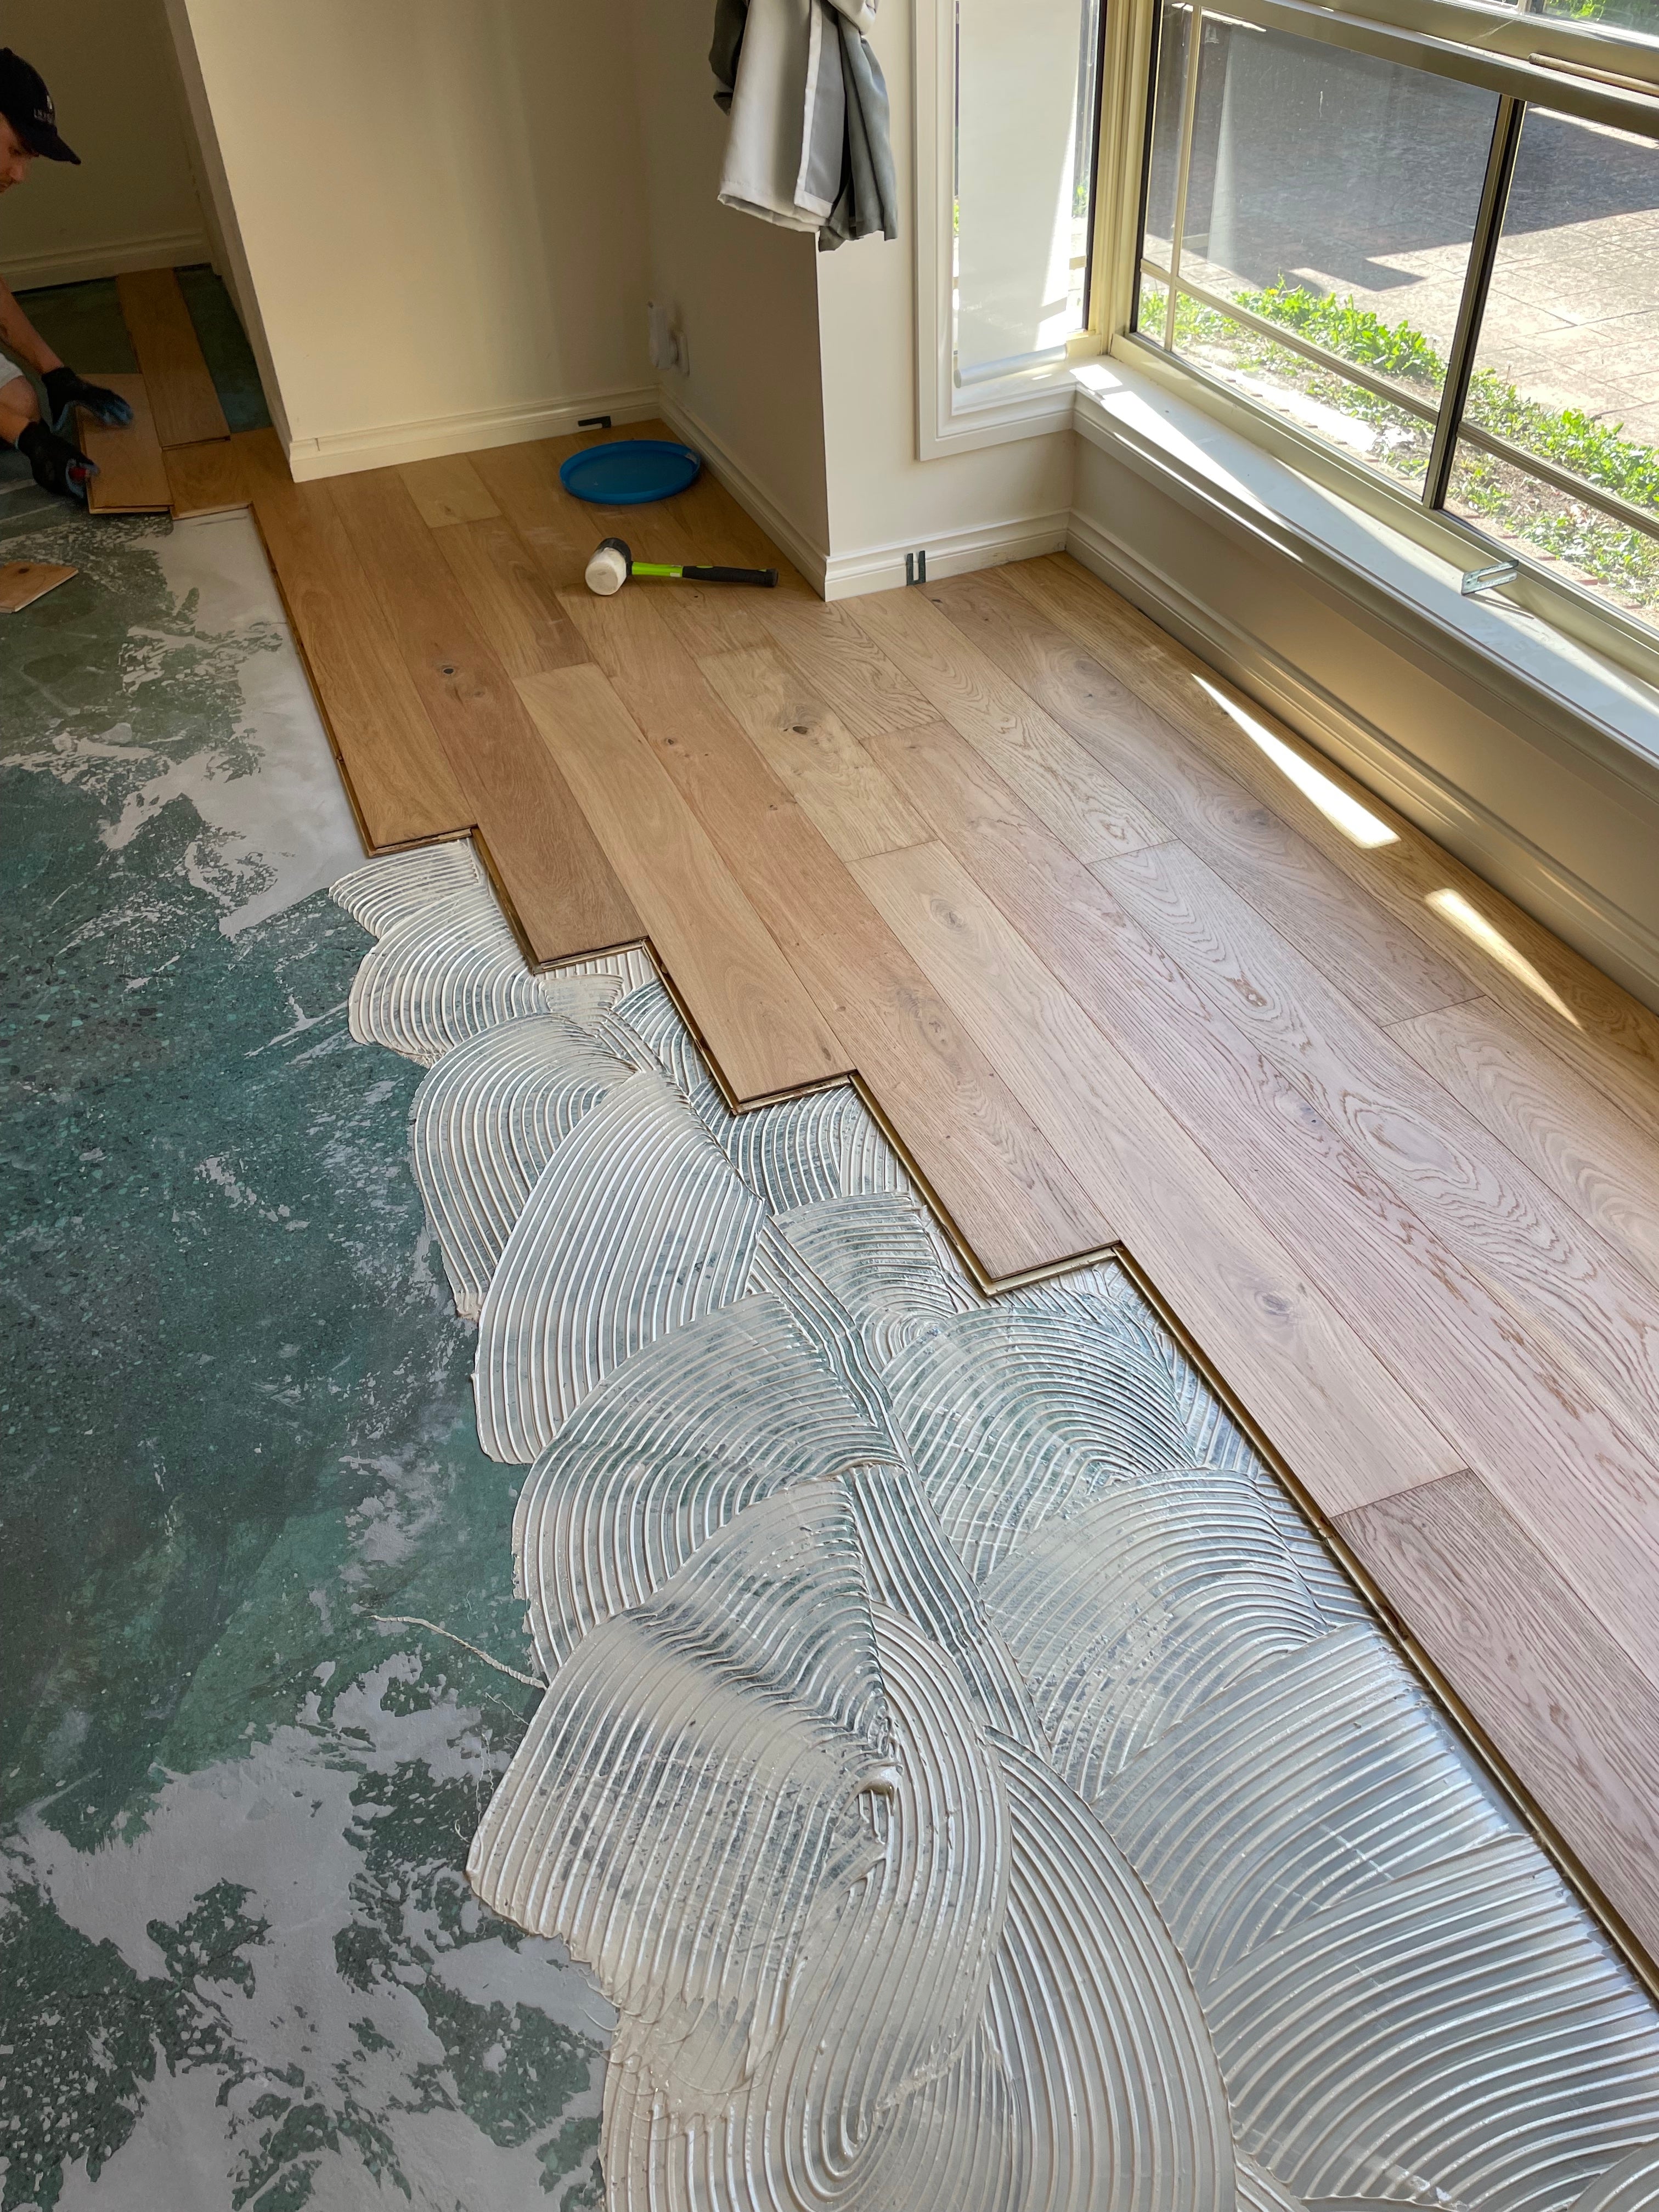
Proceed laying each subsequent row, using the mallet and tapping block to lock in the click mechanism, ensuring the joints are flush and flat with no accidental gaps.
Step 7:
Once you’ve completed the final row remove the wall spacers and install matching-coloured baseboard skirts or scotia to conceal the perimeter gap.
And that’s it, you’re done. Don’t forget to take some before and after pics, you’ve earned the bragging rights!
https://flooringonline.com/pages/laminate-flooring-installation-guide
By James Embelton
