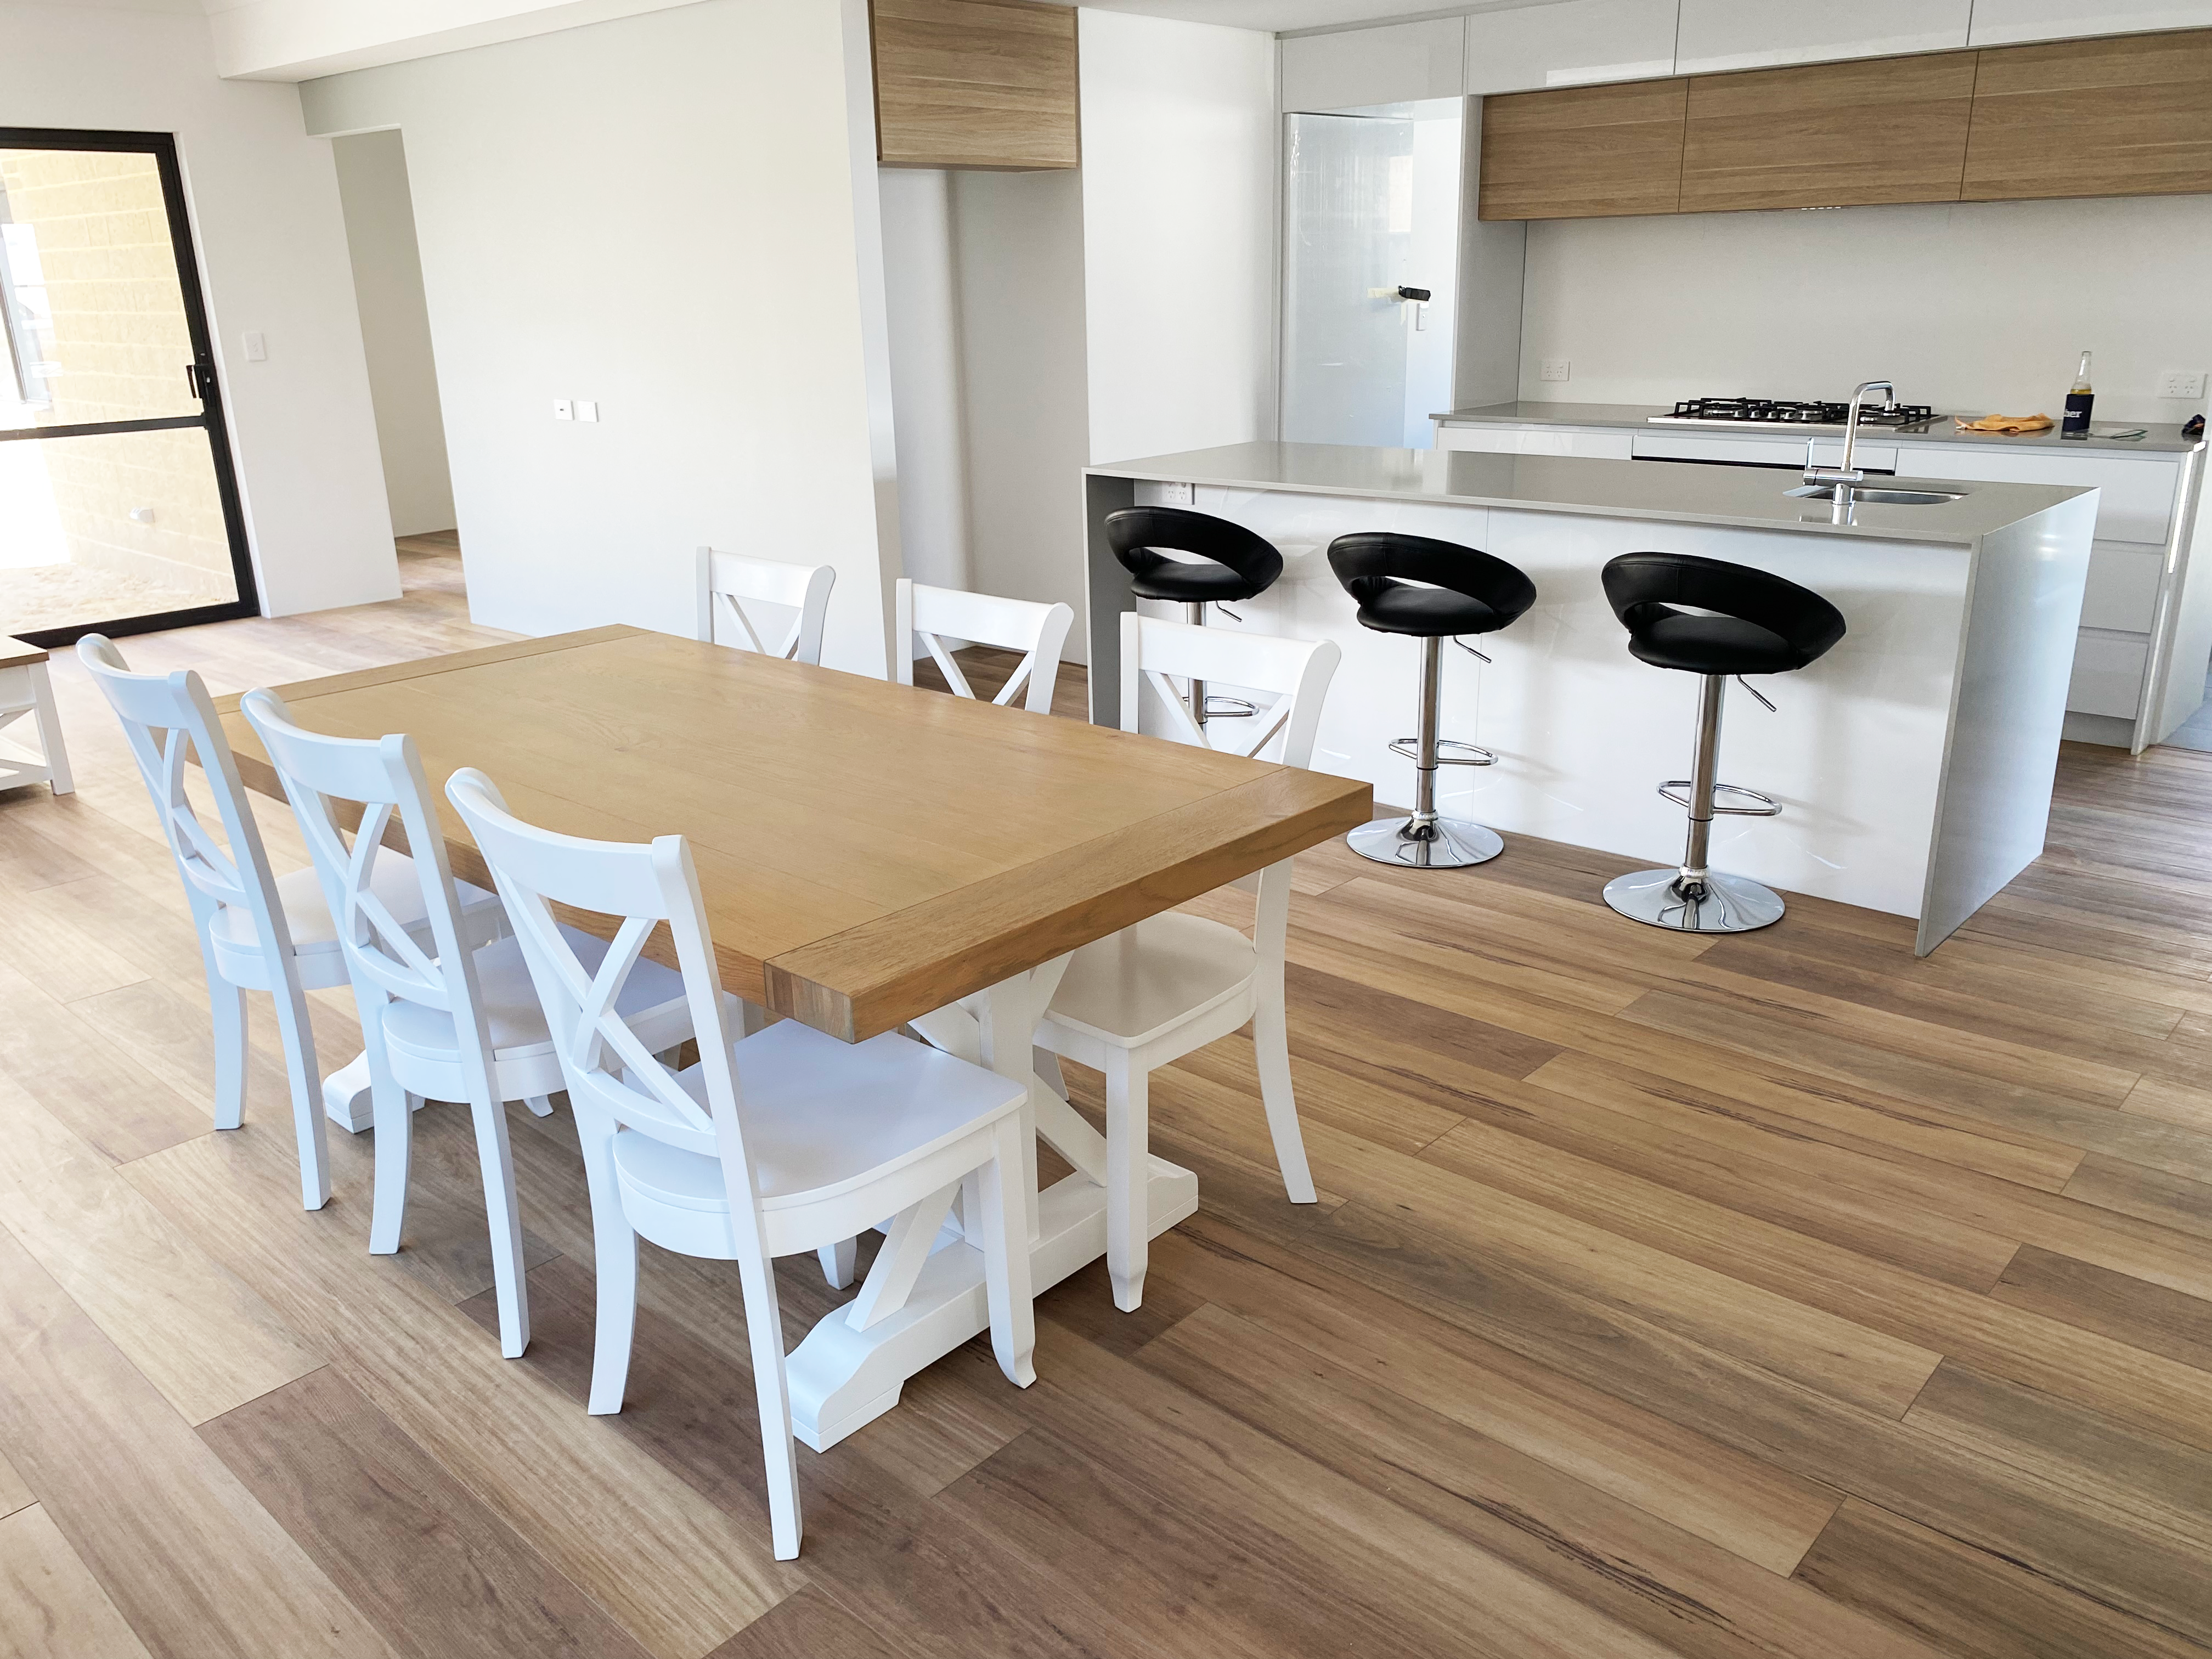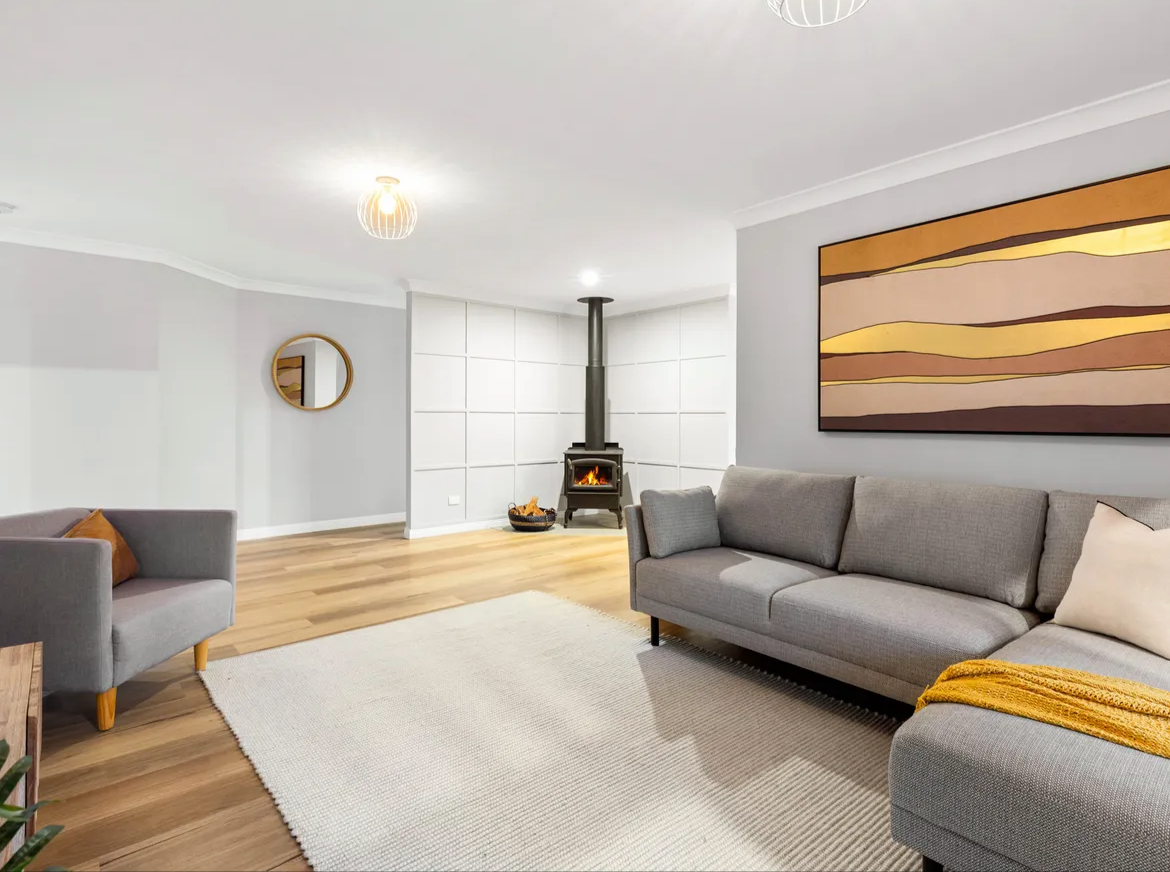
There’s no need to enrol in a crash trade course to install Hybrid flooring, it’s been purpose created to be extra DIY-friendly, with in-built underlay and an easy click in place design that removes the need for messy adhesives.
Once you’ve measured the area you wish to floor, chosen the perfect wood décor and ensured your subfloor surface is dry, flat and stable, all you’ll need is some basic equipment and a free weekend.
Let’s get started!
Layout
Beyond the actual layout design, take some time to plan where you’ll be laying the boards, making sure there aren’t any odd-angled or super short floorboards around the edges of the room.
Hint: Watch out for any obstructions such as power points.
Step 1
Using spacers, leave an 8-10mm gap around the perimeter of the room to allow for expansion and ensure uniform distance from the walls. This space will be hidden with scotia mouldings when you’re done.
Step 2
Lay the first row of Hybrid planks, angled slightly, ideally left to right. The tongue side should be facing away from the wall and all the planks should click into one another. Gently tap the boards together with a rubber mallet and tapping block to engage the click-lock mechanism.
Hint: To avoid damaging the edge of our 5.5mm boards, use an off-cut piece as a tapping block.
Step 3
To stagger the planks, you’ll need to cut the first plank shorter. The quickest and easiest way to cut Hybrid flooring is to use a drop saw, but if you don’t happen to have one tucked away at the back of the shed, a flooring guillotine or, easier yet, ruler and Stanley knife will work just as well. Simply score the laminated layer, then turn over and snap into two. Simple.
Step 4
Begin the second row with a shorter board no less than 300mm to produce a naturally staggered pattern, inserting the grooves of the plank you’re installing into the tongues of the first planks.
Hint: Make use of the remaining cut board from the previous row to minimise wastage.
Step 5
Continue laying the rest of the hybrid planks, clicking each into place as you go.
You want the joints to be flush and flat, so use the mallet and tapping block to lightly coax together any rogue gaps along the way.
Step 6
Complete the job with complementary coloured trims and scotia to conceal the perimeter expansion gap for a truly professional finish. Stand back and admire your handiwork.
Bonus: As there’s no standing around waiting for glue to dry, your newly installed hybrid floors are ready to refurnish and walk on from the moment you’re done.
Combining the classic good looks of timber, with the scratch resistance and waterproof properties of laminate and vinyl, your brand-new Hybrid flooring will continue looking day one fresh for years to come.
Click the link for our clear How to Guide with video instructions:
https://flooringonline.com/pages/hybrid-flooring-installation-guide
By James Embelton


