Skip to content
Easter Sale On Now! 15% Off Flooring
Shop sale

The easy way to install hybrid flooring

Welcome to our simple guide for installing your new hybrid floors.

You're going to love just how quick and easy it is to lay your new hybrid floors over your existing subfloor.

Signs of moisture in your subfloor

Check for signs of moisture in your subfloor using a calibrated moisture metre. Moisture content must be;

  • Below 5% for concrete slabs
  • Below 12% for timber substrates

Subfloor is level and clean

Using a straight edge tool check subfloor is level according to relevant industry standards, 3mm deviation over 1m. Floor preparation and levelling may be required before installing your floors.

Floors have acclimatised

When you've received your timber floors it is essential to acclimatise them in the centre of the room before installing.

Up to one week’s acclimatisation is essential in areas that are particularly humid, cold, wet, hot or dry. Boards installed in a humid environment will naturally grow, hence the requirement for acclimatisation in areas such as QLD.

Optimal laying conditions

Room temperature is between 15-30 degrees and humidity levels are between 30%-70%.

Defective boards

All installed boards will be considered as accepted by the installer and/or homeowner, therefore it is essential that the boards be thoroughly checked pre-installation, with adequate lighting. Boards should be checked for the following prior to installation;

  • Board defects
  • Excessive colour variation
  • Excessive feature
  • Locking System

Installing hybrid floors over tiles is easy

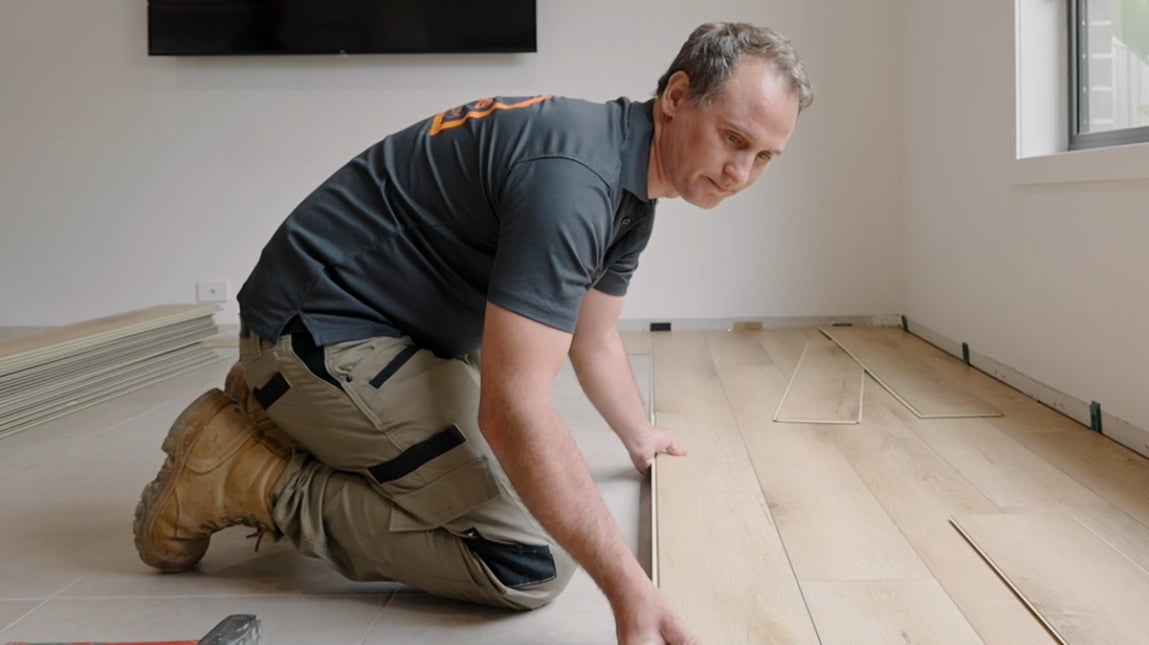
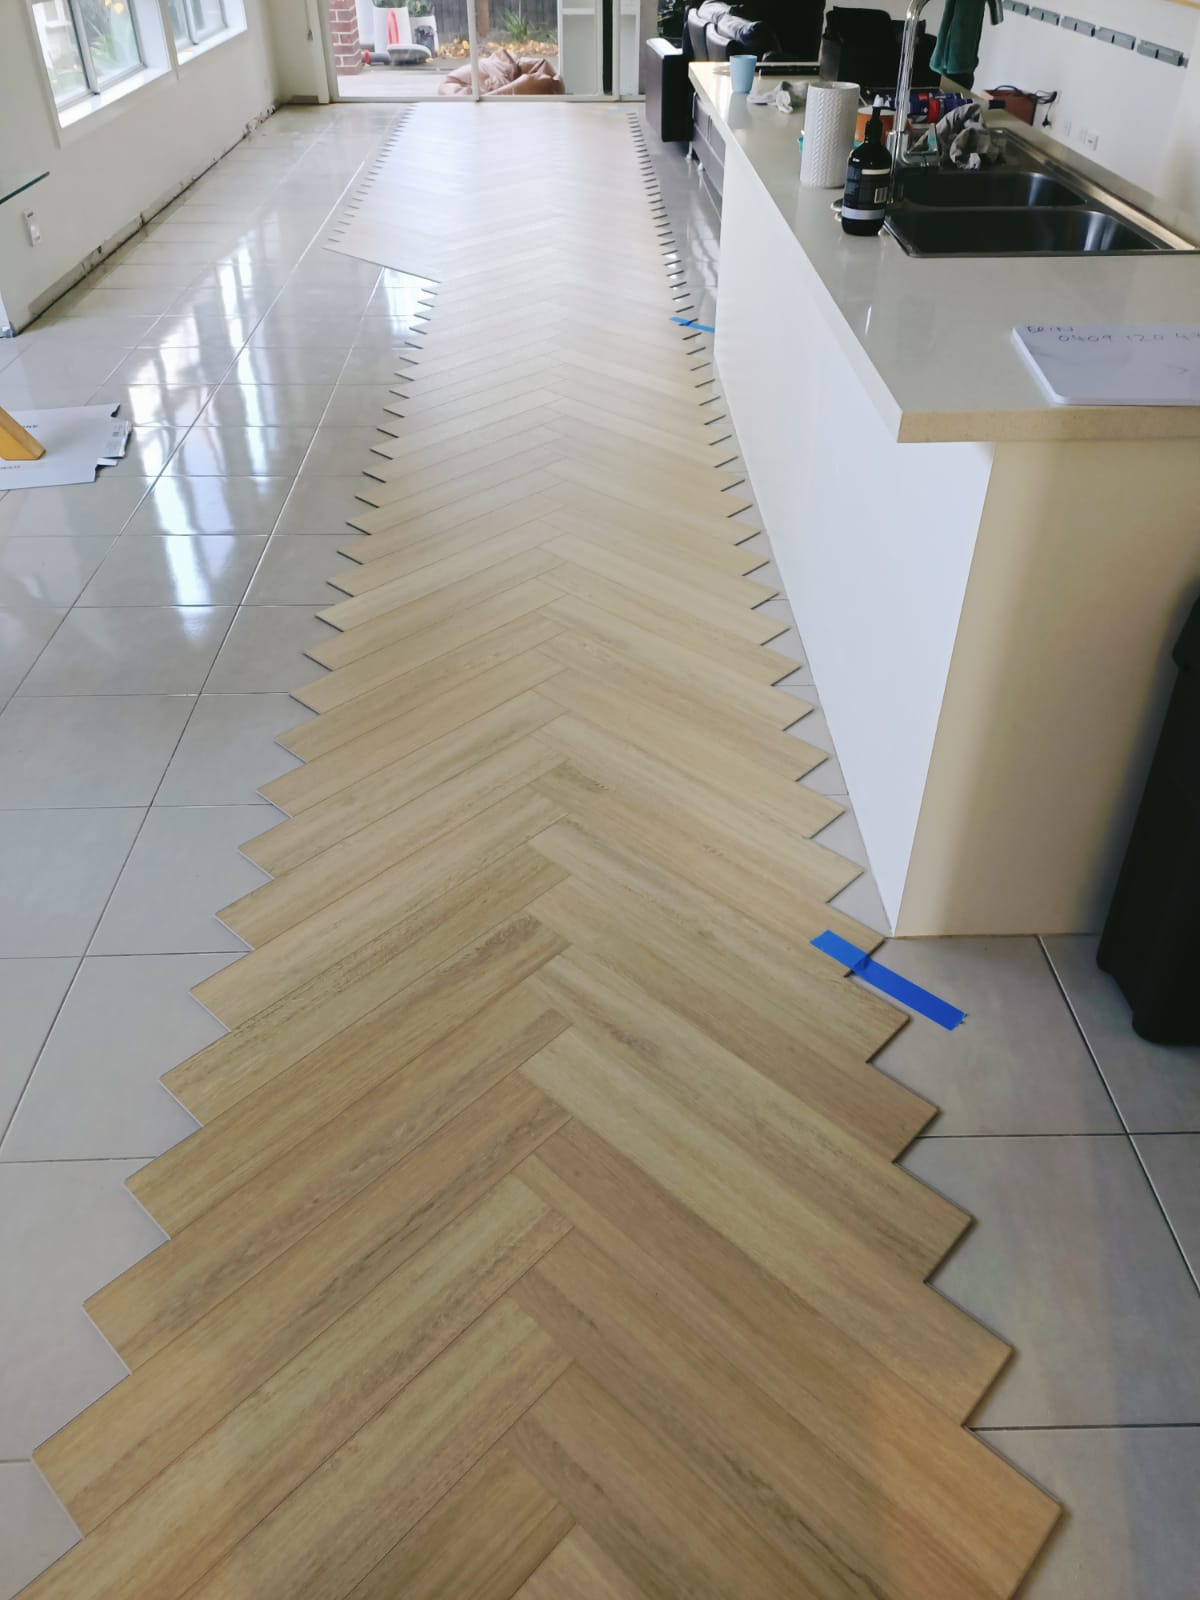
Our hybrid floors are designed to be laid over almost any pre existing subfloor including tiles. For optimal performance ensure your existing tiled floor is clean, flat, smooth and level with a minimal bevel. A levelling agent may be applied to grout lines if required.

1. Get organised

Set up your installation tools and open multiple packs to pre-select boards that blend best with matching scotia, skirts and trims.

Check door and door frame clearances to ensure that doors will move freely without contacting the floor surface.

2. Set out

Although hybrid floors can be installed in any direction, as a rule, they are usually installed perpendicular to a window. Installing the floor parallel to the longest wall tends to make a room appear larger.

Know your maximum raft size, before floor expansion is required.

  • 8mm Hybrid - (L) 12m x (W) 12m
  • 6mm Hybrid - (L) 15m x (W) 30m
  • 5.5mm Hybrid - (L) 15m x (W) 30m

3. First row

  • First plank, first row. Place a spacer 8-10mm thickness to the left and position the plank against the wall. Later, after 3 rows, you can easily position the flooring against the front wall with spacers of 8-10mm 

  • Second plank, first row. Lay the short end of the next floorboard up against the edge of the first one, then drop down into place, ensuring it locks firmly into place. Once the board is laid down square against the next, a rubber mallet can be used to lock the board into place, although ensure there is no potential for lipping. Complete the first row. 

  1. At the end of the first row, place a spacer 8-10mm to the wall and cut the length of the last plank to fit.

  1. For a clean cut, the top surface should face down when you use a jigsaw, or circular handsaw and up when you use a handsaw or a crosscut saw.

4. Second row

  • Second row, first plank. Minimum length 300mm. Place a spacer against the wall. 

  • Minimum distance between short ends of planks in parallel shall not be less than 200mm.

  • Place the floorboard at an angle against the floorboard in the previous row, press forward and fold down at the same time. A rubber mallet and tapping block may be necessary.

  • Second plank, second row. Place the short end of the floorboard at an angle against the previously installed floorboard. Fold down. Complete the second row. 

5. Finish with trims

Once your have finished installing your hybrid floors affix Scotia or reinstall your skirting boards around the perimeter of your room to conceal the expansion gaps.

Lastly, Get Insta Ready

Congrats, you did it! Before you kick back and admire a job well done, don’t forget to snap some photos and share your new floors. Tag us on Instagram @flooringonlineau to really make our day.

Why do I need to stagger my hybrid flooring?

Stagger boards to ensure the more favourable overall appearance of the floor. When installing boards of random length, ensure that the staggered length is at least 20cm. End boards must be greater than 30cm in length.

Can I glue down my hybrid flooring?

No, Hybrid is designed for floating installation.

Why do I have to level my subfloor?

Without a level subfloor you leave your boards vulnerable to damage and creaking. A maximum of 3mm deviation over 1m is the industry standard.

What is an expansion gap?

An expansion gap is the space left between flooring and the wall when installing hybrid flooring. It is essential that a gap be left around the edge of the room to allow for any movement or expansion of the boards.