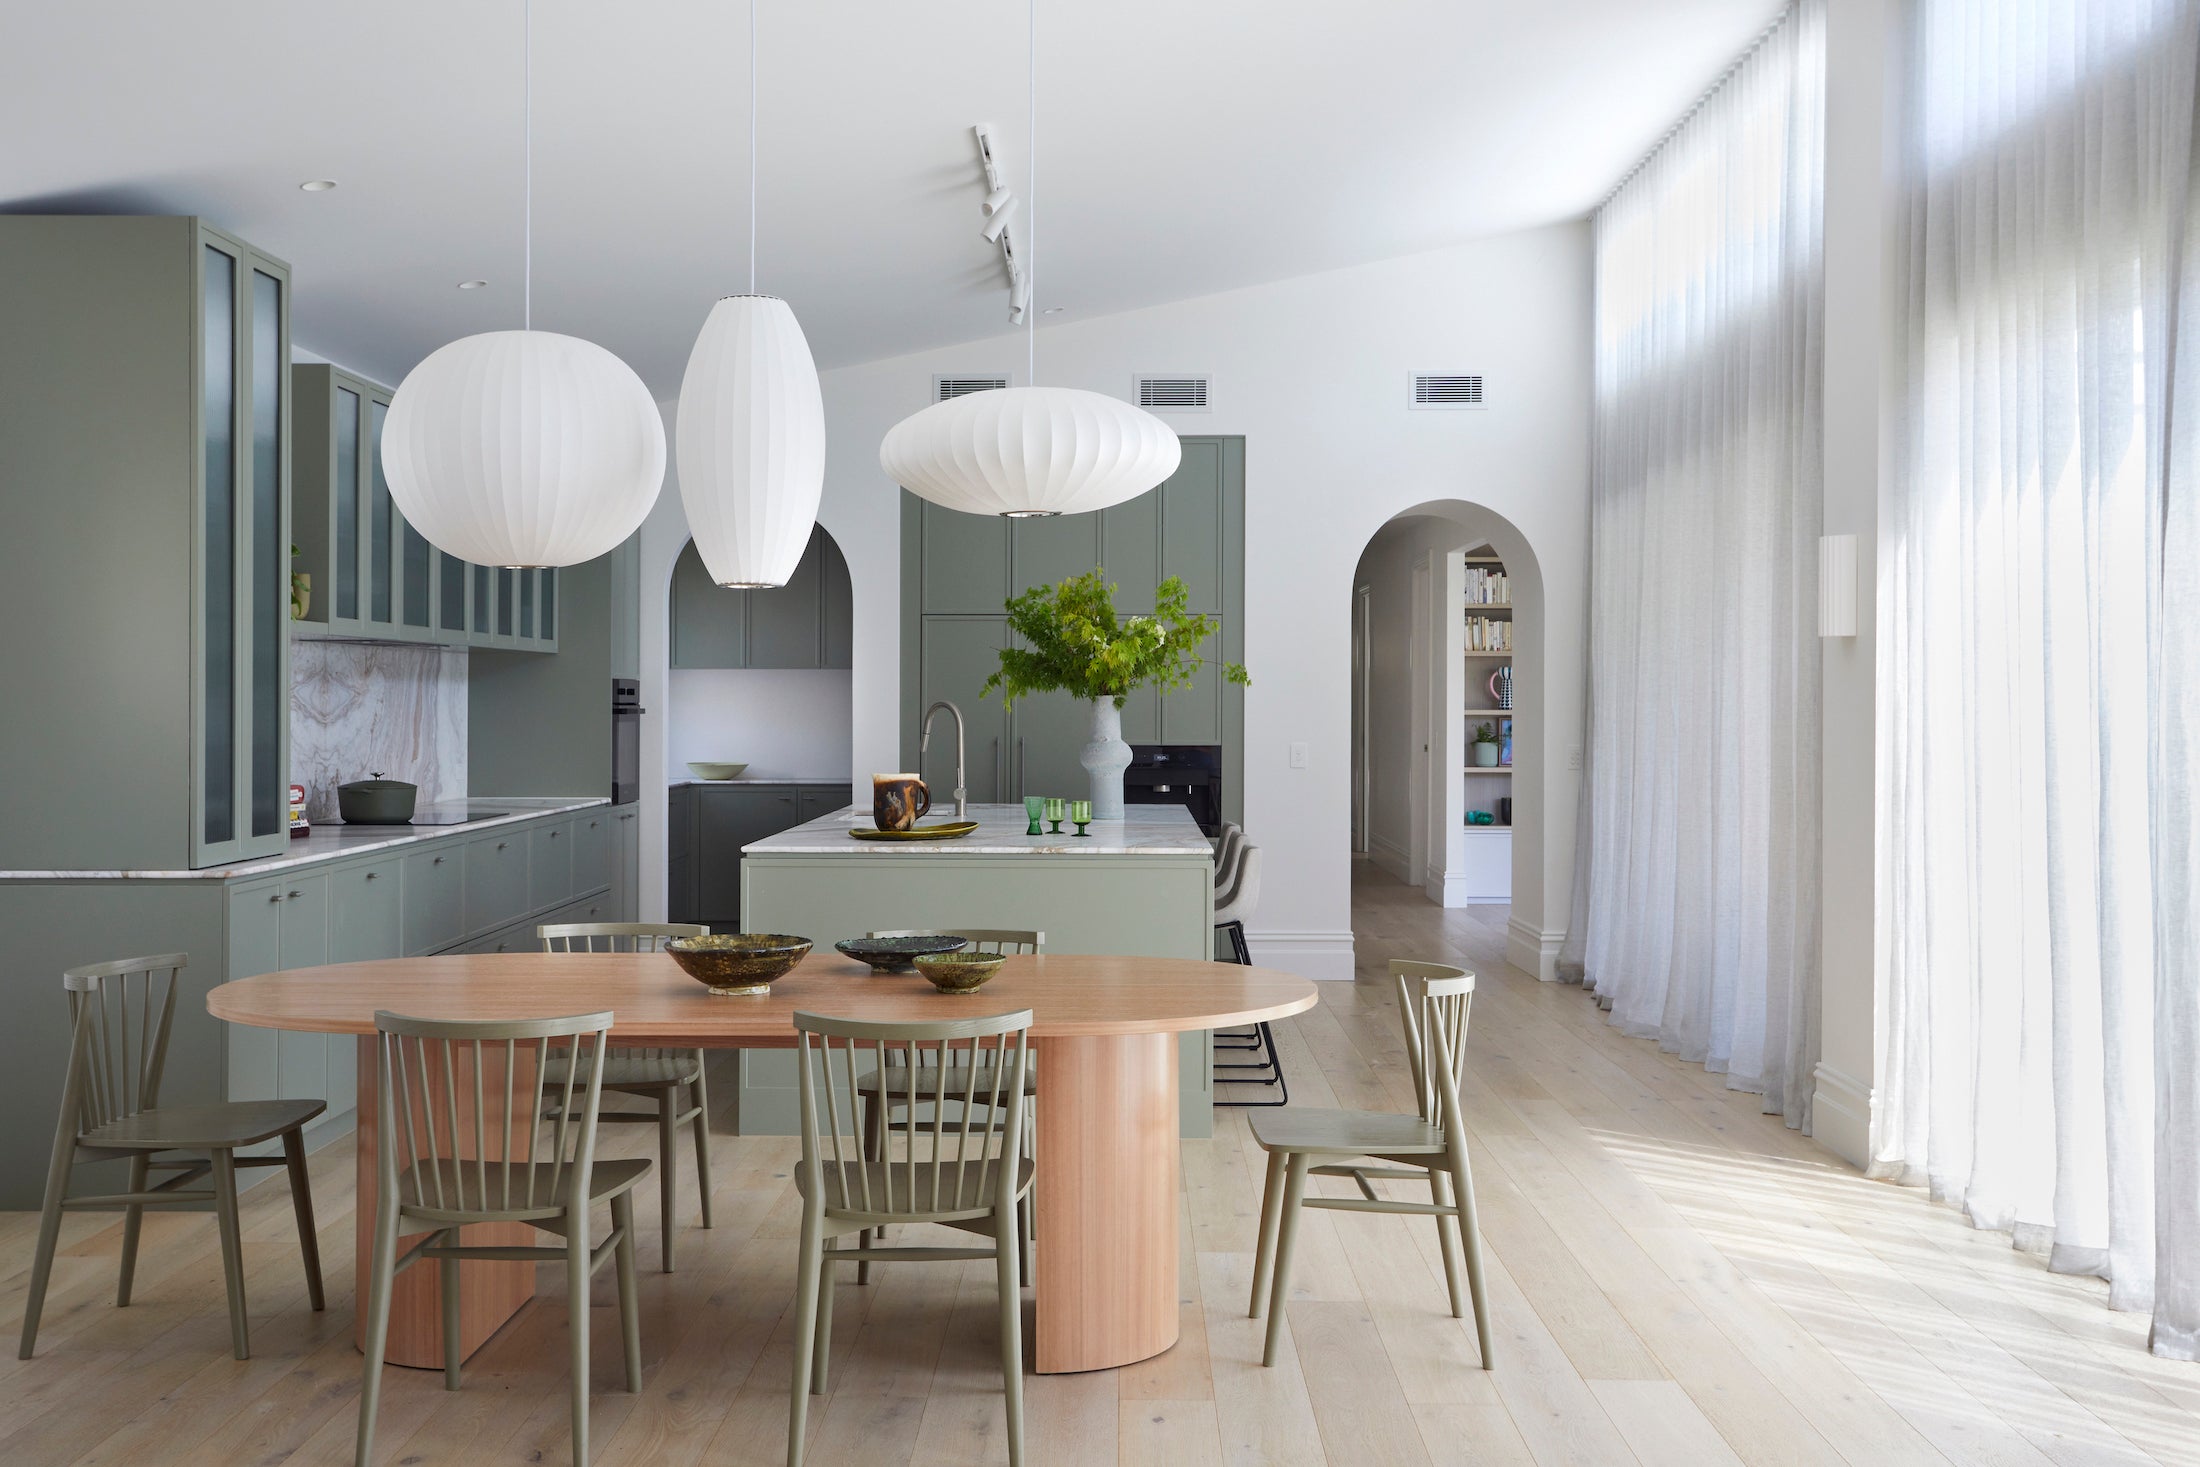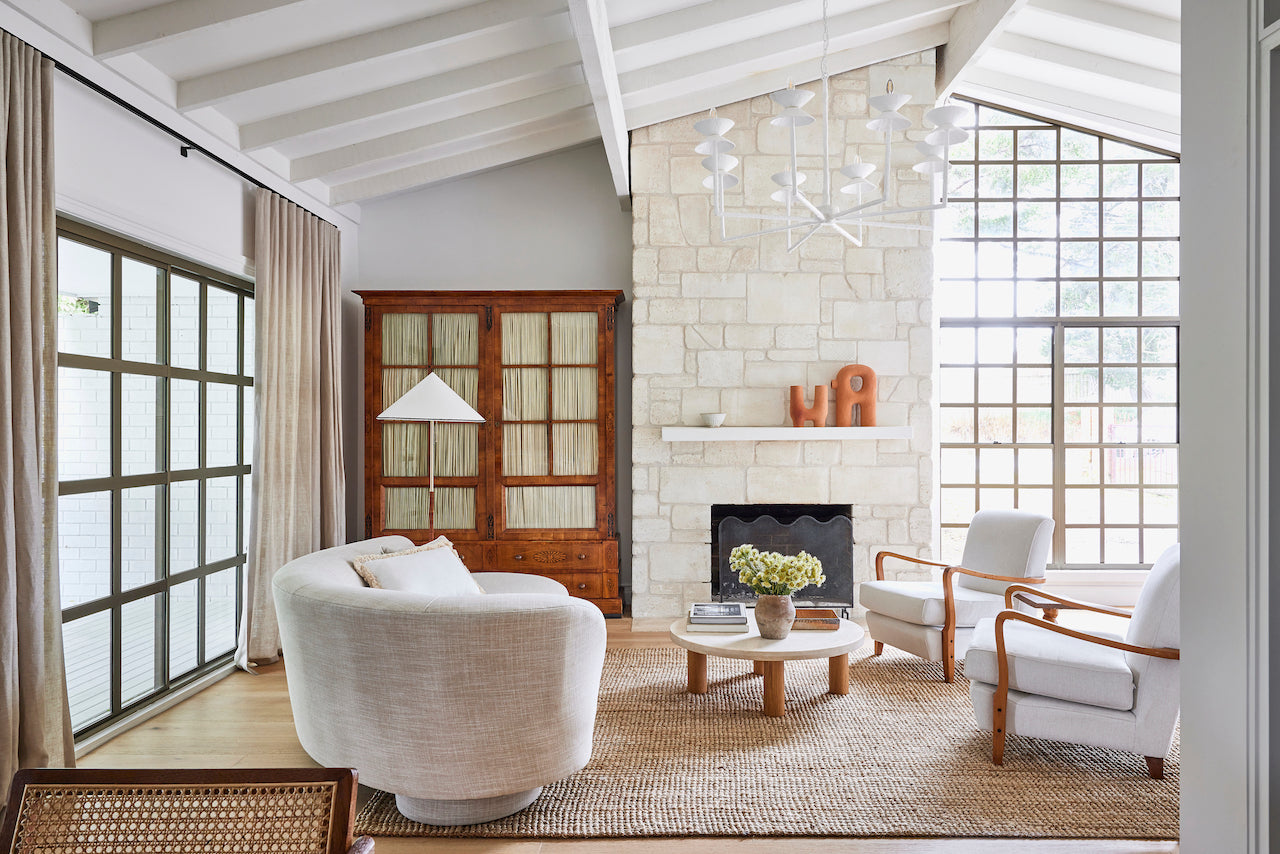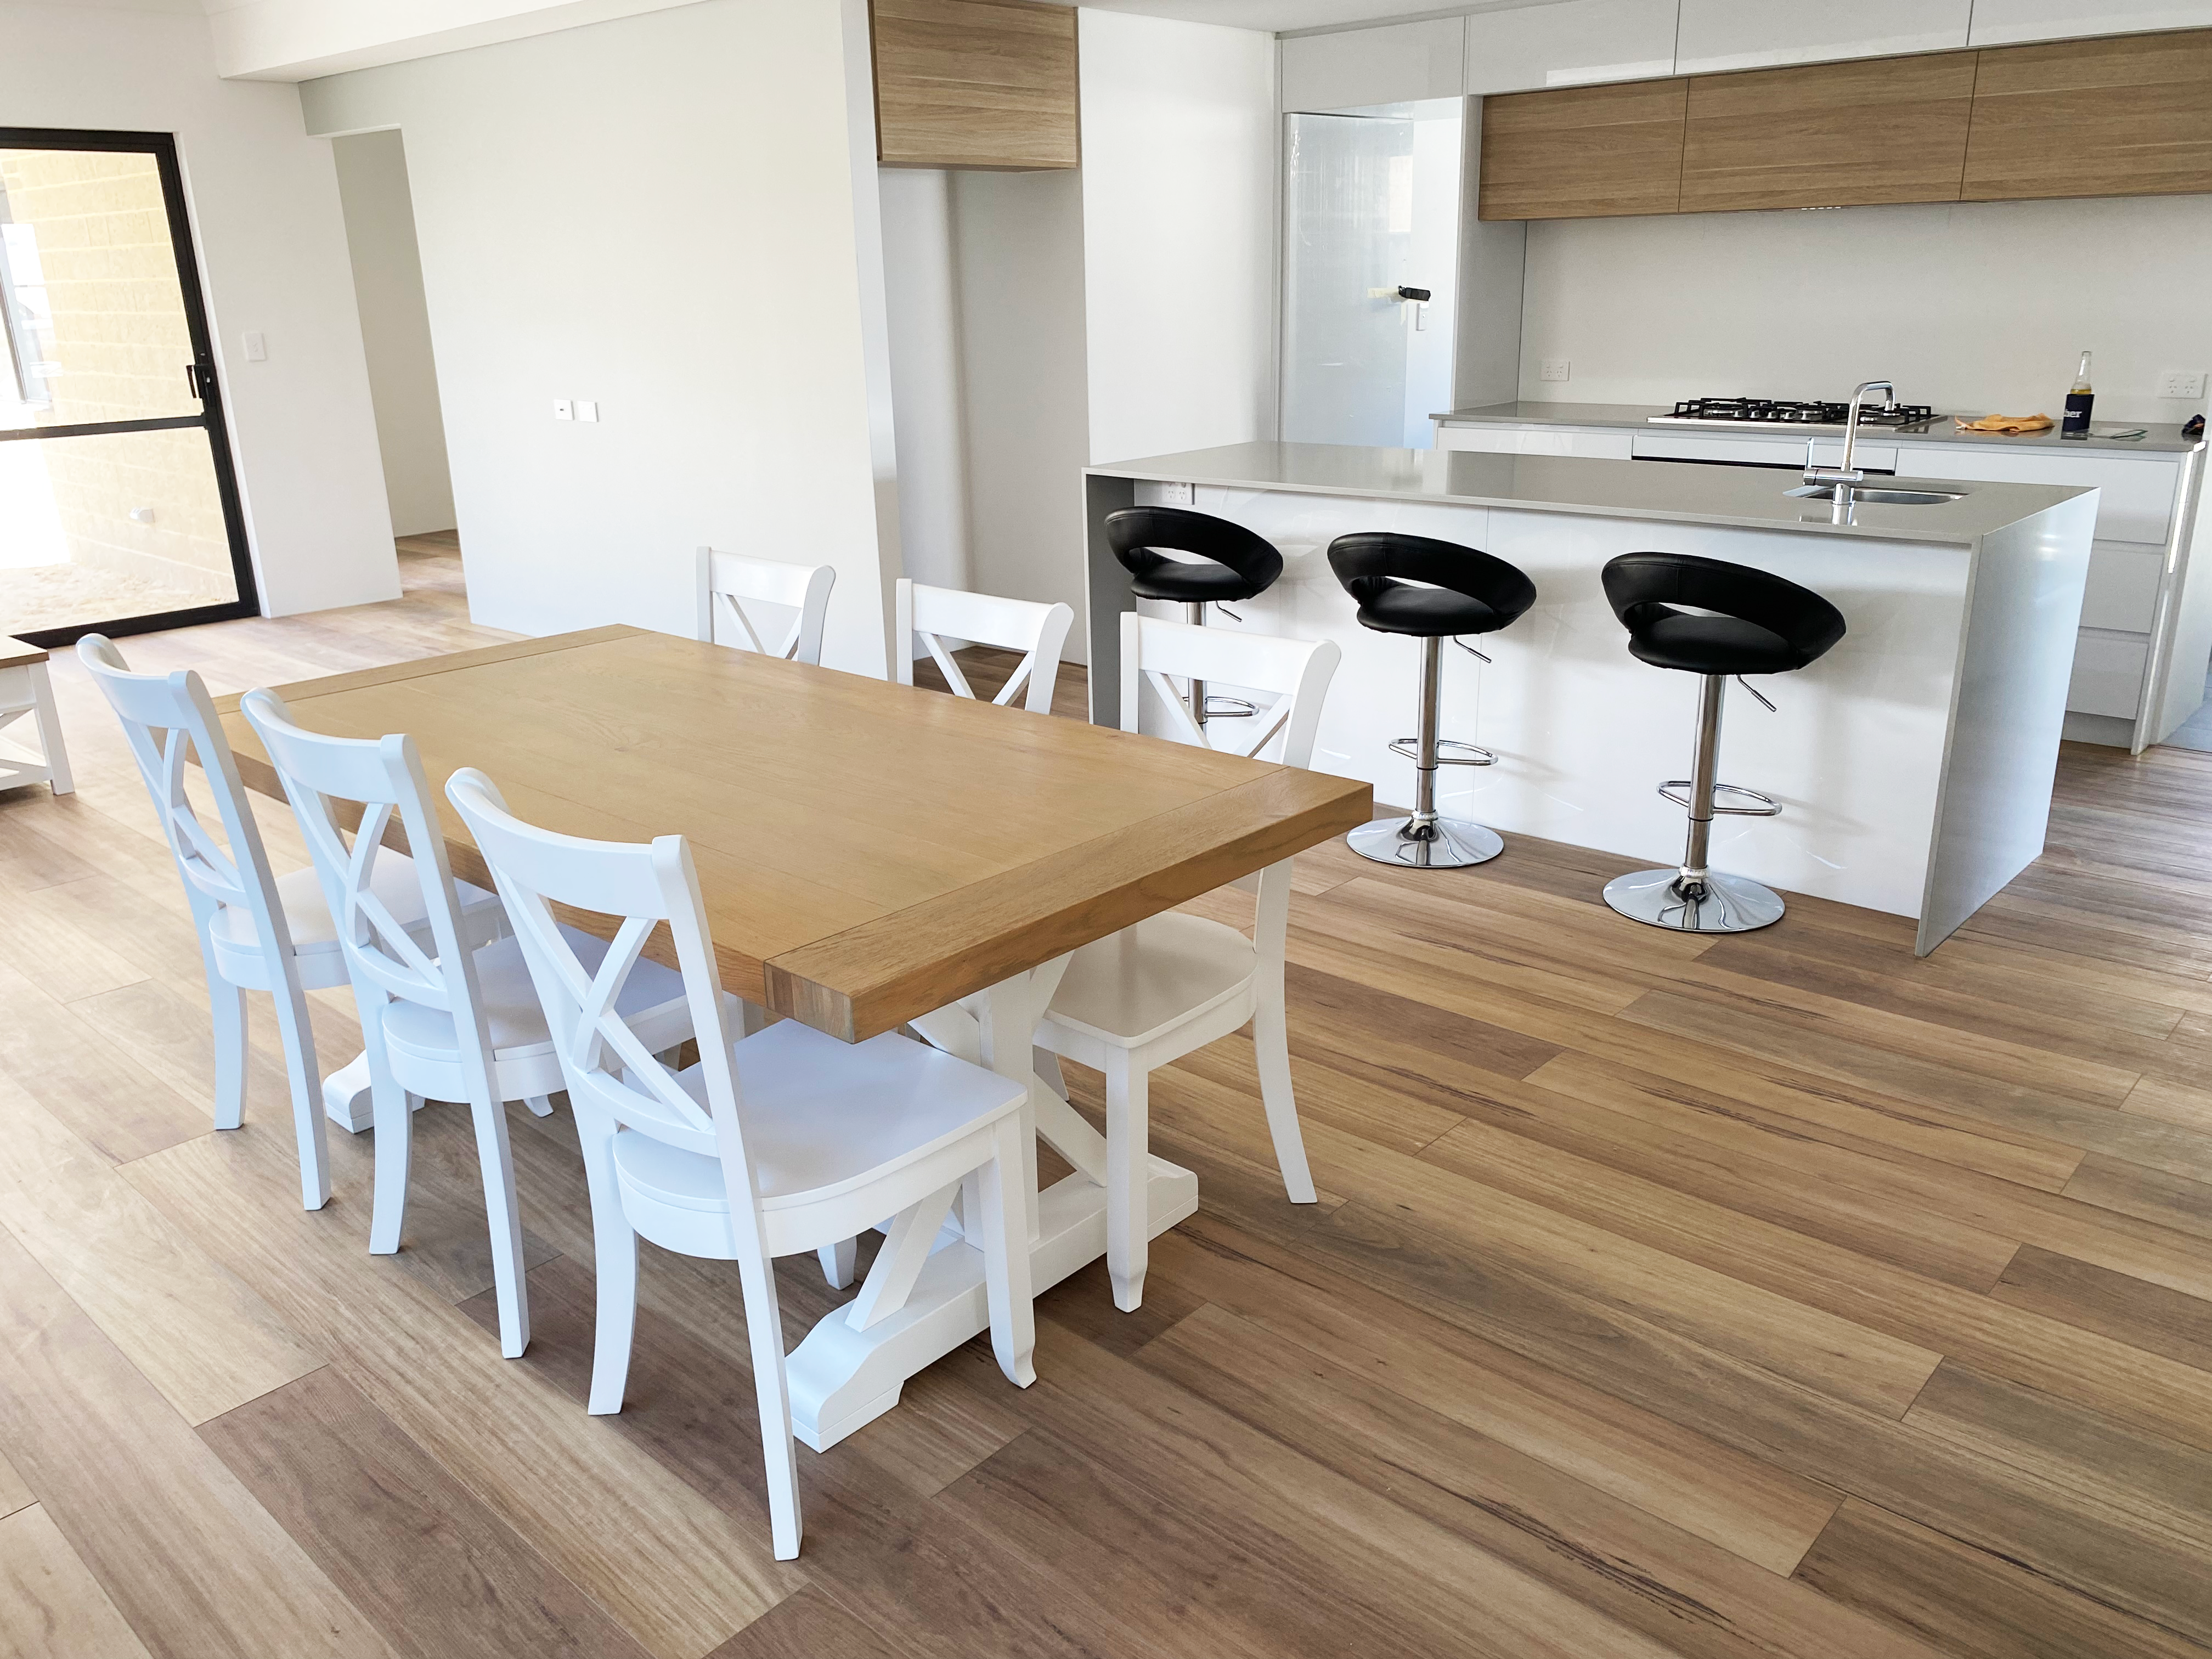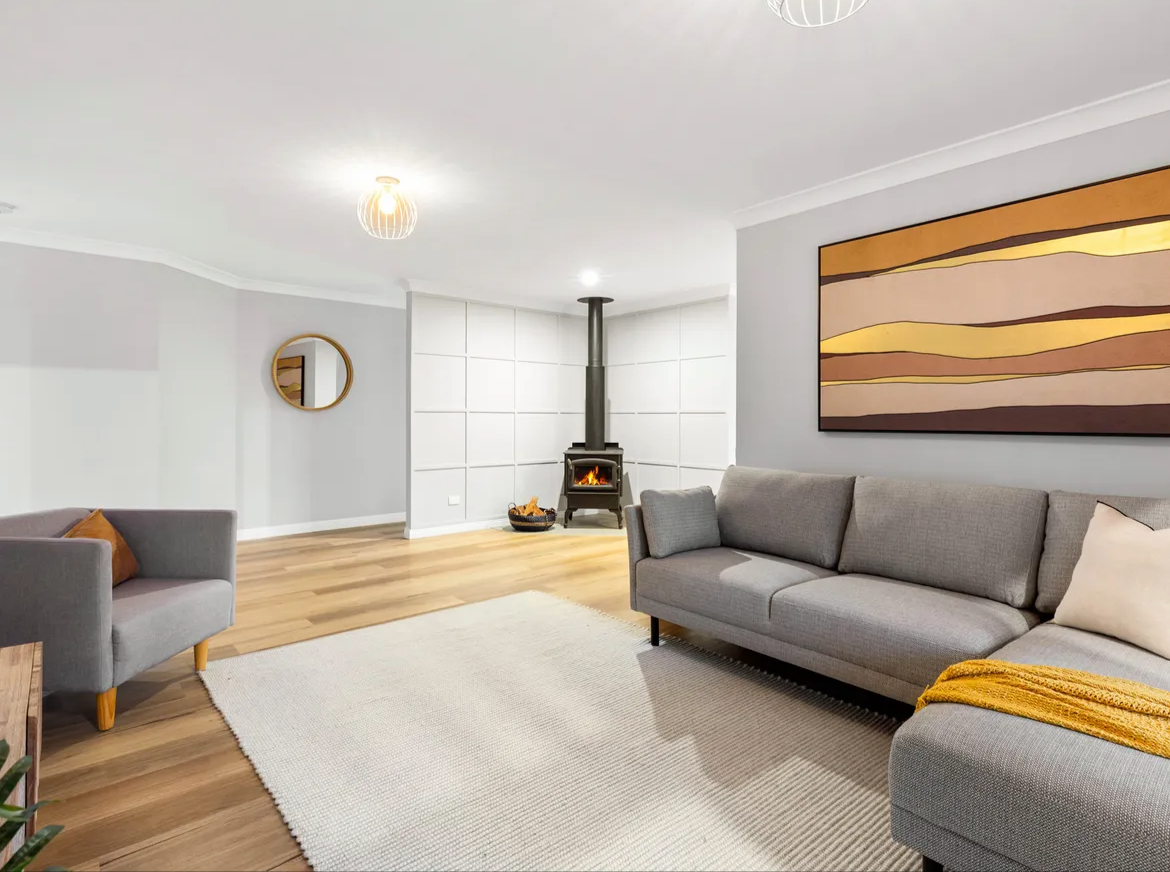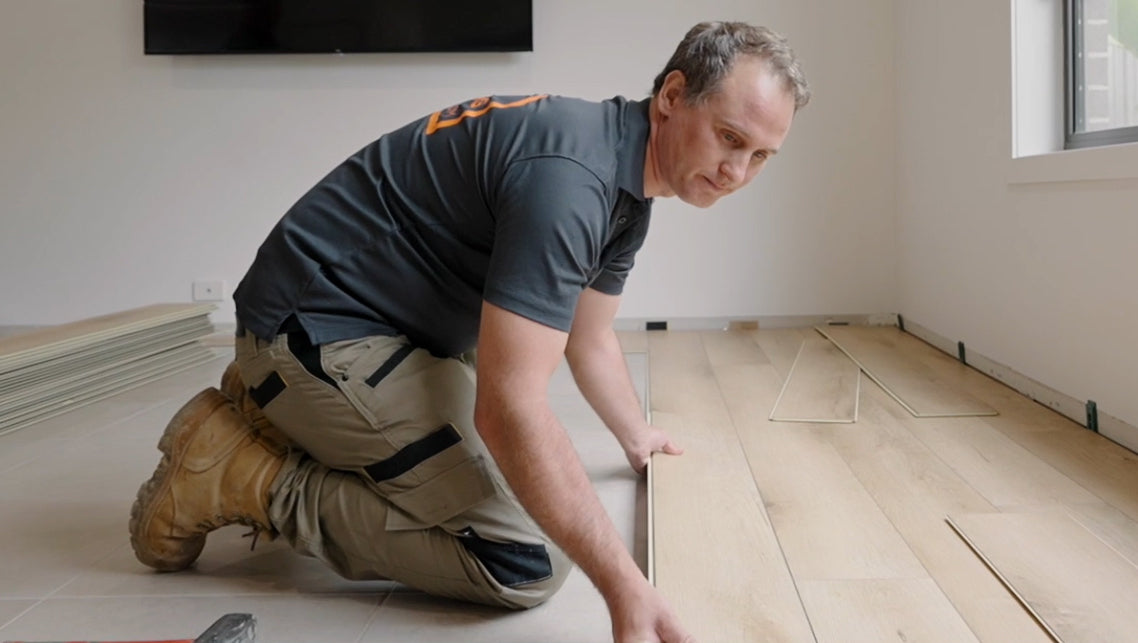
Hybrid flooring was made with the DIY weekend warriors in mind! With its easy, no-fuss click in system and pre-adhered underlay, installation is a dream. But as with anything, there are a few tips and tricks to help you along the way. Here our top DIY hybrid flooring tips.
1) Make sure your subfloor is level
Nobody wants a wonky floor, so ensuring your subfloor is level ensures that the boards stay steady and level over their lifetime. No more than 3mm deviation over 1 metre is the recommended allowance.
2) Take your time
Installing hybrid flooring is not a time intensive project. Once installed, the boards can be walked on and furnished immediately. But that doesn’t mean you should rush installation. Take your time to plan where you’ll be laying the boards, making sure there aren’t any odd-angled or super short floorboards around the perimeter of the room. It also helps to pre-select boards from multiple packs that will blend best with matching scotia, skirts and trims.
3) Staggering is key
For the best results, make sure to stagger your boards correctly. When installing boards of length, ensure that the staggered length is at least 20cm. End boards must be greater than 30cm in length.
4) Board flow matters
Floating floorboards can be installed in any direction, but as a rule of thumb, the boards are usually installed perpendicular to a window. Additionally, installing the flooring parallel to the longest wall tends to make the room appear larger.
5) An extra pack doesn’t hurt
Despite its sturdy construction and no-fuss install, boards can get damaged or need replacing during or after installation. For these reasons it’s handy to buy an extra pack of flooring for possible future rectifications, just to be on the safe side!
For our complete hybrid flooring installation guide visit flooringonline.com/pages/hybrid-flooring-installation-guide
By James Embelton
