Skip to content
3 Free flooring samples delivered to your home
Free samples
We're taking a break - Our team will be unavailable from 12pm 20th December, returning 13th January 2025
Read More

Timber Floor Installation

Find out all you need to know about installing timber flooring.

Timber Flooring Installation

For those DIY savvy Australians out there timber flooring with a 5G locking system is ideal for DIY installation.

However, glue down install and floors with a T&G joining profile are recommended for professional install only.

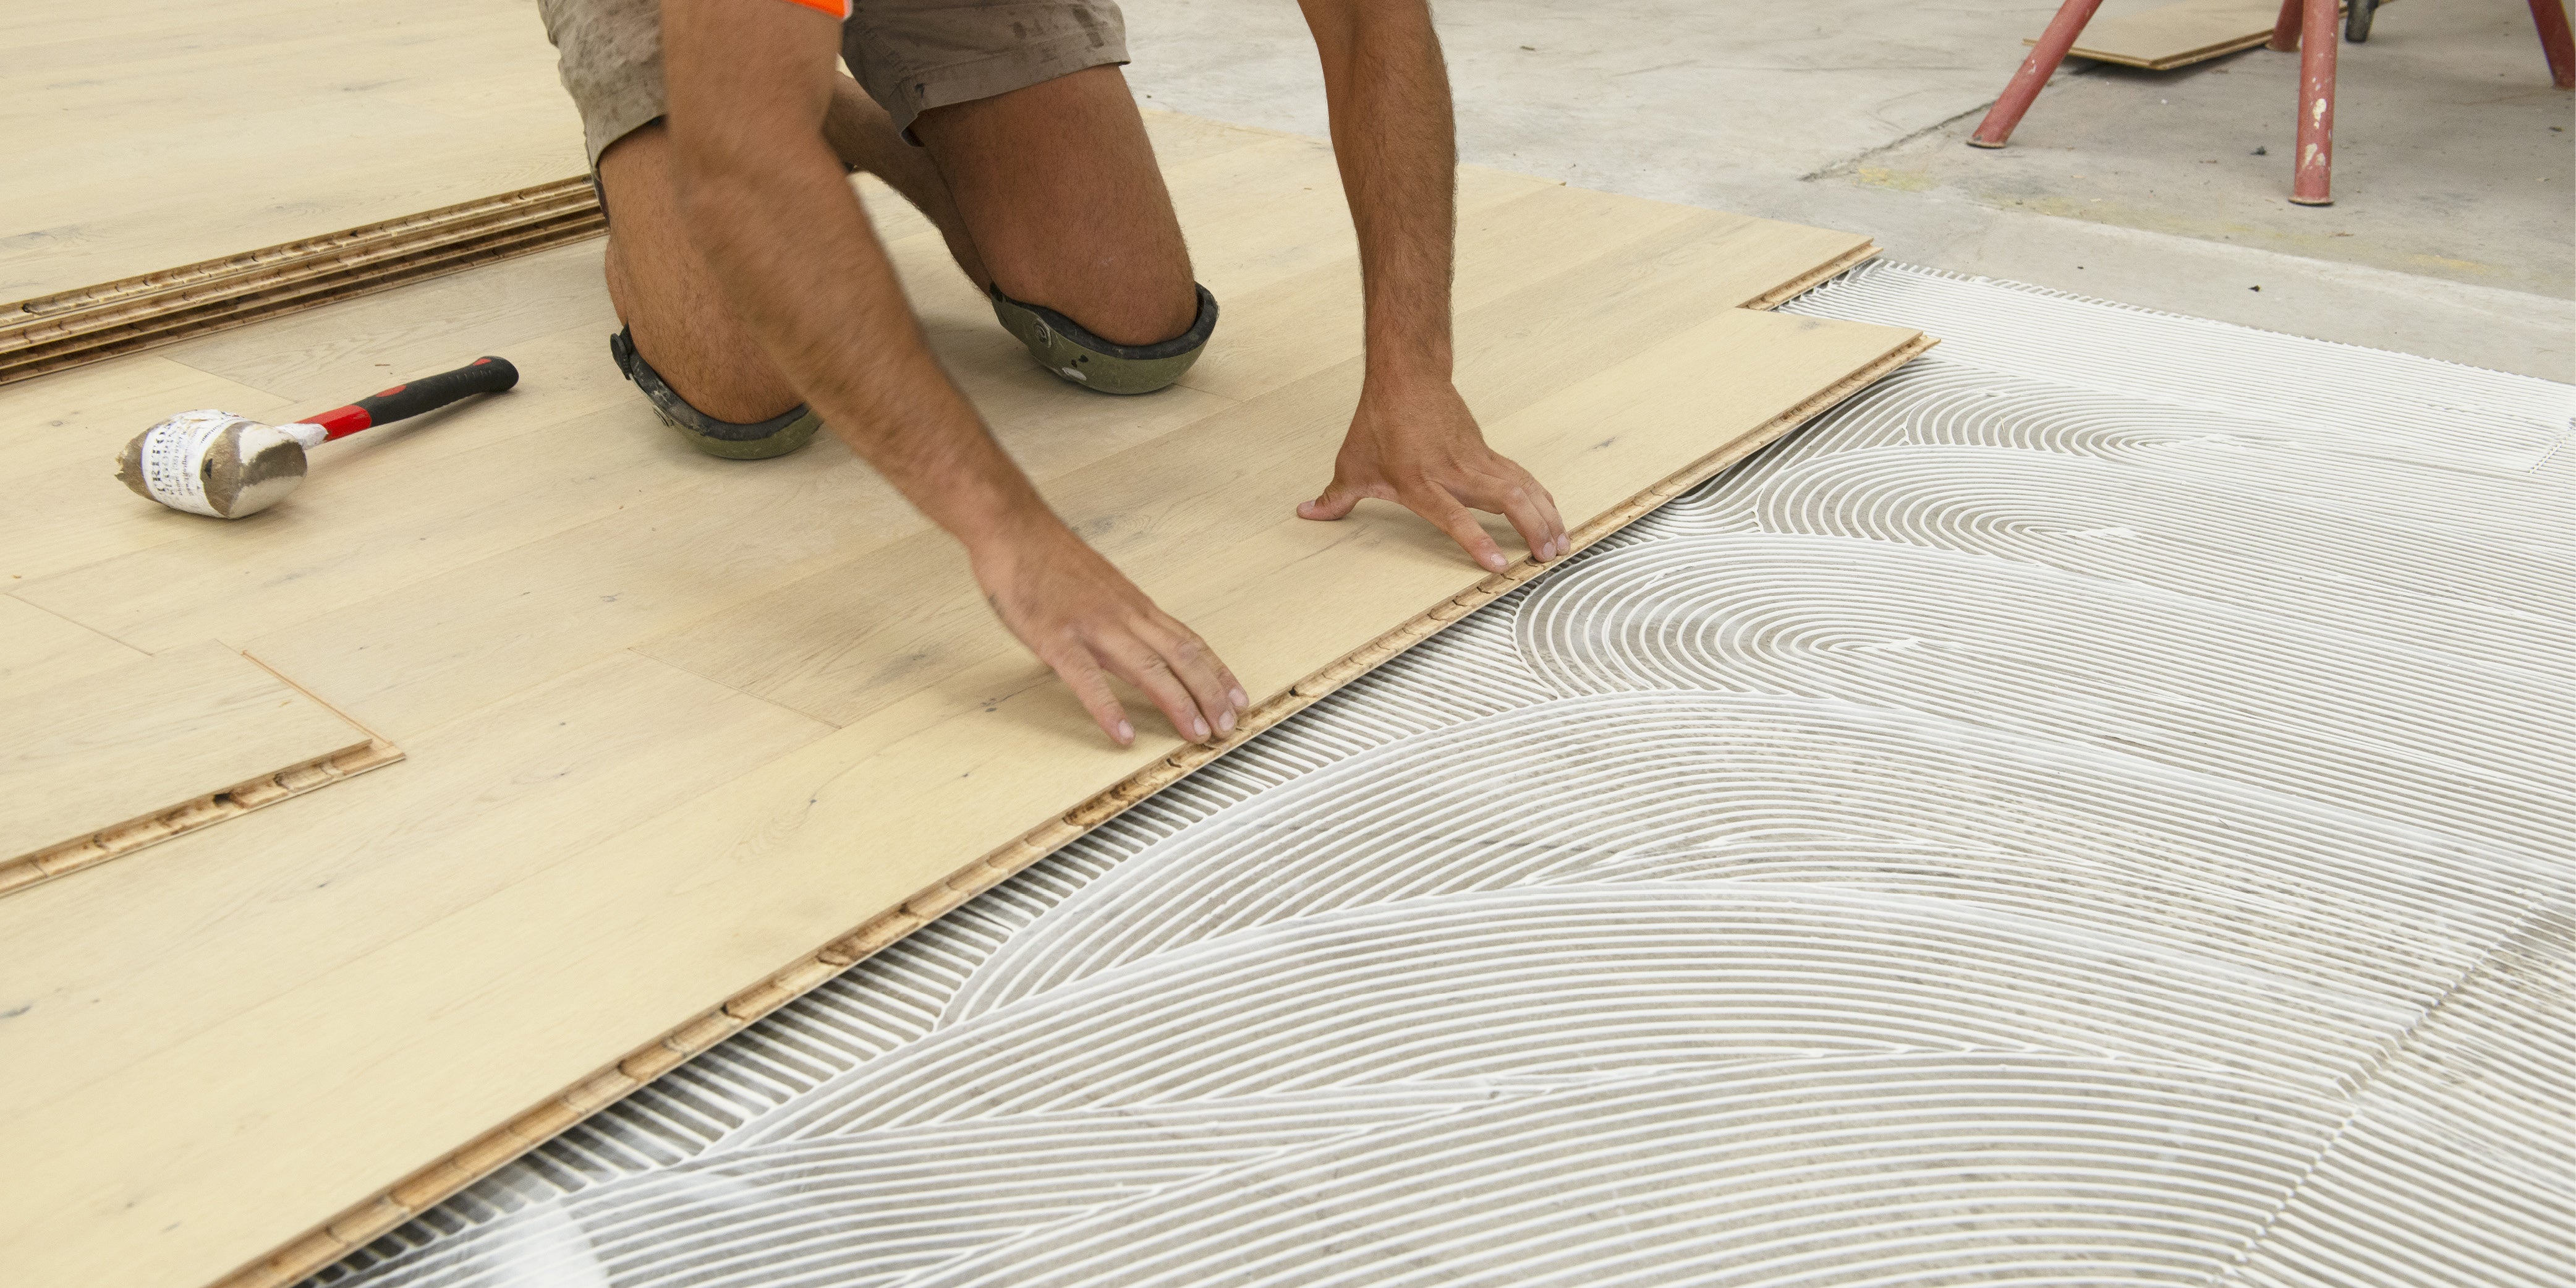
Note we always recommend direct stick installation for timber flooring.

Hit the button to view our complete timber install guide.

1. Make sure your subfloor is level

Nobody wants a wonky floor, so ensuring your subfloor is level ensures that the boards stay steady and level over their lifetime. No more than 3mm deviation over 3 metres is the recommended allowance.

2. Check the moisture levels

Check for signs of moisture in your subfloor using a calibrated moisture metre. Moisture content must be;

  • Below 5% for concrete slabs
  • Below 12% for timber substrates

3. Lay it out

We recommend installing from multiple packs at a time to ensure the best board layout, with an even distribution of feature heavy boards. It also helps to pre-select boards that will blend best with matching scotia, skirts and trims.

4. Staggering is key

For the best results, make sure to stagger your boards correctly. When installing boards of length, ensure that the staggered length is at least 20cm. End boards must be greater than 30cm in length.

5. Board flow matters

Floating floorboards can be installed in any direction, but as a rule of thumb, the boards are usually installed perpendicular to a window. Additionally, installing the flooring parallel to the longest wall tends to make the room appear larger.

6. An extra pack doesn’t hurt

Despite its sturdy construction, boards can get damaged or need replacing during or after installation. For these reasons it’s handy to buy an extra pack of flooring for possible future rectifications, just to be on the safe side!

Direct Stick Vs. Floating Floors

What are the advantages and disadvantages of direct sticking your floor over floating?

Professional Installation Costing Table

If DIY isn't for you, leave it to the professionals!

*The above provides indicative installation rates (labour only) for the major cities in VIC, NSW, QLD, WA and surrounding areas.

  • Timber

    $22 - 36 per M2

  • Hybrid & Laminate

    $20 - $26 per M2

  • Vinyl

    $16 - $20 per M2

Timber Flooring Price Guide

Find our complete timber flooring price guide here

Acclimatising Timber Flooring

As a natural product timber flooring needs time to adjust to the temperature and humidity levels of the environment before being installed.

Find an Installer

Prefer to leave it to the professionals? Use our find an installer map to find certified flooring installers near you.
Is Engineered Timber flooring waterproof?

No, it is not waterproof however, due to its layers, it works better with water than solid hardwood timber.

Can Engineered Timber be sanded/repolished like solid timber flooring?

Yes, Engineered timber floors can be sanded down and refurbished in their lifetime. However, how many times this can be done depends on the thickness of the solid timber veneer. Most of our engineered timber boards are safe to sand one to three times. Our 12mm Engineered European Oak range should not be sanded. 

Can I install Herringbone Timber flooring myself?

We recommend that you hire a professional installer for Herringbone flooring due to the more complex board pattern and detail required for install.Â