Skip to content
3 Free flooring samples delivered to your home
Free samples

Floating Floor Installation

Find out all you need to know about installing floating flooring. With our help you'll be an installation expert in no time.

Floating Flooring Installation

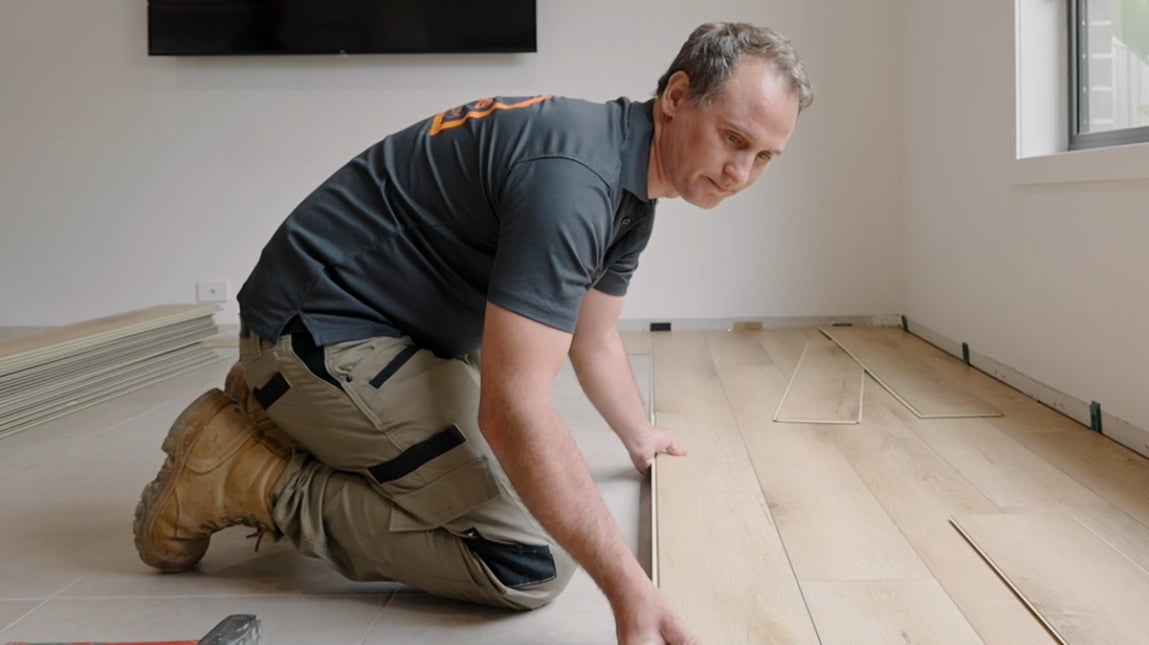
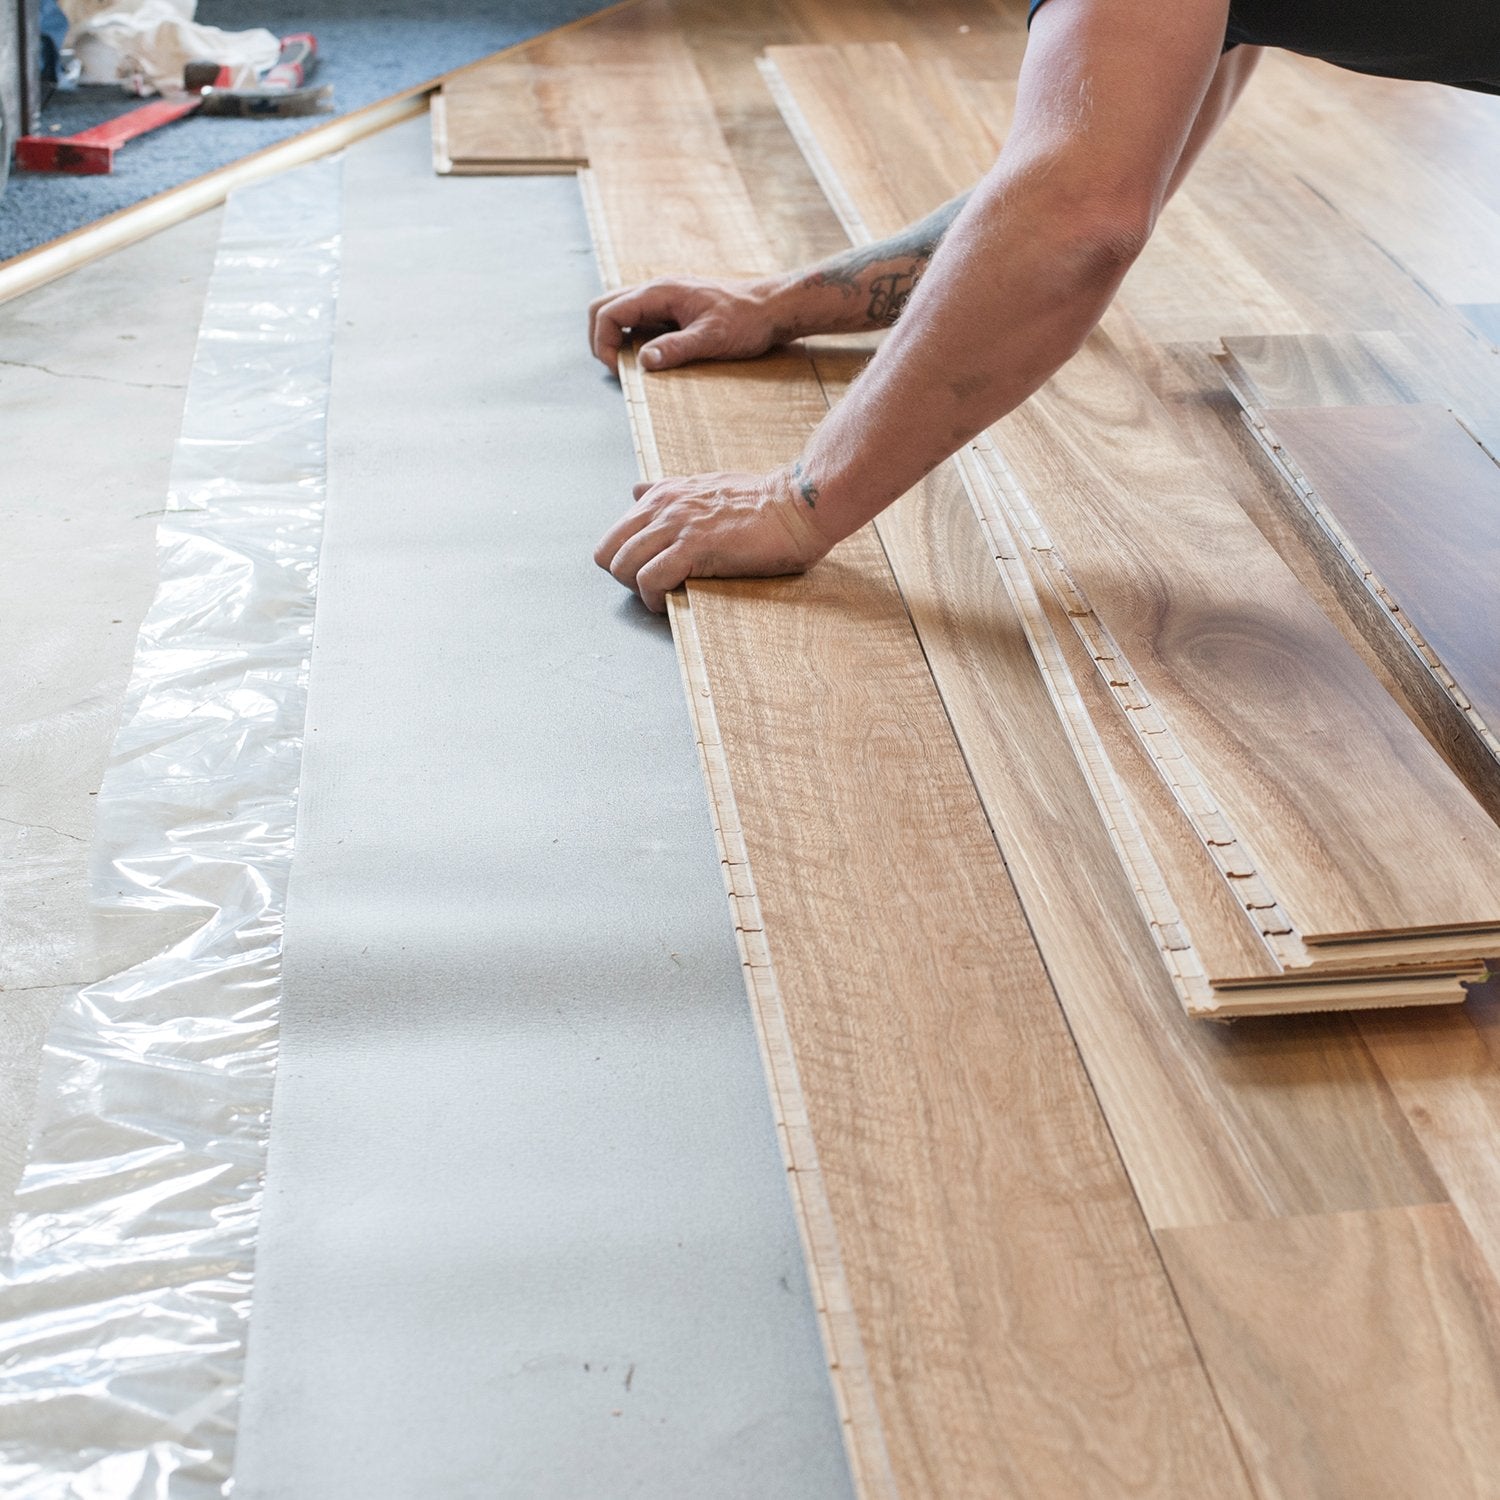
Floated floorboards were designed with the DIY savvy Aussie homeowner in mind. The licensed locking profile allows for easy, mess-free installation over almost any existing subfloor, including ceramic tiles.

1. Get organised

Set up your installation tools and open multiple packs to pre-select boards that blend best with matching scotia, skirts and trims.

Check door and door frame clearances to ensure that doors will move freely without contacting the floor surface.

2. Set out

Although floors can be installed in any direction, as a rule, they are usually installed perpendicular to a window. Installing the floor parallel to the longest wall tends to make a room appear larger.

Know your maximum raft size, before floor expansion is required.

  • Laminate - (L) 10m x (W) 8m
  • 8mm Hybrid - (L) 12m x (W) 12m
  • 6mm Hybrid - (L) 15m x (W) 30m
  • 5.5mm Hybrid - (L) 15m x (W) 30m
  • Floating Timber - (L) 10m x (W) 8m

3. First row

  • First plank, first row. Place a spacer 8-10mm thickness to the left and position the plank against the wall. Later, after 3 rows, you can easily position the flooring against the front wall with spacers of 8-10mm 

  • Second plank, first row. Lay the short end of the next floorboard up against the edge of the first one, then drop down into place, ensuring it locks firmly into place. Once the board is laid down square against the next, a rubber mallet can be used to lock the board into place, although ensure there is no potential for lipping. Complete the first row. 

  • At the end of the first row, place a spacer 8-10mm to the wall and cut the length of the last plank to fit.

  • For a clean cut, the top surface should face down when you use a jigsaw, or circular handsaw and up when you use a handsaw or a crosscut saw.

4. Second row

  • Second row, first plank. Minimum length 300mm. Place a spacer against the wall. 

  • Minimum distance between short ends of planks in parallel shall not be less than 200mm.

  • Place the floorboard at an angle against the floorboard in the previous row, press forward and fold down at the same time. A rubber mallet and tapping block may be necessary.

  • Second plank, second row. Place the short end of the floorboard at an angle against the previously installed floorboard. Fold down. Complete the second row. 

Tip!Stagger boards to ensure a more favourable overall appearance of the floor. When installing boards of random length, ensure that the staggered length is at least 20cm. End boards must be greater than 30cm in length

5. Finish your floor

Once your have finished installing your floors affix Scotia or reinstall your skirting boards around the perimeter of your room to conceal the expansion gaps.

    1. Make sure your subfloor is level

    Nobody wants a wonky floor, so ensuring your subfloor is level ensures that the boards stay steady and level over their lifetime. No more than 3mm deviation over 1 metre is the recommended allowance.

    2. Take your time

    Installing hybrid flooring is not a time intensive project. Once installed, the boards can be walked on and furnished immediately. But that doesn’t mean you should rush installation. Take your time to plan where you’ll be laying the boards, making sure there aren’t any odd-angled or super short floorboards around the perimeter of the room. It also helps to pre-select boards from multiple packs that will blend best with matching scotia, skirts and trims.

    3. Staggering is key

    For the best results, make sure to stagger your boards correctly. When installing boards of length, ensure that the staggered length is at least 20cm. End boards must be greater than 30cm in length.

    4. Board flow matters

    Floating floorboards can be installed in any direction, but as a rule of thumb, the boards are usually installed perpendicular to a window. Additionally, installing the flooring parallel to the longest wall tends to make the room appear larger.

    5. An extra pack doesn’t hurt

    Despite its sturdy construction and no-fuss install, boards can get damaged or need replacing during or after installation. For these reasons it’s handy to buy an extra pack of flooring for possible future rectifications, just to be on the safe side!

    Professional Installation Costing Table

    If DIY isn't for you, leave it to the professionals!

    *The above provides indicative installation rates (labour only) for the major cities in VIC, NSW, QLD, WA and surrounding areas.

    • Timber

      $22 - 36 per M2

    • Hybrid & Laminate

      $20 - $26 per M2

    • Vinyl

      $16 - $20 per M2

    Find an Installer

    Prefer to leave it to the professionals? Use our find an installer map to find certified flooring installers near you.
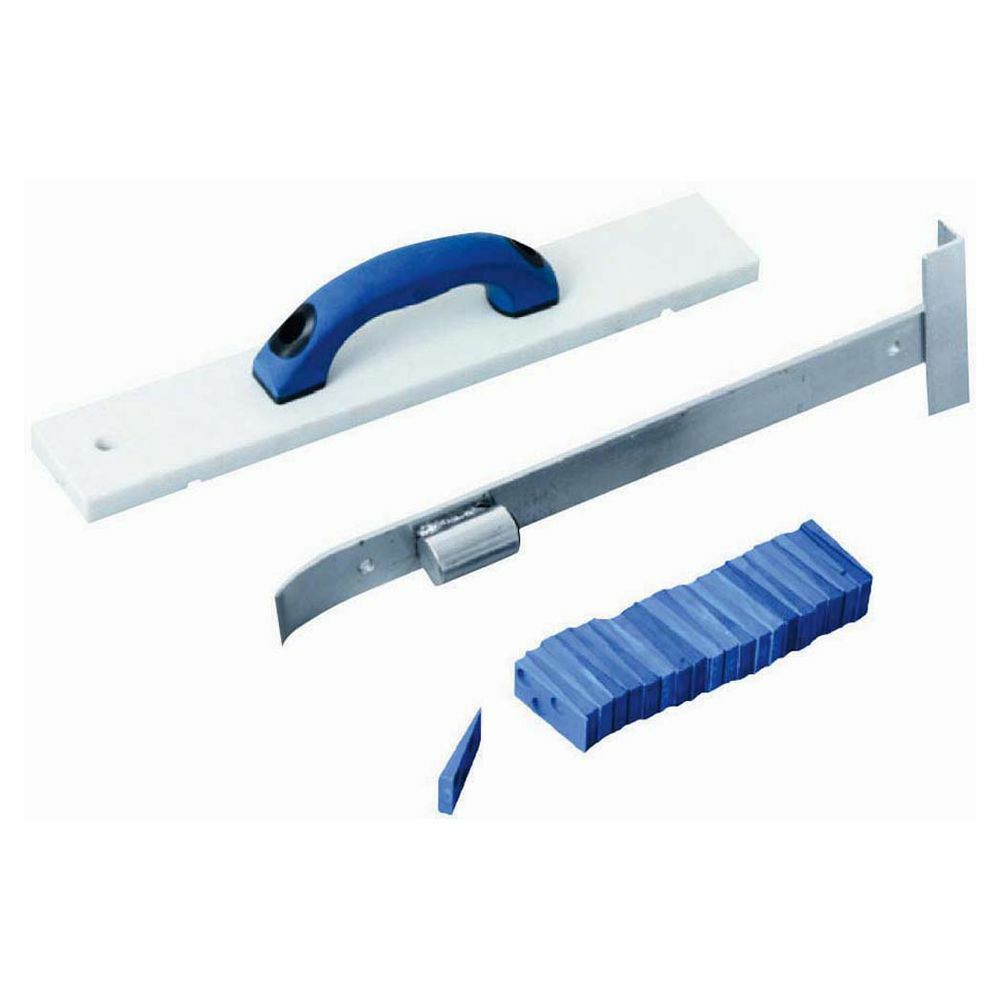
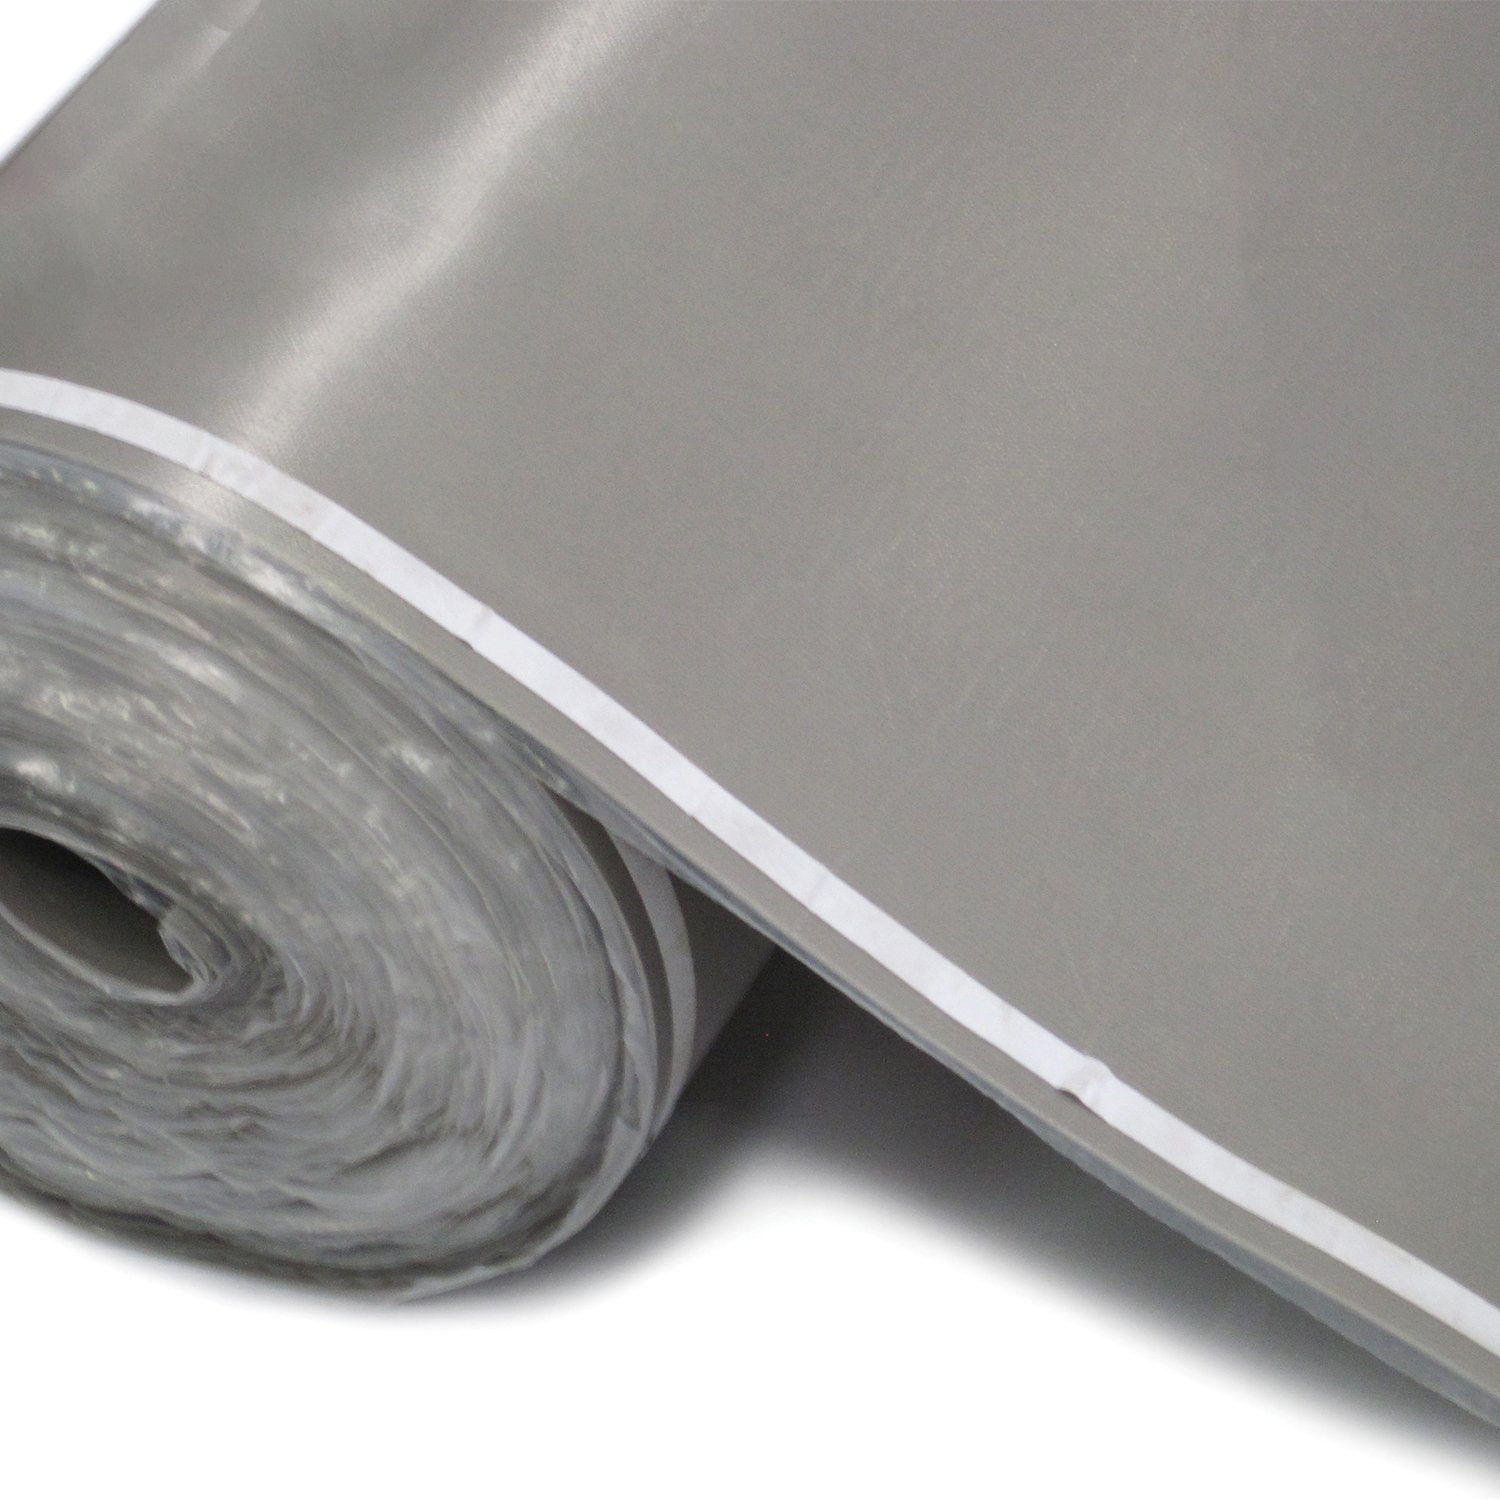
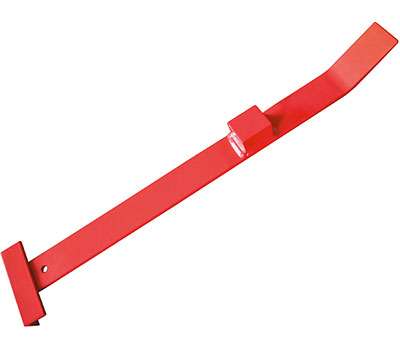
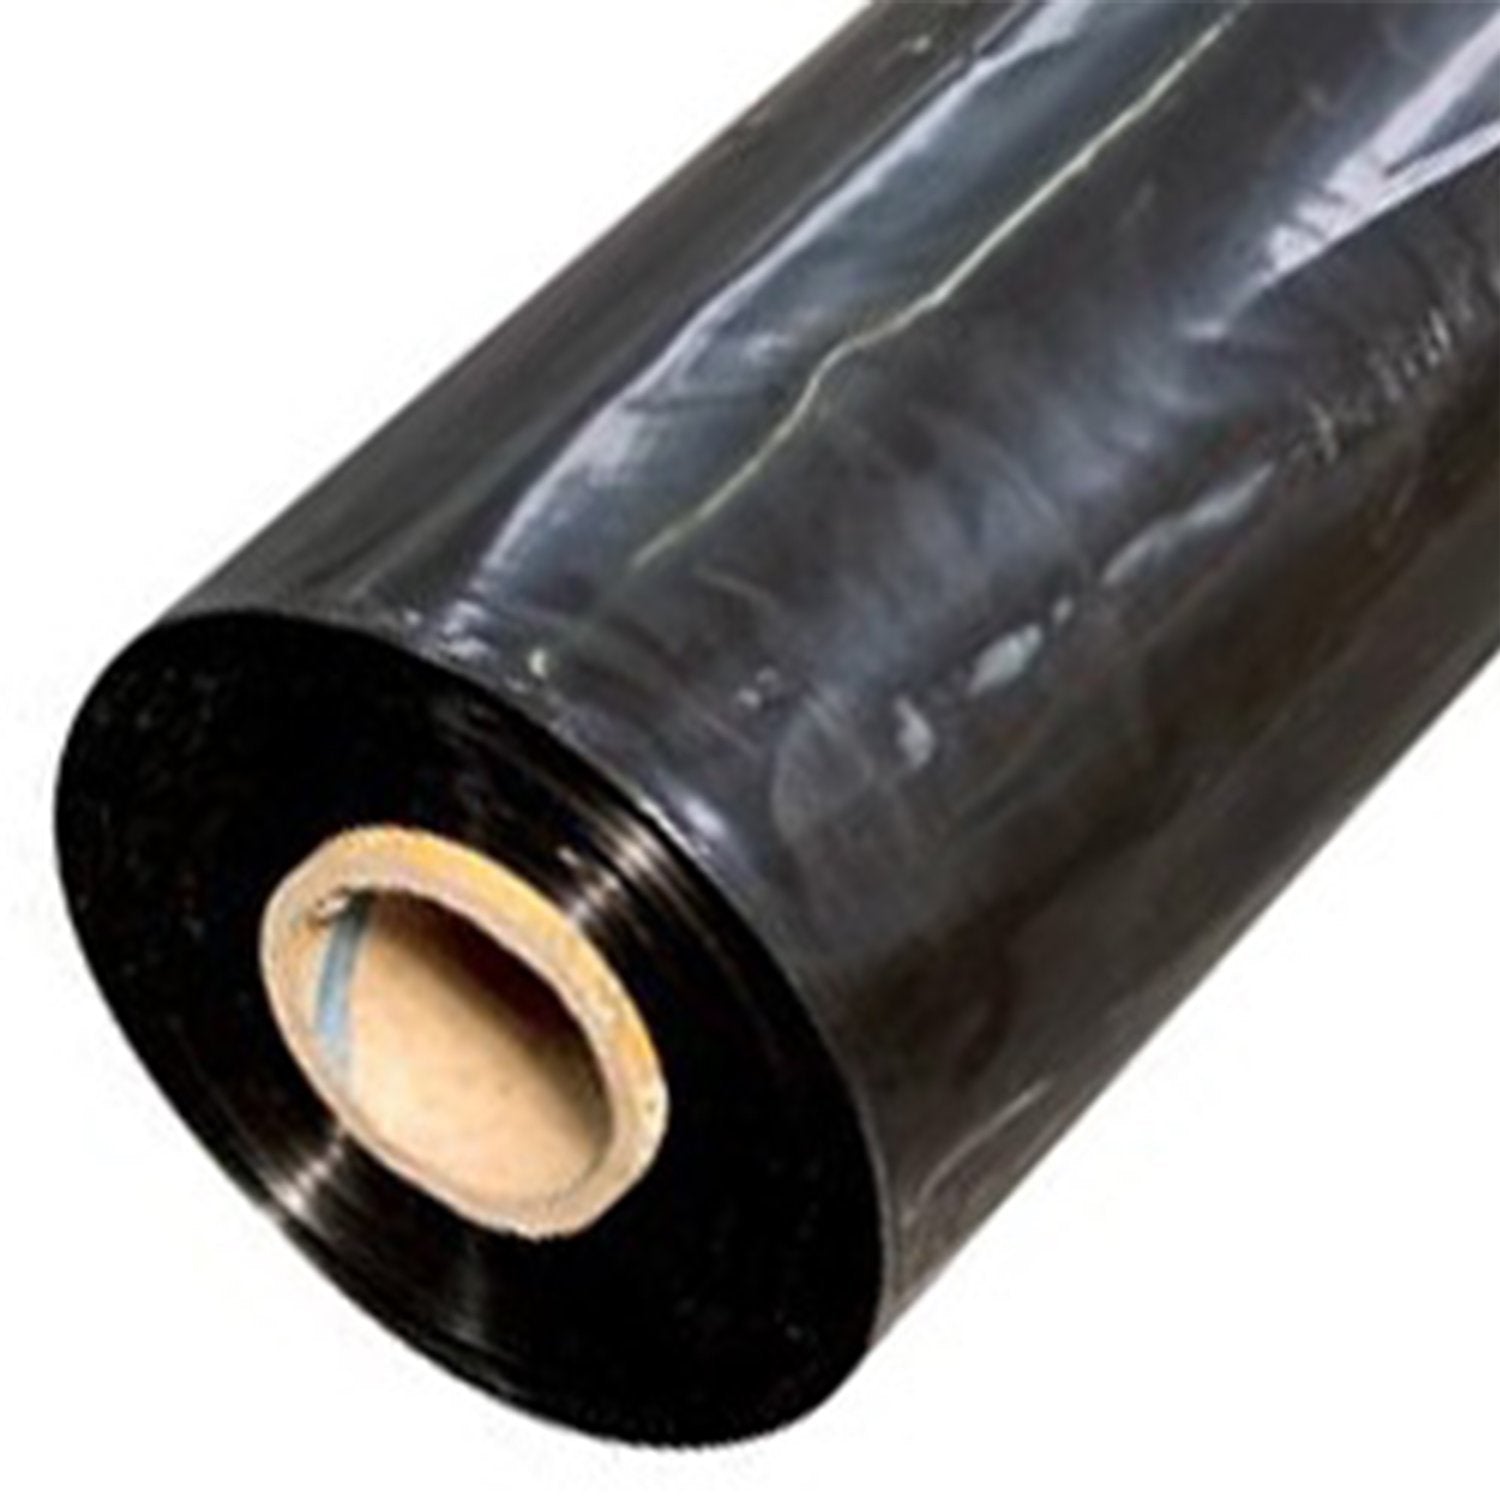
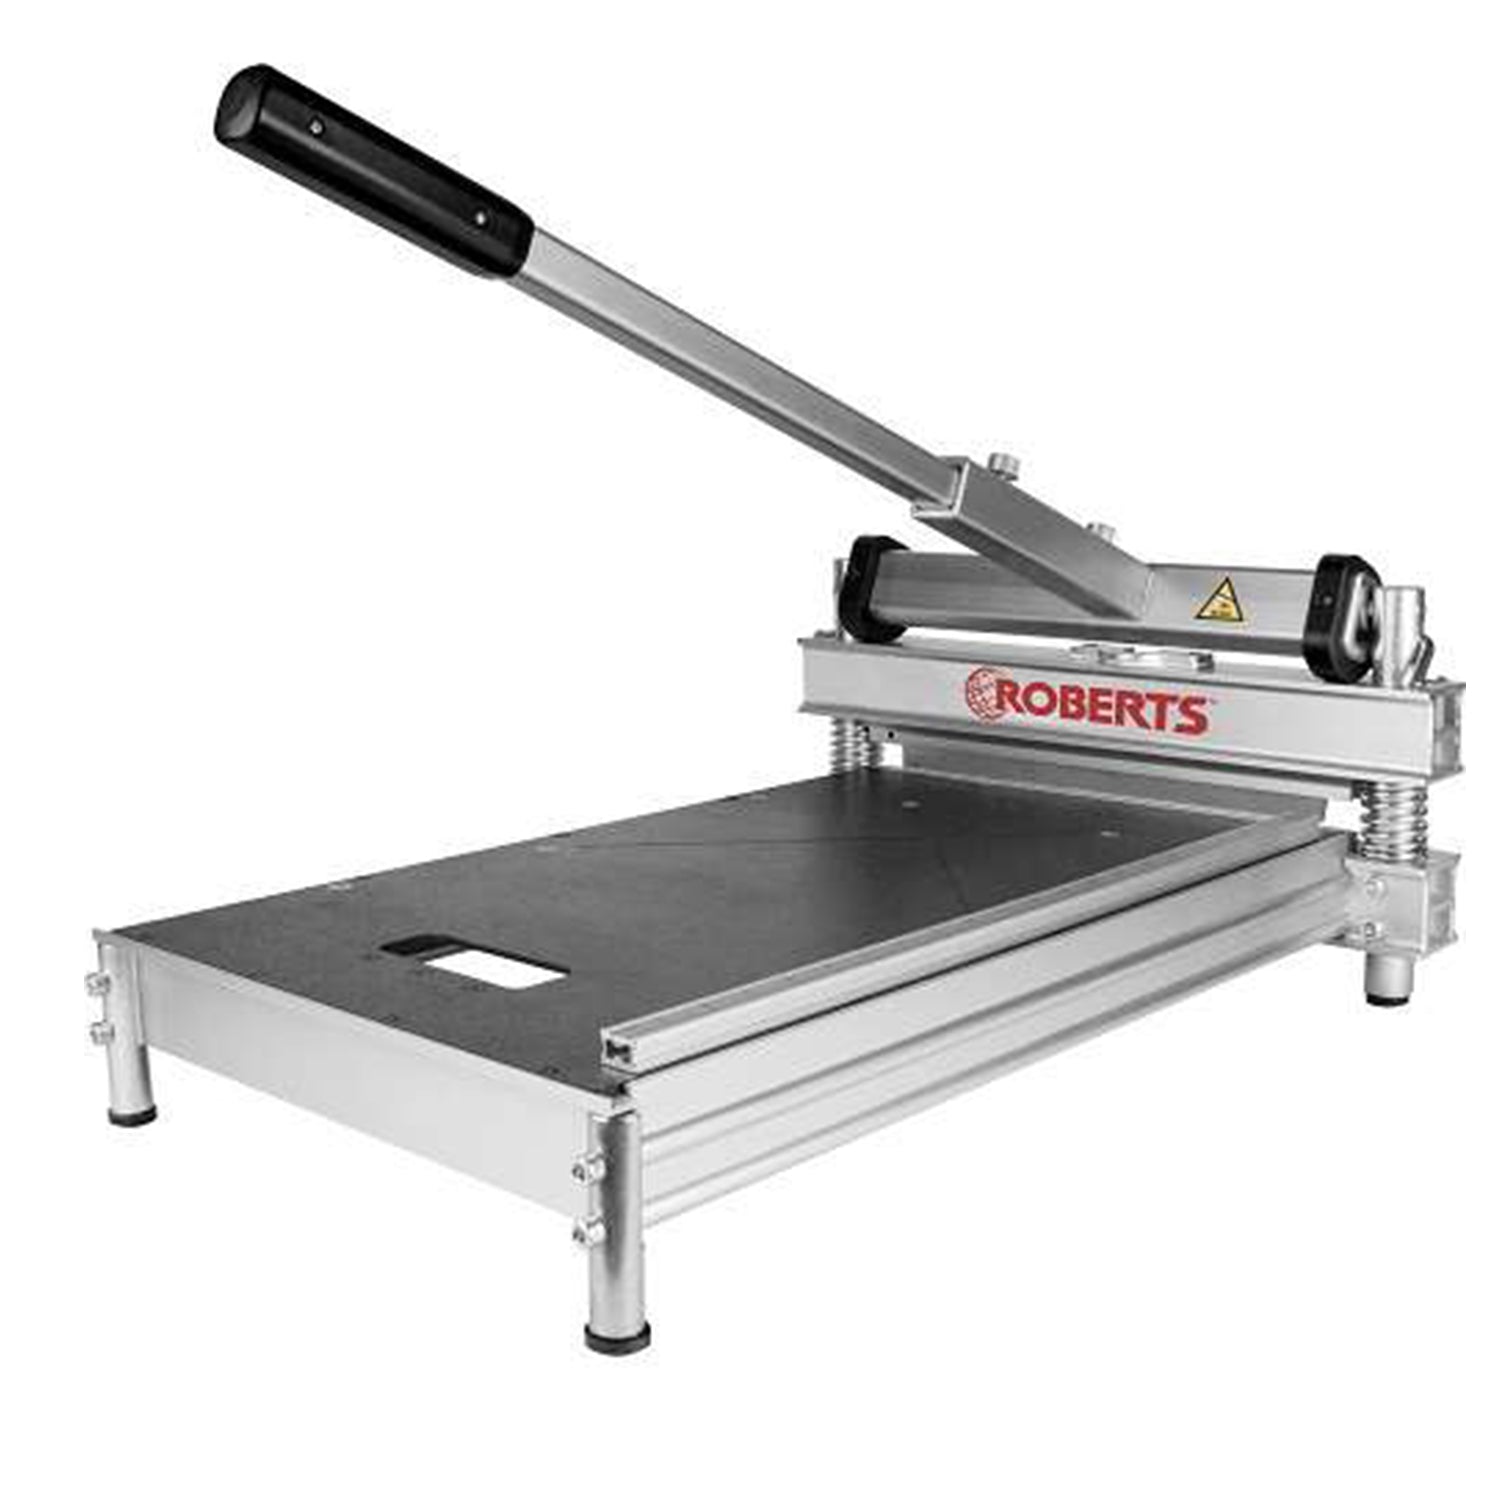
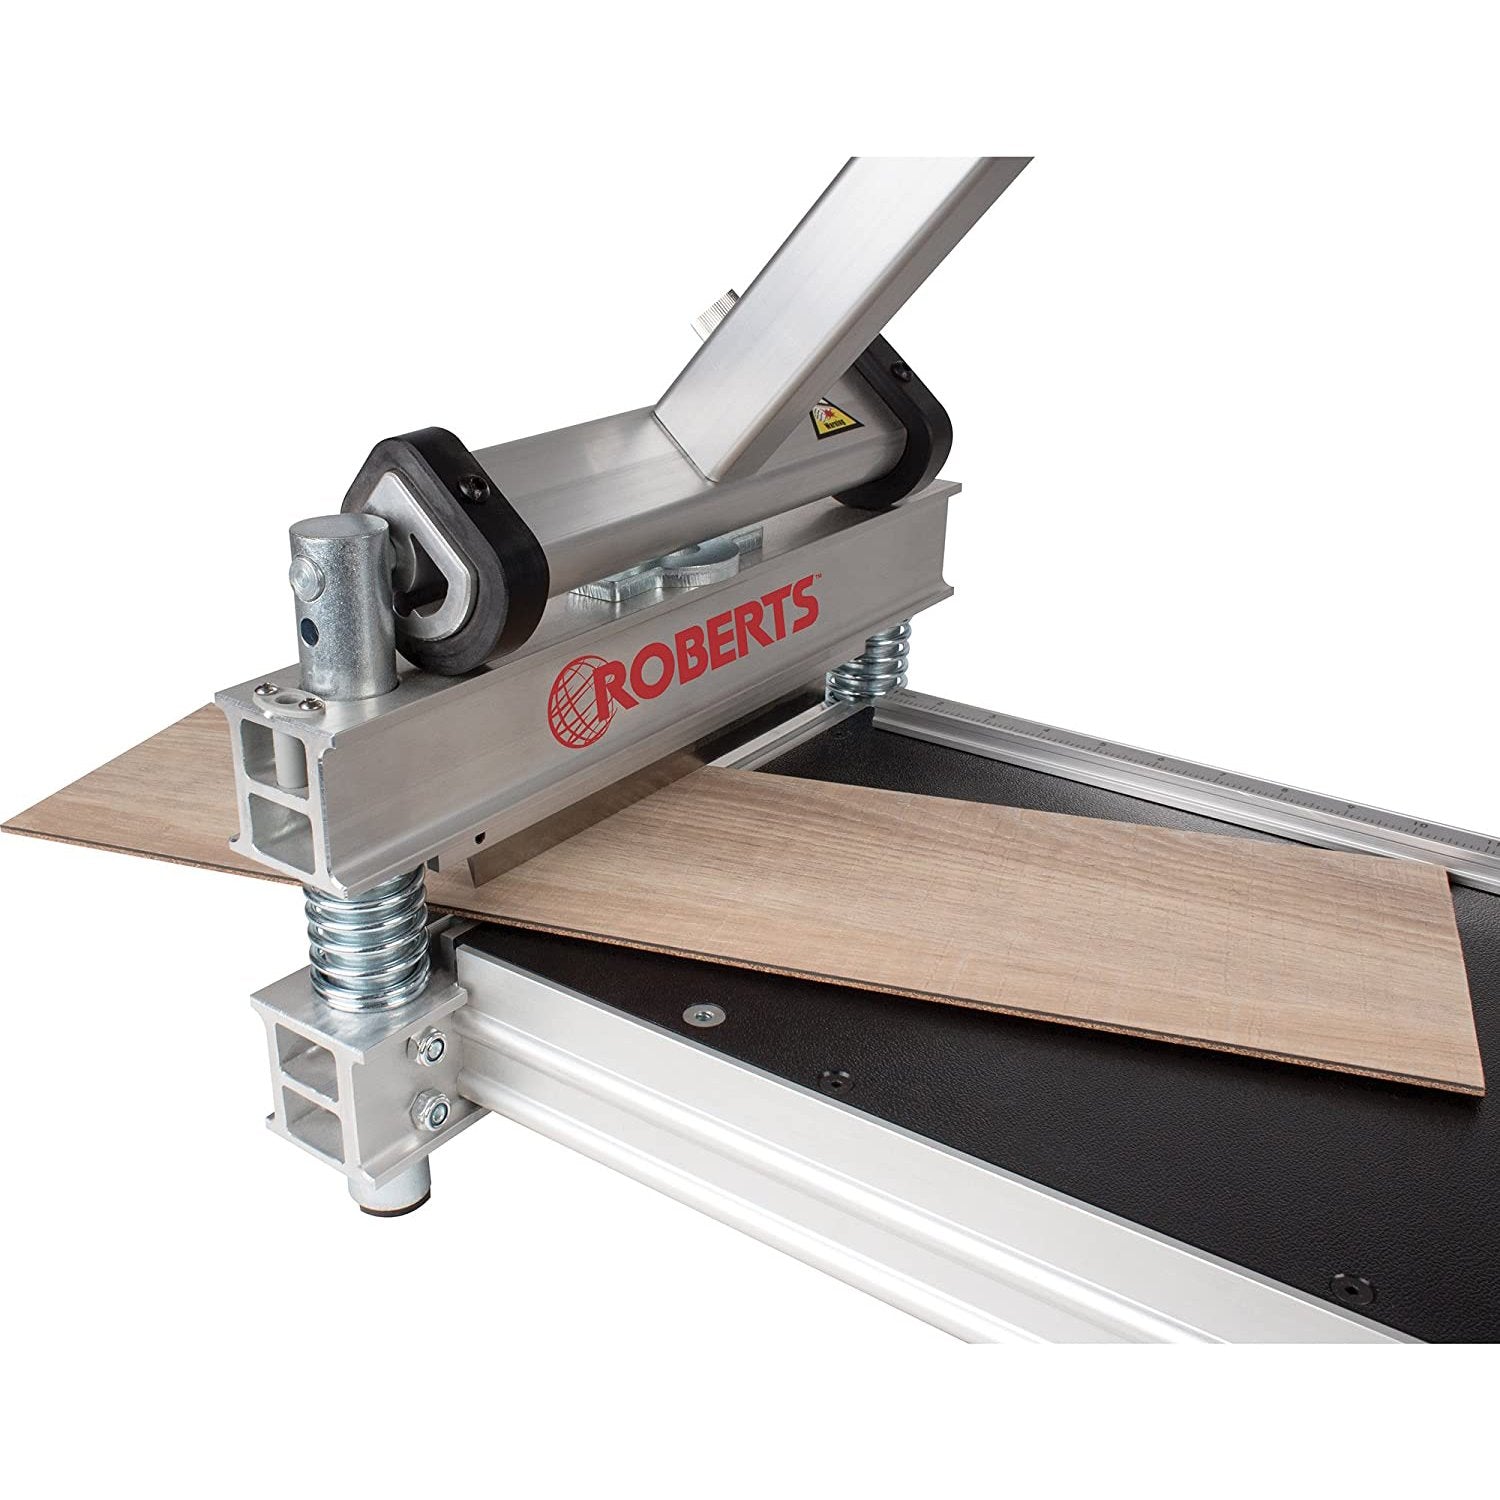
    Can my floors be floated on top of ceramic tiles?

    Yes! Hybrid, laminate and timber flooring can be floated directly over ceramic tiles. It’s crucial that the tiles are clean, smooth and level, however, there should be no greater than 3mm deviation over 3m of floor. I levelling agent may be required to ready the surface for install.

    Do floating floors need to acclimatise?

    Yes, floated floors are required to be acclimatised in the room they will be laid for from 24-72 hours before being installed. Additionally, up to one week’s acclimatisation may be required in areas that are particularly humid, cold, wet, hot or dry. Boards installed in a humid environment will naturally grow, hence the requirement for acclimatisation in areas such as QLD is higher. As a natural product timber flooring will typically require a longer acclimatisation period.

    Are floating floors easy to install?

    Floating floors are significantly easier to install as opposed to glue down floors. There is little room for error with a glue down floor and professional installation is recommended for glue down timber install. Floating floors however can be installed by savvy DIY enthusiasts.