Banner content
Tell customers about your store or products.

Tell customers about your store or products.
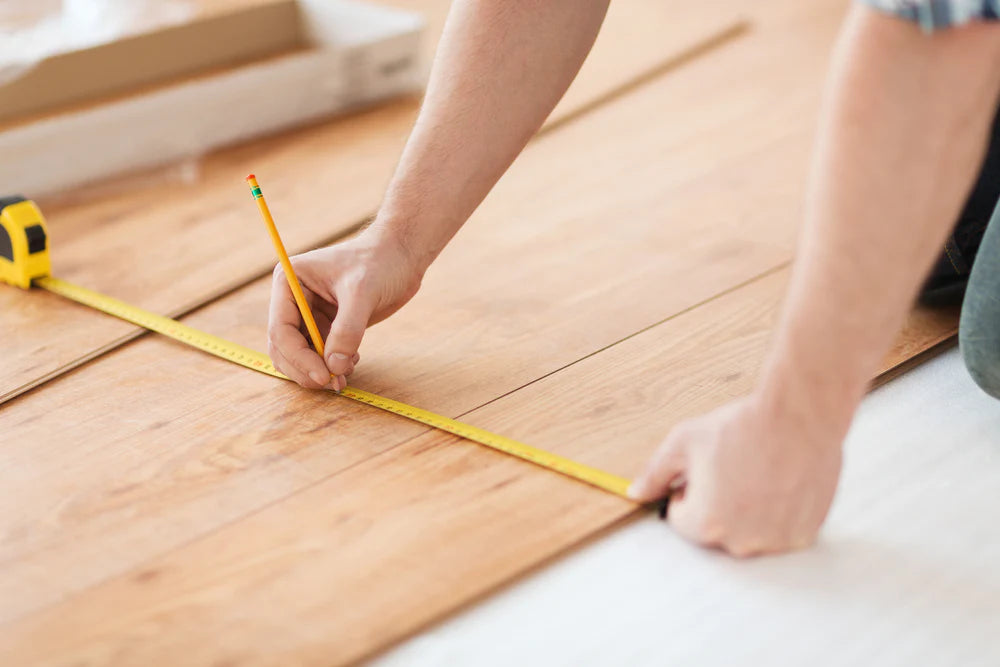
How to measure you home for new timber floors

How to install timber flooring
Yes. Our professional installer network covers most major Australian cities, and for some regional areas we can refer you to our retail partners to assist.
Find your local professional flooring installer using our handy map.
A simple brush or a light vacuum keeps floors looking great. To ensure the floor looks Its best, or If household pets or children have dragged mud through the house, a micro fibre mop and a light mist of a Timber Flooring cleaning solution will remove the grime with ease. This not only cleans but also helps protect the surface.
Many nonspecific timber floor cleaners, normal household chemicals and cleaners will damage floors and must not be used. There are many aspects that affect how often the floor requires cleaning and these include the amount of grit present, type of exterior and interior matting, the level of foot traffic, type of footwear and general conditions of the area outside the house, such as dirt, gravel or sand. Spills should be mopped up when they occur and any leaks attended to immediately. Steam mops should never be used on your floor, they are not suitable for Timber. Read our Cleaning & Maintenance Guidelines for more information.
Postcode not found, please try again