Timber Flooring Cleaning & Maintenance Guide
Find out all you need to know about maintaining and cleaning timber flooring.
Find out all you need to know about maintaining and cleaning timber flooring.

Our timber flooring is designed with low-maintenance and easy cleaning in mind. Regular sweeping and vacuuming is the best way to keep your floors looking day 1 fresh! We also recommend spray mopping, ideally once or twice a month, with a pH neutral floor cleaner.
Over time with normal wear and tear a few pesky marks and scratches will inevitably occur. The good news for DIY’s is that disguising scuffs and hiding small surface scratches is really easy.
Gilly’s Scratch Cover, a light or dark oil that colours over surface scratches and revives timber, and Gilly’s Floor Polish, a soft, beeswax-based polish that nourishes dry timber, are both simple to use and highly effective at revitalising lightly marked floors.
For really obvious wearing and deeper scratches on timber flooring however, your best option is to enlist a professional flooring contractor to lightly sand back the entire surface and refinish it with a polyurethane or water-based coating.

Timber can be sanded and rejuvenated with a polyurethane or water-based coating to restore the overall appearance of the floor. Sanding and re-coating of any Flooring Online Australia's engineered timber floors should only ever be carried out by a professional flooring contractor. If you are considering refinishing your floor, please consult a professional finishing service or Flooring Online Australia for advice.
Note how many time a floor can be sanded depends on the thickness of the solid timber veneer. Most of our engineered timber boards are safe to sand one to three times. Our 12mm & 7.5mm timber ranges should not be sanded.

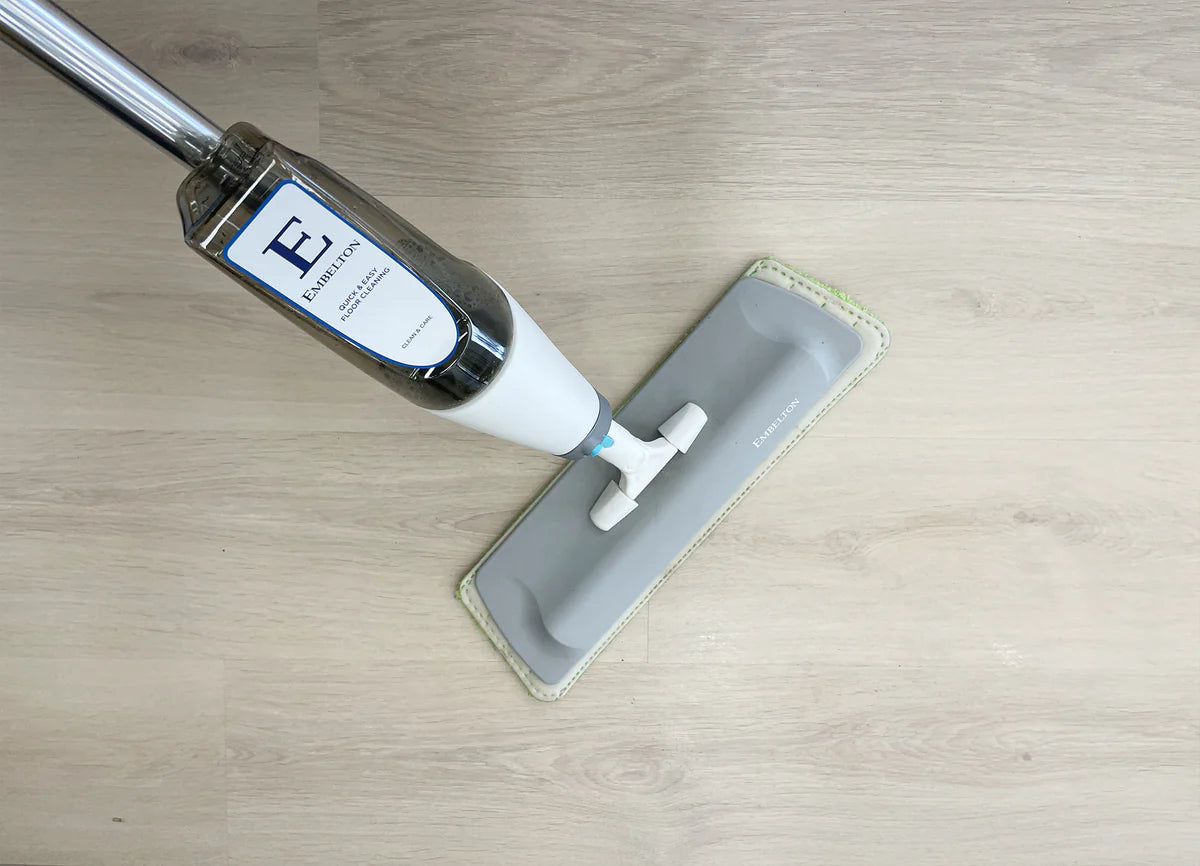
Don't use a steam mop on your timber flooring as it can cause the boards to swell and discolour.
Do use a spray mop to clean any spillages as soon as possible.
Don't use abrasive tools, such as steel wool or harsh scrubbing pads.
Do use an indoor broom with synthetic bristles rather than natural fibers.
Don't wet mop your timber flooring.
Do only use a pH neutral floor cleaner when mopping.
Read our complete blog on cleaning & maintaining timber floors here
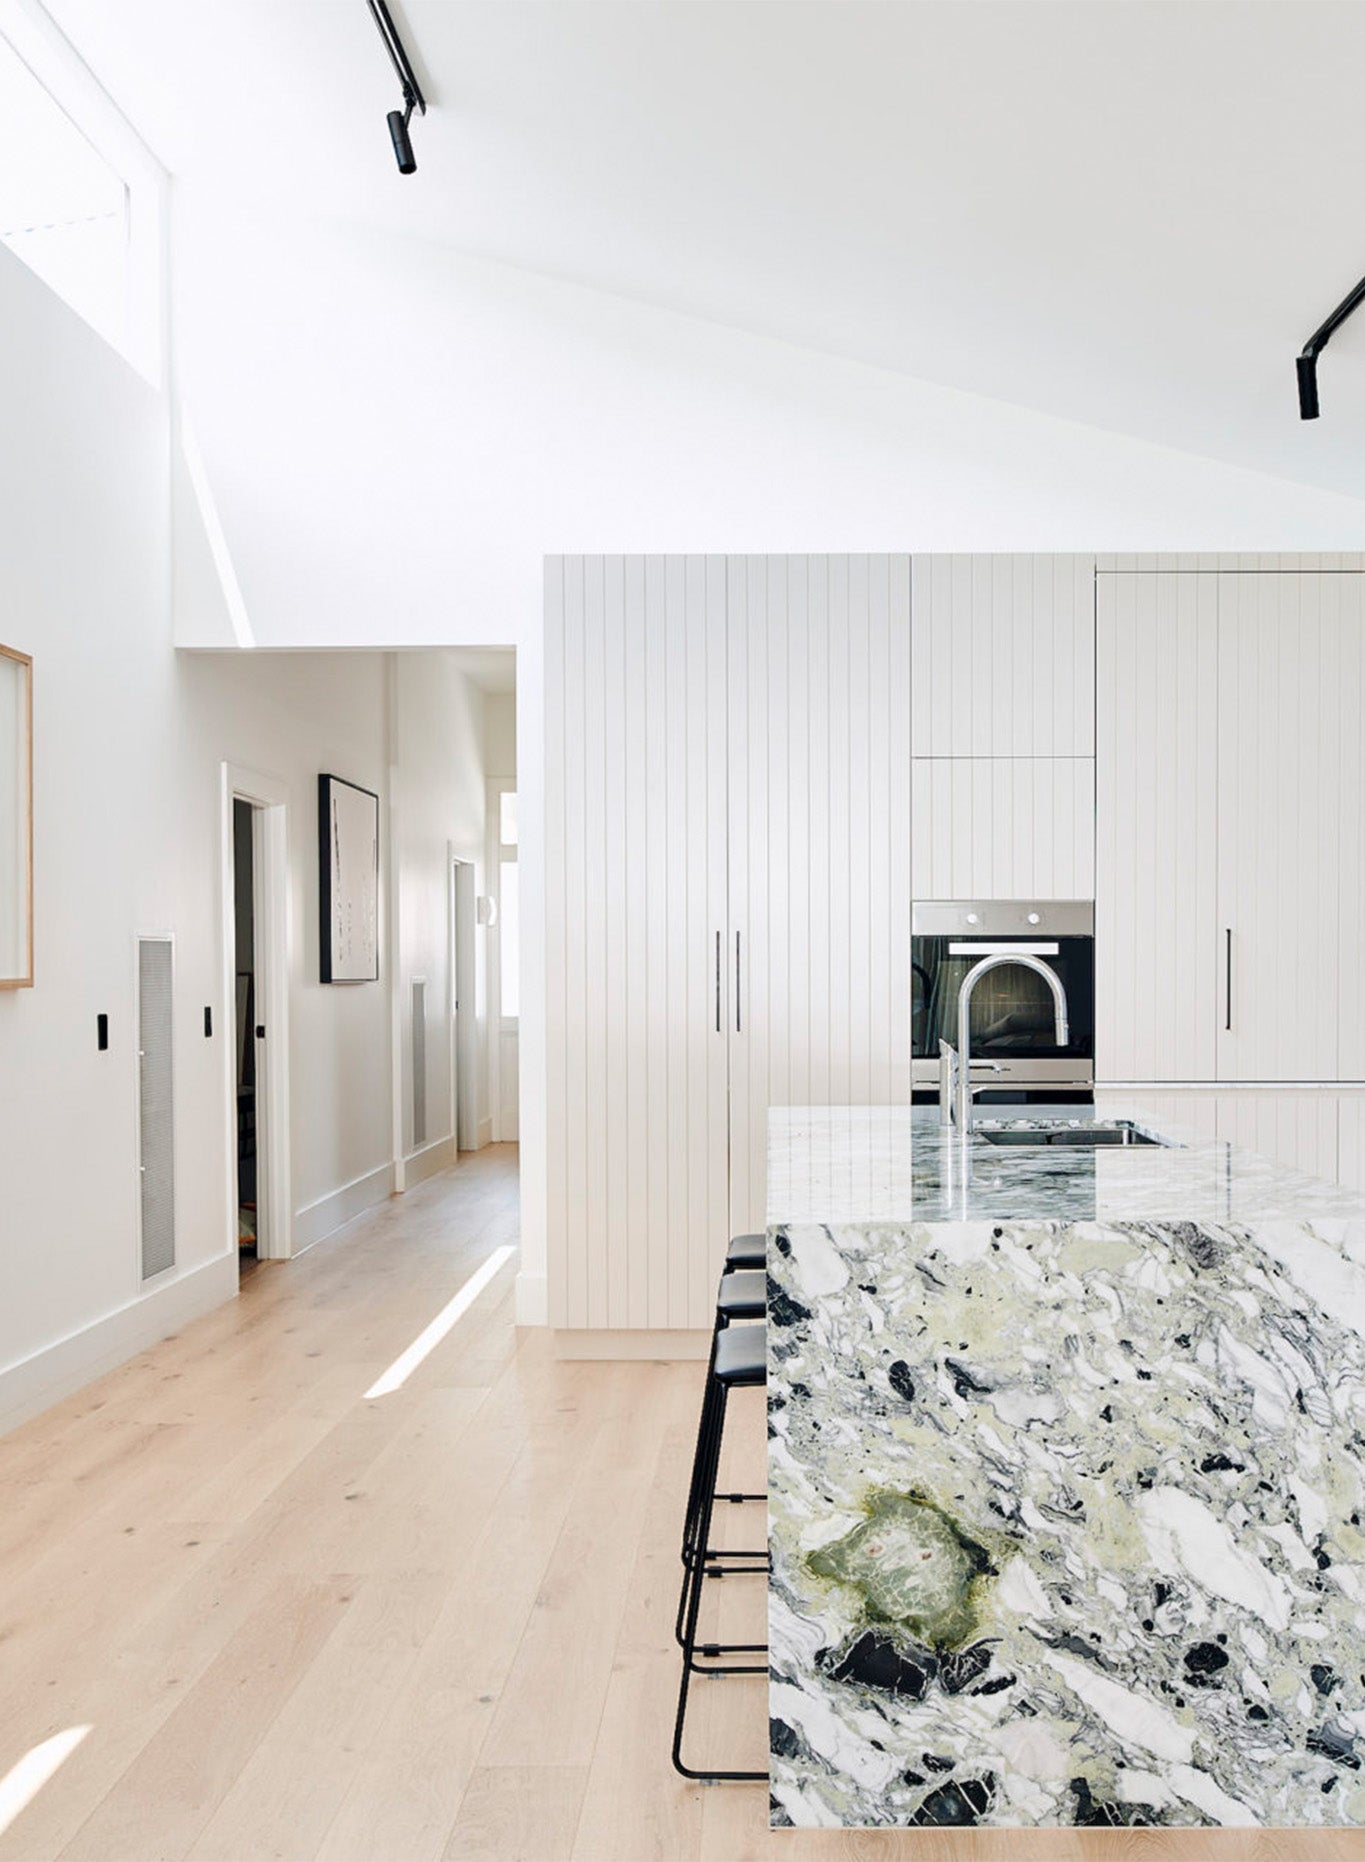
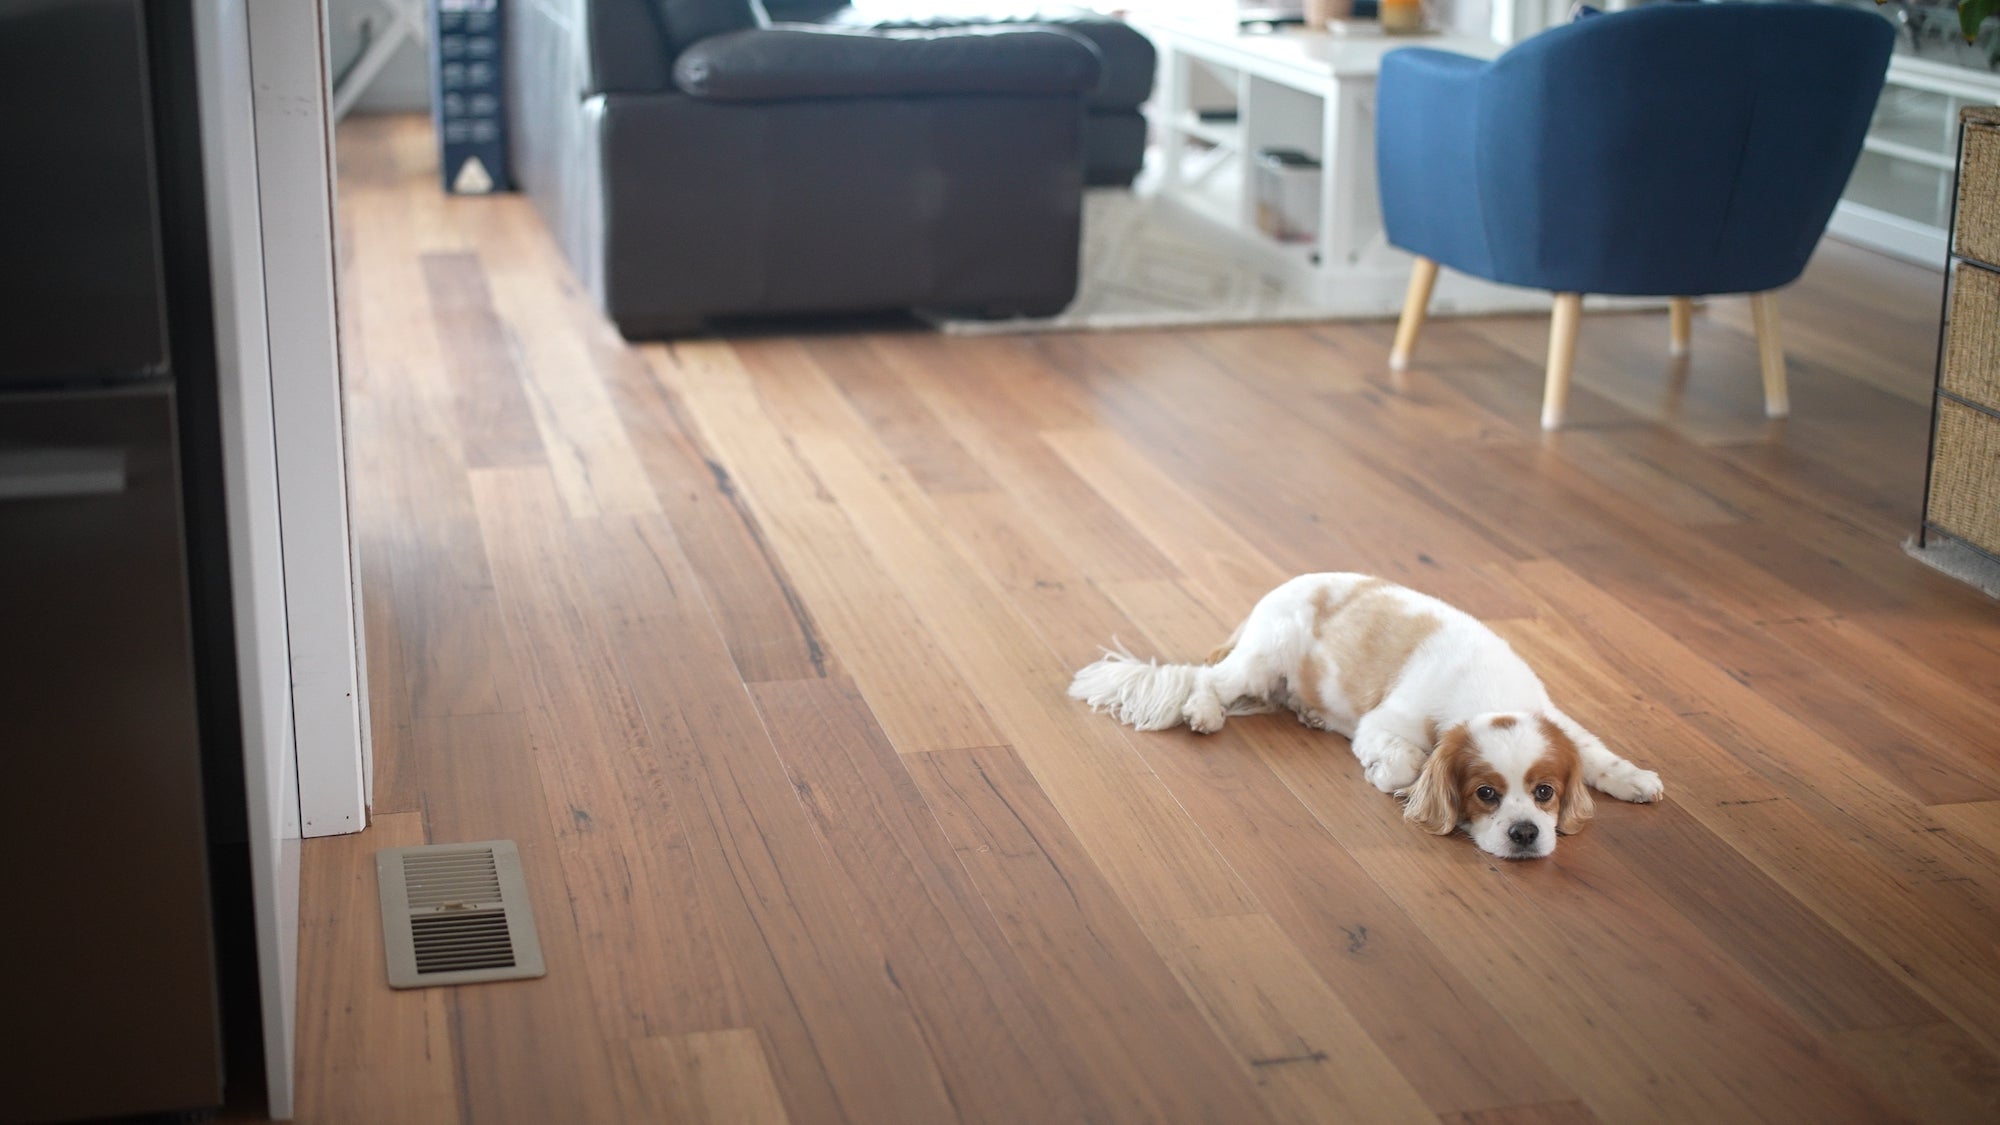
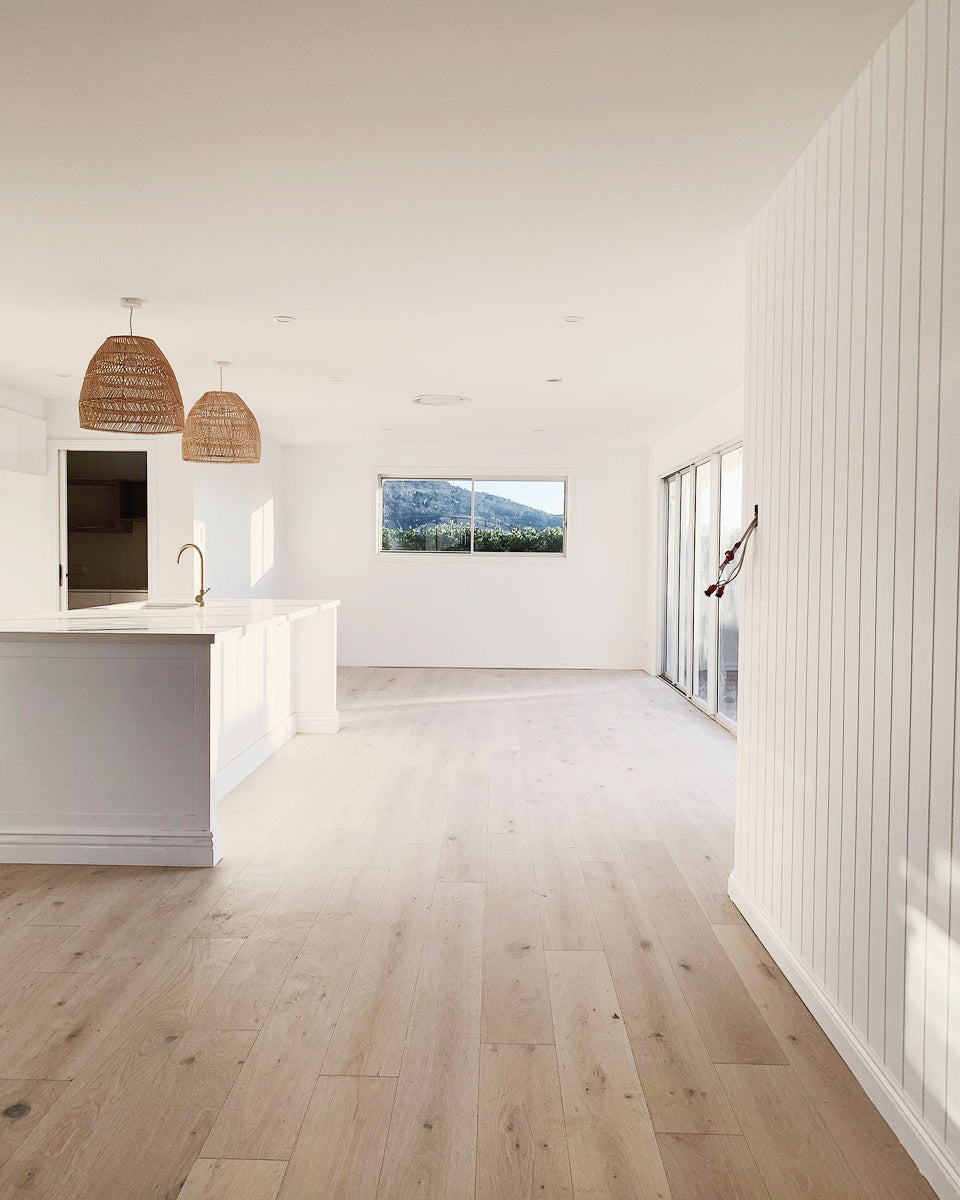

What our happy customers say about timber flooring...
Postcode not found, please try again